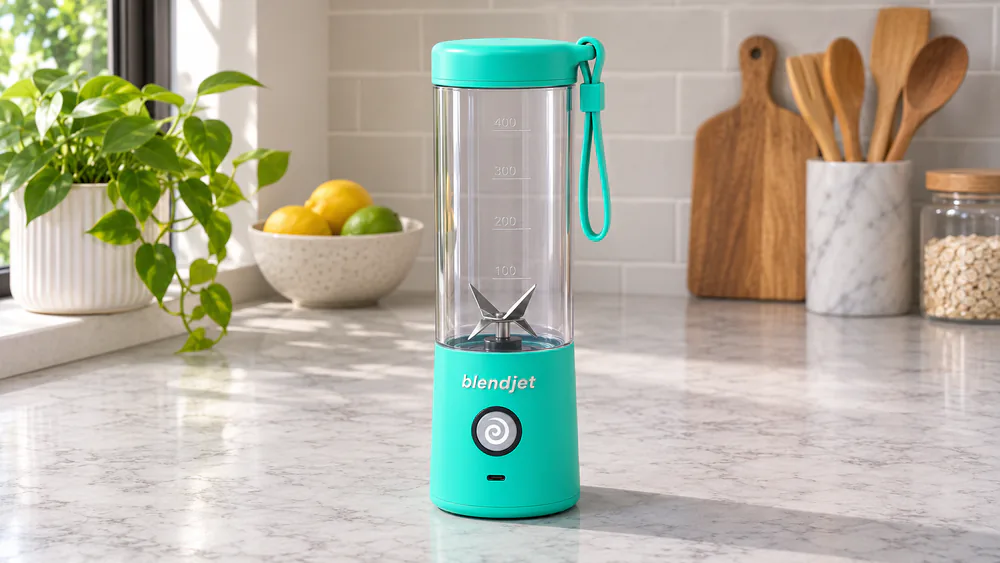
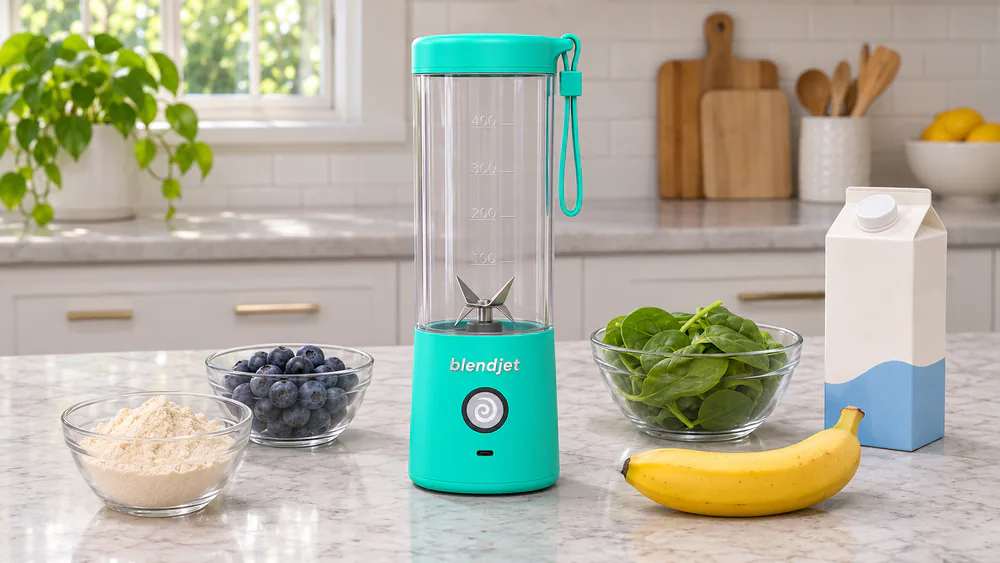
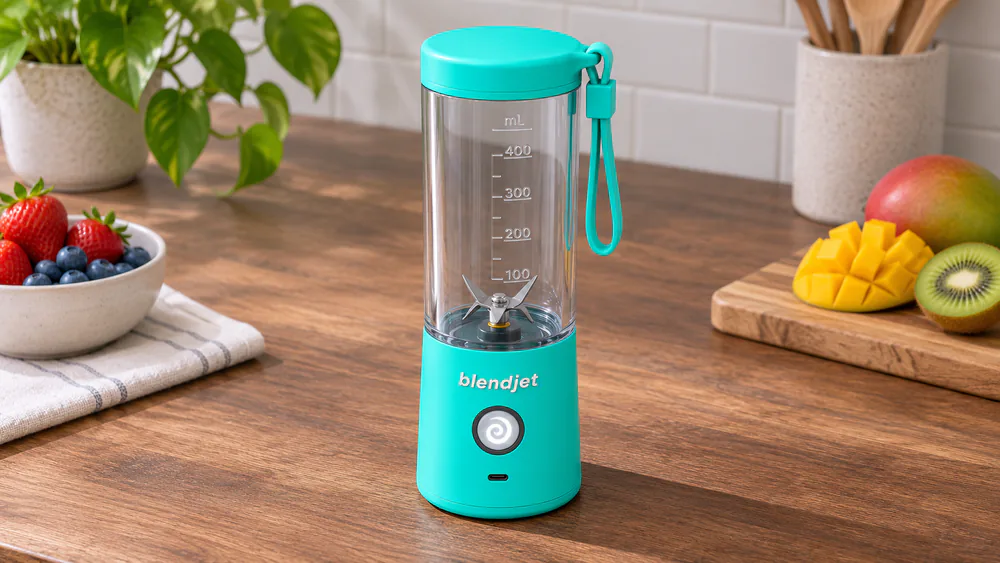
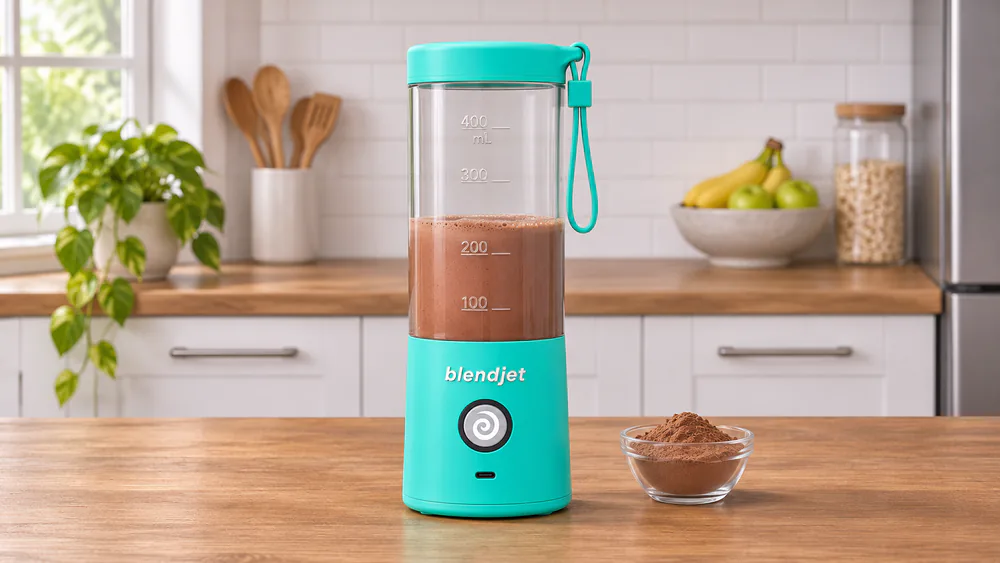
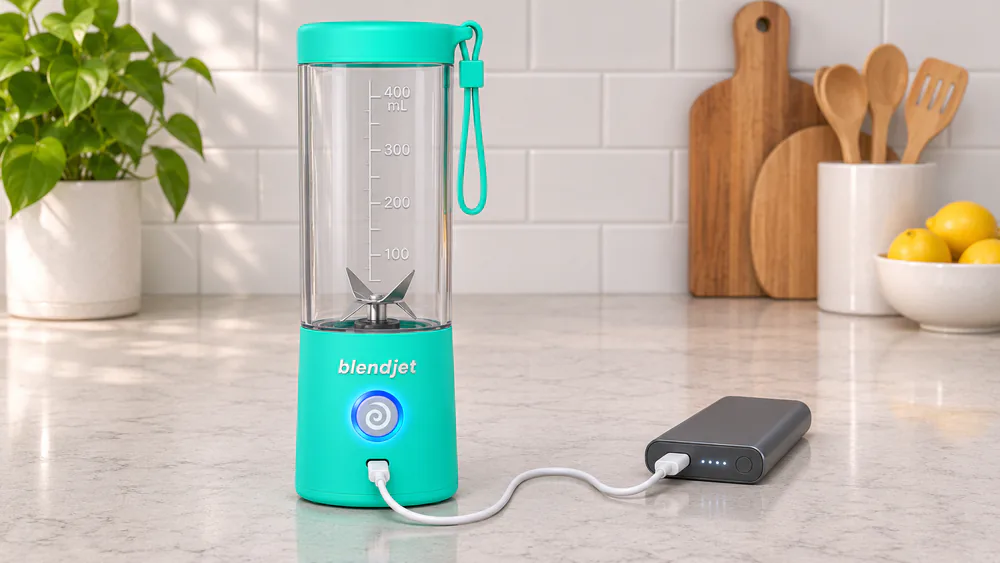
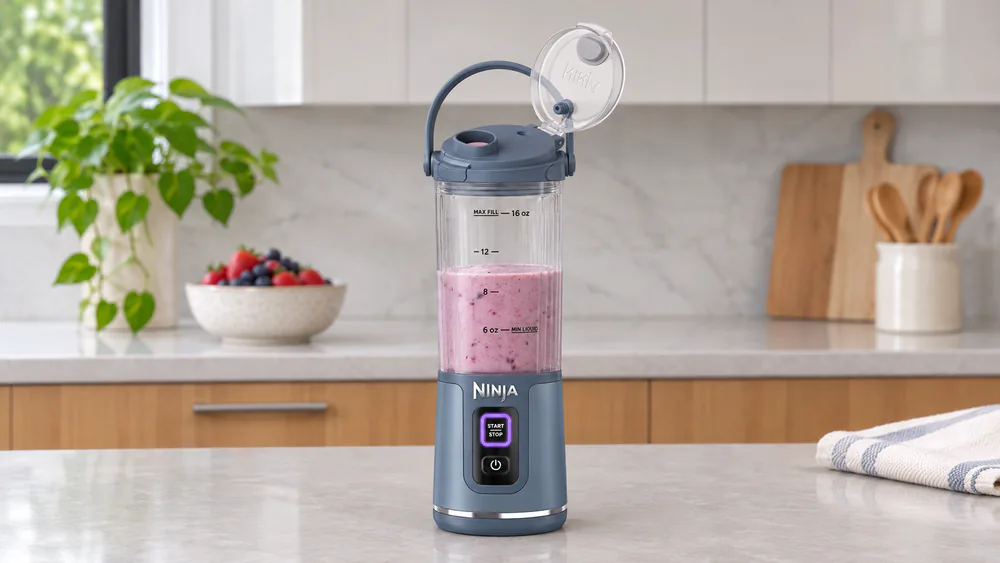
The controls are minimal, which suits a travel blender. The one button does everything, and the colors and blink patterns take practice to interpret. That is manageable once you know the code, and the code is simple enough to memorize in a day.
Blend, pulse and lock modes
A single press blends and runs the 20 second cycle. A double press enables pulsing. Holding the button locks or unlocks it, and the travel lock is what keeps the blender from starting in a bag. Accidental lock activation can resemble a dead machine, so if the button seems unresponsive, check the lock before assuming a fault.
Setup, indicator lights and troubleshooting
The indicator lights carry a lot of meaning:
- Flashing red means jar alignment. A jar can loosen during blending and trigger this warning, so reseat and tighten it.
- Solid red means blocked blades. Stop, shake the jar, add liquid and try again.
- Red-purple means a depleted battery.
For ingredients, add liquid before solids and leave headroom. Avoid hot or carbonated contents and MCT oil, and keep your hands away from exposed blades.
Cleaning the jar, blades and seals
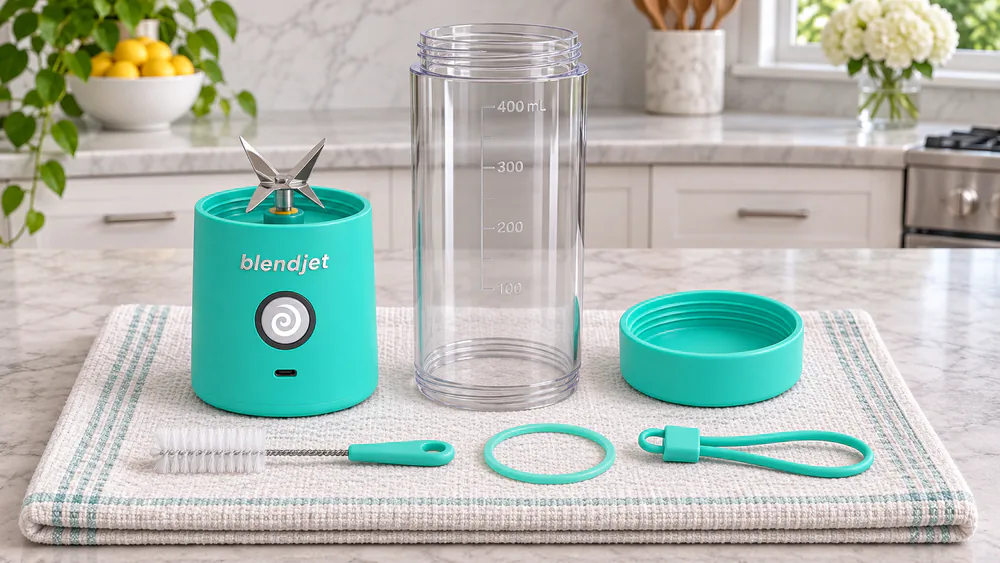
Routine cleanup is easy. Fresh smoothie residue rinses out readily, and prompt soap-and-water blending makes routine shake cleanup simple: add warm water and dish soap, run a cycle and rinse. Dried residue is a different story, and it makes disassembly more useful.
Peanut butter and powder deposits need more cleaning than a quick soap cycle. Oily mixtures can leave garlic odor and film around the blades, which calls for brush cleaning. The jar unscrews for deep cleaning, so you can reach the blade area, and it is worth removing and washing the lid and base gaskets. When you reinstall the grooved base gasket, it goes groove-down, and the parts should air-dry.
Care is strictly by hand. Wash the jar and lid by hand, never immerse the base and never charge it wet. The charging port is uncovered, so it needs attention during washing and drying, and you will want to keep water away from it.