
Kitchen Appliances
How to Clean an Our Place Wonder Oven (Step-by-Step Guide)
As an Amazon Associate we earn from qualifying purchases. We may earn a commission from links on this page, at no extra cost to you. Learn more.

The Our Place Wonder Oven is a compact countertop oven that air fries, bakes, toasts, roasts, reheats, and broils in a 12 L interior, with steam infusion available on any mode. Learning how to clean it well is what keeps this appliance in top shape. A clean oven cooks better, lasts longer, and stays free of the smoke that a greasy interior produces. The interior is small, so staying on top of the clean is far easier than with a full-size oven. This guide walks you through everything, from the daily wipe-down to a full deep clean, for the interior, door, trays, and every removable part. One rule runs through the whole guide: the Wonder Oven is never dishwasher-safe, and every part is hand-wash only.
What You'll Need to Clean Your Wonder Oven
This oven does not need a cabinet full of products. Most cleaning takes nothing beyond the soap you already use for dishes.
Supplies for Regular Cleaning
- Mild dish soap
- Soft cloth or non-abrasive sponge
- Warm water
- Lint-free towel for drying
Keep them near the oven, and the after-dinner wipe-down becomes a quick habit.
Supplies for Deep Cleaning
- Baking soda
- White vinegar
- Nylon scouring pad or nylon brush
- Small bowl for the paste
Oven sprays, bleach, and steel wool are not on the list, and that is deliberate.
How to Clean Your Wonder Oven: Step by Step
The process below follows the official Our Place Wonder Oven care guide, with details we add from hands-on use.
Step 1: Unplug the Oven and Let It Cool Completely
Unplug the oven first, then let it cool completely. The interior, door, and trays stay hot long after the last cook, since it reaches 450F. Never clean while the oven is warm. A cool oven cleans better and keeps you safe.
Step 2: Remove the Crumb Tray and Removable Accessories
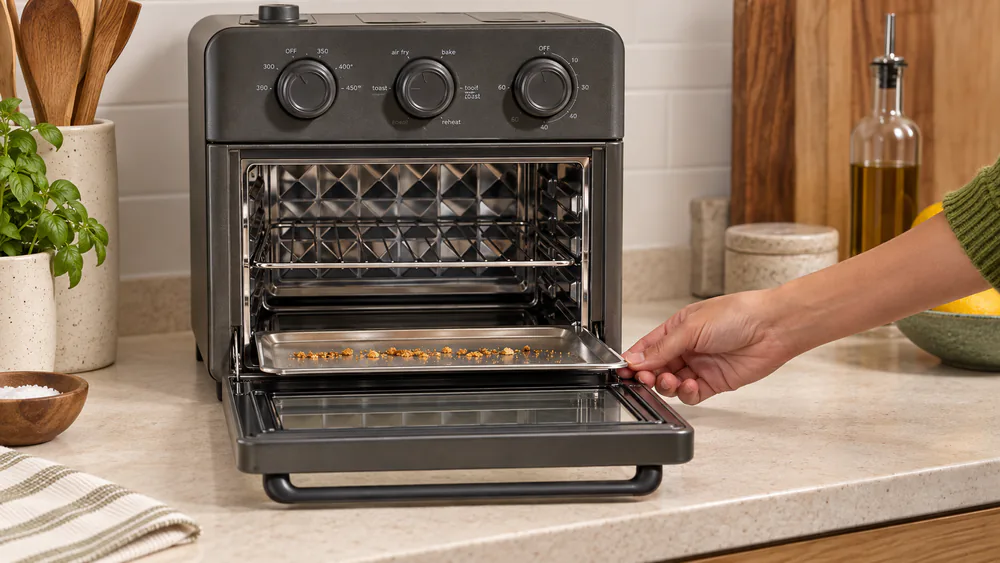
Open the door and take out the wire rack, bake pan, and air fryer basket. Slide out the stainless crumb tray from beneath the bottom heating element and empty it. The tray must sit in place under that element while the oven runs, so put it back before every cook.
Tip. Empty the crumb tray before crumbs pile up. Crumbs that fall past it land on the heating elements and burn, which is what makes a neglected oven smoke later.
Step 3: Hand-Wash the Wire Rack, Bake Pan, and Air Fryer Basket
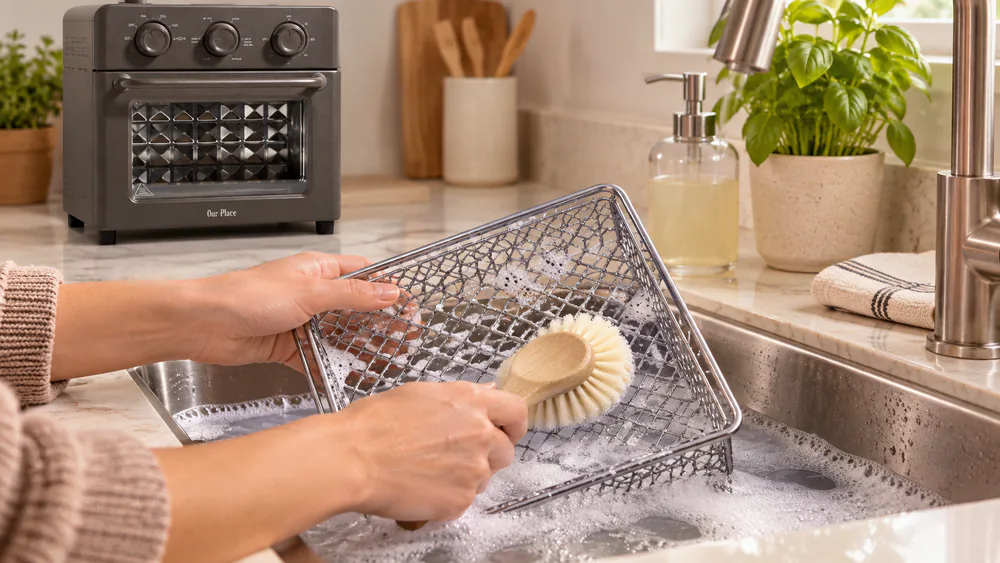
Wash the parts in hot, soapy water. A nylon scouring pad or nylon brush handles stuck-on bits without scratching. The ceramic bake pan is the easy one: food lifts off with warm water and a light wipe, no scrubbing required. Stubborn residue needs a soak; the deep clean section below covers it. Never run any part through the dishwasher.
Tip. Line the ceramic bake pan with parchment for sticky bakes. It protects the nonstick coating and turns cleanup into a lift-and-dump.
Step 4: Wipe Down the Interior Walls, Ceiling, and Base
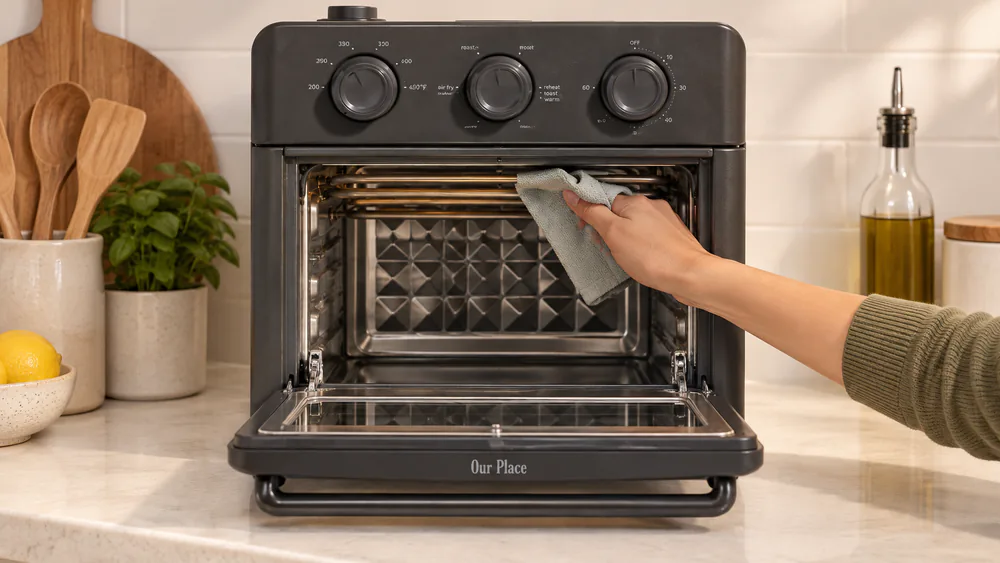
With the parts out, wipe the interior walls, ceiling, and base with a damp, soapy cloth or non-abrasive sponge. Give the top interior extra attention after greasy cooks, like air-fried wings; that is where buildup first turns to smoke.
Tip. Wring your cloth out well before it goes inside. You want damp, never dripping; standing water near the heating element means a long dry-out.
Step 5: Clean the Door, Seal, and Exterior
Wipe the glass door with a damp cloth and dry it with the lint-free towel so it does not streak. Work gently around the seal and check the crevice for crumbs. For the exterior, wipe with a damp cloth and dry thoroughly. Put cleaner on the cloth, never straight onto the oven, and avoid pressing hard on the dials.
The front handle can stop the door short of fully open when the counter crowds it. For full clearance to the inner glass, set the oven on a cutting board, then move it back.
Step 6: Dry Everything Thoroughly and Reassemble
Dry every part completely with the lint-free towel and give the interior a final pass with a dry cloth. Let the parts air out for a few minutes, then reassemble. Put the crumb tray back under the bottom element, and check nothing is left inside before you plug the oven back in.
How to Deep Clean Your Wonder Oven
Daily care handles most of it. Every couple of months the oven earns a deeper pass, especially after greasy cooking.
Removing Baked-On Grease and Tough Stains (baking soda + vinegar paste, 15-20 min)
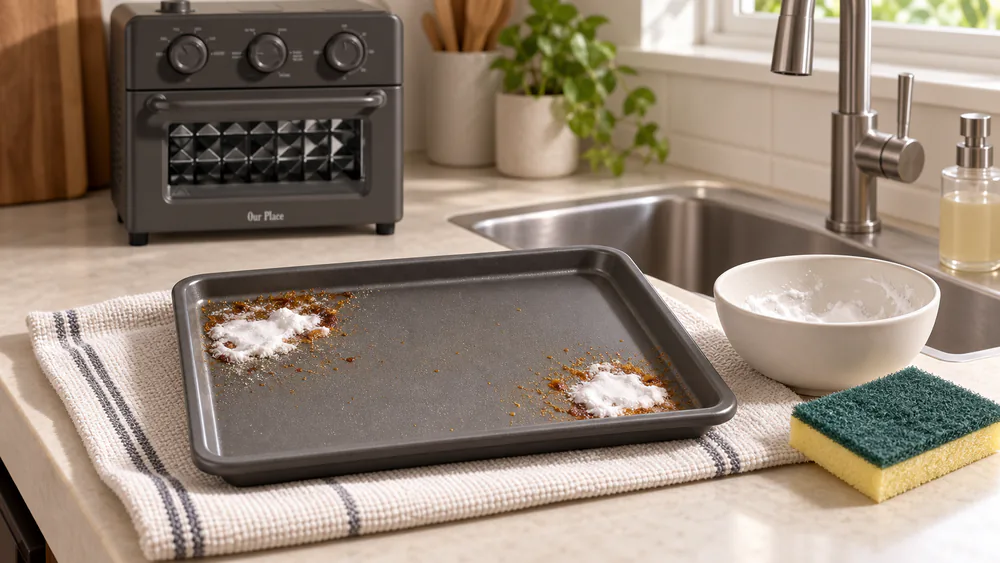
For baked-on grease, make a paste of baking soda and a splash of vinegar. Spread it over the stain and let it sit for 15 to 20 minutes, then wipe it away and wash the part in hot, soapy water. Stubborn residue that ignores the paste soaks off for about an hour.
Cleaning the Heating Elements Without Damaging Them (damp cloth only, never scrub)
The heating elements take a damp cloth only, never scrubbed. Wipe each element gently once the oven is cool, then leave the rods alone. No sprays, no steel wool, no scraping.
Keeping the Crumb Tray and Steam Inlet Clean
The crumb tray earns a soak in hot, soapy water when grease bakes on. Wipe the steam inlet with a damp cloth. Steam runs on 1 to 2 teaspoons (10 mL) of plain tap water, added only after the oven preheats, and refilled for each use. If water stays pooled in the inlet after a cook, it may be clogged or bent; contact support instead of poking at it. The inlet cap sits raised, so treat the top as a no-storage zone.
How Often Should You Clean Your Wonder Oven?
The oven runs on three rhythms.
Before First Use: The 400°F Burn-In Cycle
Before the first cook, run a trial burn-in: Bake mode at 400F (200C) for 10 minutes with no food inside, in a well-ventilated space. A small amount of smoke and odor is normal. If it lingers after the empty cycle, run the burn-in again. The oven preheats in under 2.5 minutes, so this is a quick chore.
After Everyday Use: Quick Wipe-Downs
Wipe the oven down after every use, once it has cooled. Every two or three heavy cooks, run the full six-step clean: pull the parts, wash them, and wipe the interior. This oven tends to replace a toaster, an air fryer, and a full-size oven for most meals, so it sees daily work.
When to Deep Clean
Plan a deep clean every couple of months, or sooner if you mostly cook greasy food. White smoke during a cook means the interior is greasy, so clean it before the next use.
Wonder Oven Cleaning Mistakes to Avoid
Most cleaning damage comes from products, not effort.
Never Use These Cleaners (no oven sprays, steel wool, bleach, abrasives, dishwasher)
Oven sprays, steel wool, bleach, and harsh abrasives are all off-limits. So is the dishwasher: every part is hand-wash only, no exceptions. Mild dish soap, a soft cloth or non-abrasive sponge, and a nylon pad cover everything this oven needs. Put cleaner on the cloth first, never directly onto the oven.
Warning. Never submerge the main unit or let water run into its vents. The base holds the heating elements and electronics, so it only ever gets a damp, wrung-out cloth.
Other Don'ts (never clean while warm, never submerge, never self-clean cycle)
Never clean while the oven is warm; always unplug and let it cool. Never submerge the base. Never use a full-size oven's self-clean function on any part, since the Wonder Oven has no self-clean cycle. While it runs, keep at least 1 inch of clearance on all sides and never operate it inside a cabinet or enclosed space.
Warning. Never run the oven without the crumb tray in place beneath the bottom heating element. The elements take a damp cloth and nothing else.
Wonder Oven vs. Wonder Oven Pro: Cleaning Differences
The Wonder Oven Pro is the larger sibling: a 30 L (32 qt) interior with three rack levels, digital controls with a time and temperature display, and eight modes that add proof and dehydrate. The cleaning rules are the same. The Pro's own Wonder Oven Pro cleaning instructions follow the same routine.
Wonder Oven Pro Cleaning Notes (30 L model, digital controls, same hand-wash rules)
One difference matters at cleanup: the Pro's heating elements are quartz, and the care guide says to wipe them with a damp cloth only, never scrub, and never touch the protective cage. On dishwashing, official guidance splits: the care guide says every part is hand-wash only, while the getting-started page allows the basket and wire racks in the dishwasher with hand washing recommended. We would hand-wash everything on either model. The burn-in is identical, 400F for 10 minutes with no food, and so is the cadence: wipe after use, empty the crumb tray, deep clean every couple of months. Many homes run the Pro several times a day, which makes the wipe-down rule matter more, not less.
Frequently Asked Questions
Can you put Wonder Oven parts in the dishwasher?
No. Every Wonder Oven part is hand-wash only. The bake pan, wire rack, air fryer basket, and crumb tray all wash in warm, soapy water.
How do I get baked-on grease off my Wonder Oven?
It depends on where the grease is. Baked-on residue on the bake pan, basket, and crumb tray soaks off in hot, soapy water, while grease on the interior walls is where the baking soda and vinegar paste comes in. The deep clean section above covers both.
Why does my Wonder Oven smoke when preheating?
On the first use, a little smoke and odor is normal; run the 400F burn-in for 10 minutes with no food first. If smoke shows up later, the interior is likely greasy or crumbs have fallen past the tray, so clean both before the next cook.
How do I get lingering smells out of my Wonder Oven?
Run a bowl of water with a few tablespoons of white vinegar or lemon juice in the oven on a low setting for 15 to 20 minutes. The steam clears lingering odors between deep cleans.
How do I clean the Wonder Oven door seal?
Wipe the seal with a damp, wrung-out cloth and check the crevice for crumbs every few cooks. Condensation from high-moisture food can drip under the door; that is normal, and a quick dry keeps the seal clean.
What if water gets into the heating element?
Unplug the oven and let it dry completely for at least 48 hours in a warm, dry place before using it again. Do not run the oven to speed the drying; the element needs time, not heat.
Read next
Ready to upgrade your kitchen?
Hand-wash the parts, wipe after every use, and deep clean every couple of months, and your Wonder Oven will keep cooking like new.