
Kitchen Appliances
How to Froth Milk Without a Frother for Creamy Foam

As an Amazon Associate we earn from qualifying purchases. We may earn a commission from links on this page, at no extra cost to you. Learn more.
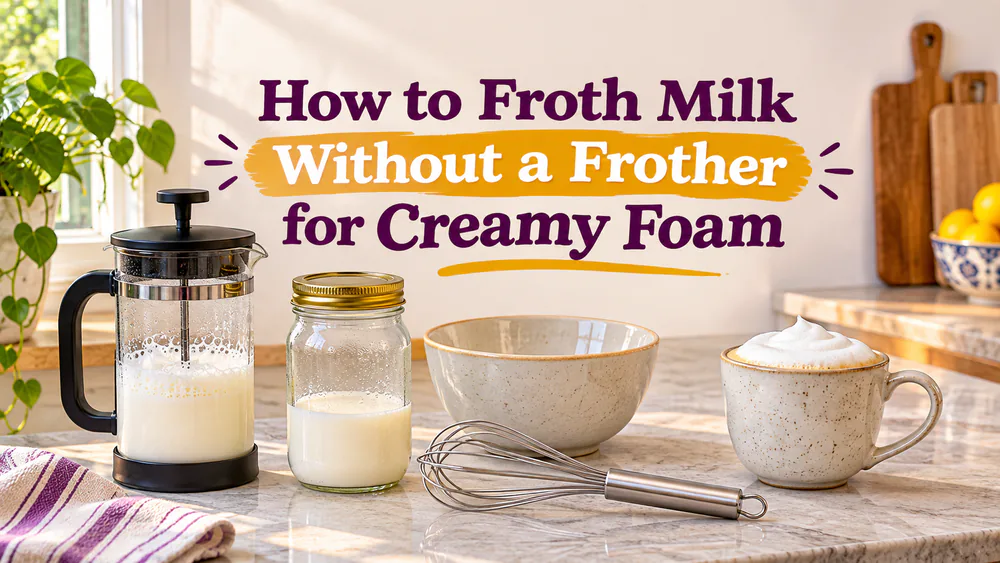
You can froth milk with a lidded jar, a French press, a hand whisk, an immersion blender, or a countertop blender. Each one works by pushing air into the milk, and each gives a slightly different foam. The French press gives the creamiest result, the jar gives a coarse airy cap, and the blenders give the most foam for the least effort. Pick the tool already in your cupboard and you can have a latte in minutes.
Choose a Frothing Method for the Tools You Have
Start with what you own. You may already own several of these tools; the table below compares their results and the precautions each method needs. For more gear that does the job automatically, see our milk frother reviews.
| Method | Tool you need | Texture you get | Quantity cue | Main thing to watch |
|---|---|---|---|---|
| Lidded jar | Jar with a tight lid | Coarse, airy cap | No more than 1/2 full | Shake cold, remove the lid before heating |
| French press | Press and warm milk | Creamy foam, sometimes a thick cap | Filter reaches the milk, room to double | Steady the lid |
| Hand whisk | Whisk and a roomy bowl | Froth with less bubble control | Whisk engages the milk | Sustained arm effort |
| Immersion blender | Stick blender and a tall vessel | Foamy milk, texture varies | Head covered, space above | Keep the head submerged |
| Countertop blender | Blender with a lid | Fairly uniform bubbles | Blades engage the milk | Check the hot-liquid limit |
How to Froth Milk Without a Frother: Step-by-Step Methods
Every method below follows the same idea. Heat the milk first if you want a warm drink, then add air with motion, and stop when the foam looks right to you. Heating prepares the milk, and the agitation is what makes the foam.
Method 1: Shake Milk in a Lidded Jar
This is the easiest method, and it works in a pinch with any sound jar and a securely fitting lid.
- Pour cold milk into the jar, filling it no more than 1/2 full so the foam has room to grow.
- Seal the lid tightly.
- Shake hard until the milk looks foamy and has visibly expanded. That usually takes roughly 20 to 60 seconds, depending on the milk and how hard you shake, so go by the foam rather than a countdown.
- For a warm drink, take the lid off and microwave the jar in short bursts. Handle it with care, because the glass gets hot.
The jar gives us a coarse, bubbly cap, with less control over bubble size than a steam wand provides. That is fine for a cappuccino-style drink and a good fit for iced coffee.
Warning. Never shake a sealed jar of hot milk. Shake it cold, then remove the lid before you heat it.
Method 2: Pump Milk in a French Press
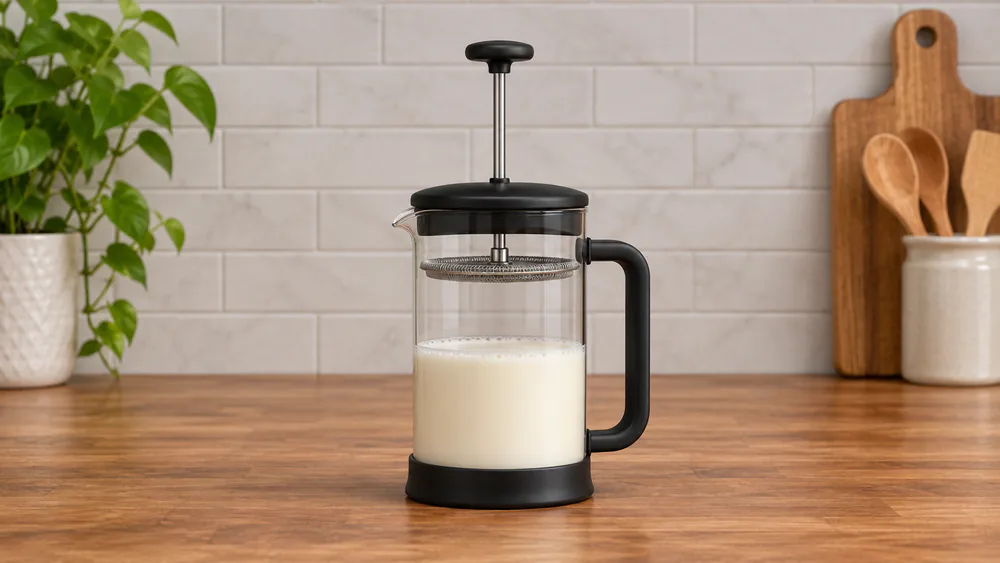
If a French press is already in your kitchen, start here. Its pumping action creates creamy foam without any electric tool, which is why it is the method we reach for first.
- Warm the milk separately on the stove or in a microwave-safe vessel. Stir during stovetop heating and do not let it boil.
- Pour the warm milk into the press, filling it no more than halfway so the milk can double.
- Hold the lid down with one hand and pump the plunger up and down. The filter has to reach into the milk at the bottom of each stroke.
- Check the texture after about 10 to 20 seconds, then keep going only if you need more. Plunger design and milk type change how fast the foam builds.
- Remove the plunger before you pour.
Steady the lid as you pump. Pumping can nudge the lid upward and splash milk across the counter, and we learned to keep a firm hand on it. Warm dairy milk from the press can pour with fine foam but leave a thicker cap behind at the end, so spoon that cap on top of the drink.
Method 3: Whisk Milk by Hand
A whisk and a roomy bowl are all you need, and this is the classic arm workout.
- Warm the milk, then pour it into a bowl wide enough for the whisk to move.
- Use enough milk that the whisk actually engages it.
- Whisk vigorously from side to side until a foamy layer forms. About one minute is a fair starting guide, though whisk shape, batch size, and arm speed all change the time.
- Stop when you see a foam layer on top.
Hand whisking takes sustained effort and produces less uniform bubbles than you see on a smooth cafe latte. It still works well enough for a quick morning cup.
Method 4: Use an Immersion Blender
An immersion blender makes useful foam fast, but it needs the right vessel.
- Choose a tall, narrow container, and add enough milk to cover the blender head with generous empty space above it.
- Start on low speed.
- Keep the head submerged while it runs, and blend until foam develops. Published instructions range from about 30 seconds to two minutes, so stop at the foam you want instead of forcing a fixed time.
- Tap the vessel on the counter and swirl before pouring.
Lifting the running head out of the milk turns this into a messy, splashing method. Keep the blades under the surface the whole time.
Method 5: Use a Countertop Blender
A countertop blender is a good choice when you want even bubbles.
- Add milk in a batch big enough that the blades reach it, and stay within the appliance's liquid limit so the foam has room to expand.
- Pulse until the milk looks foamy.
- Pour right away.
Countertop blending can produce more uniform bubbles than hand whisking. Check your manual before using warm milk, since some models forbid it.
Warning. Do not blend hot milk in a sealed personal-blender cup. Hot liquids build pressure. Unless your blender is explicitly approved for warm liquids, blend cold milk and heat it afterward.
Choose Your Milk and Prepare It for Frothing
Your choice of milk affects the foam as much as your choice of tool, so choose it before you start.
Dairy Milk and Plant-Based Alternatives
Whole milk gives a rich, creamy mouthfeel and froths well. Reduced-fat dairy also works. Plant-based drinks vary by formulation, so treat each one individually.
Barista-style oat milk is made for foaming and can foam well, though some oat foams fade faster than dairy foam. Unsweetened almond milk can produce some froth, but it tends to fall short of the volume and thickness you get from dairy. Some almond milks form large bubbles and separate quickly, even after a long stretch of pumping in a French press. A barista label is a good starting point, but it does not guarantee the same result across oat, almond, and soy drinks.
Note. If a plant milk will not foam, try a barista version of the same drink before giving up on the method.
Milk Temperature, Container Size, and Safe Handling
For warm French-press foam, about 140 F (60 C) is a practical starting target. That figure depends on the method and how hot you like your drink, so treat it as a starting point and never boil the milk. Other methods are often run a bit warmer, so adjust to taste.
Container size matters as much as temperature. Leave room for the milk to expand, and use a vessel where the filter, whisk, or blades actually reach the milk. For a single coffee, 1/2 cup of milk is a good starting serving, though your container may need a larger batch so the tool engages.
Warm the milk separately, on the stove or in a microwave-safe vessel, and stir while it heats. Handle hot containers carefully.
How to Make Cold Foam Without a Frother
Cold foam is the easiest version, because you skip the heating step entirely. Pour cold milk into your jar or French press, and shake or pump until the texture suits the drink. Cold dairy milk can froth in the press, but it will not expand as much as the same milk warmed first.
Spoon the foam over iced coffee and enjoy it right away. This is also where the jar shines, since a cold shake gives you the airy cap iced drinks want.
Why Your Milk Is Not Frothing Well
Most problems come down to the vessel, the milk, or how the tool sits in it.
Little or No Foam
First check that the press filter or blender head actually reaches the milk. If the batch is too small, the tool just stirs it. Add more milk or pick a smaller container.
Next, look at the milk itself. Some plant drinks do not foam well, and dairy froths more easily. Finally, give the method a little more time and check the foam as you go.
Large Bubbles or Foam That Collapses
Large bubbles are common, especially from a jar or a whisk. Tap the container on the counter, then swirl the milk to smooth the texture. If foam fades quickly, try a different milk, since some plant foams do not hold.
If the cap is too thick, hold it back with a spoon while you pour the milk into your cup, then spoon the foam on top.
Which Method Should You Try First?
Start with the French press if you own one. It gives the creamiest foam without any electric tool. If you do not, the jar is the next easiest, and it costs nothing.
Reach for a countertop blender when you want even bubbles and the appliance allows it, and use an immersion blender when you have a tall vessel and a steady hand. Keep the whisk for days when you do not mind an arm workout.
Frequently Asked Questions
Can You Froth Milk with a Fork?
A fork can add a little air, but expect limited foam. It is not a reliable method for creamy foam, so use a whisk, jar, or press when you can.
Does Microwaving Milk Make It Frothy?
No. Microwaving only warms the milk. The foam comes from agitation, so heat the milk first, then shake, pump, or whisk it. Remove the lid if you heat milk in a jar.
Can You Make Latte Art Without a Steam Wand?
Do not count on it. These methods make spoonable foam, but coarse foam is not the same as the smooth microfoam that pours into latte art.
Read next
Which Method Should You Try First?
Explore more kitchen guides for your next homemade coffee.