
Kitchen Appliances
How to Use a Milk Frother: A Step-by-Step Guide

As an Amazon Associate we earn from qualifying purchases. We may earn a commission from links on this page, at no extra cost to you. Learn more.
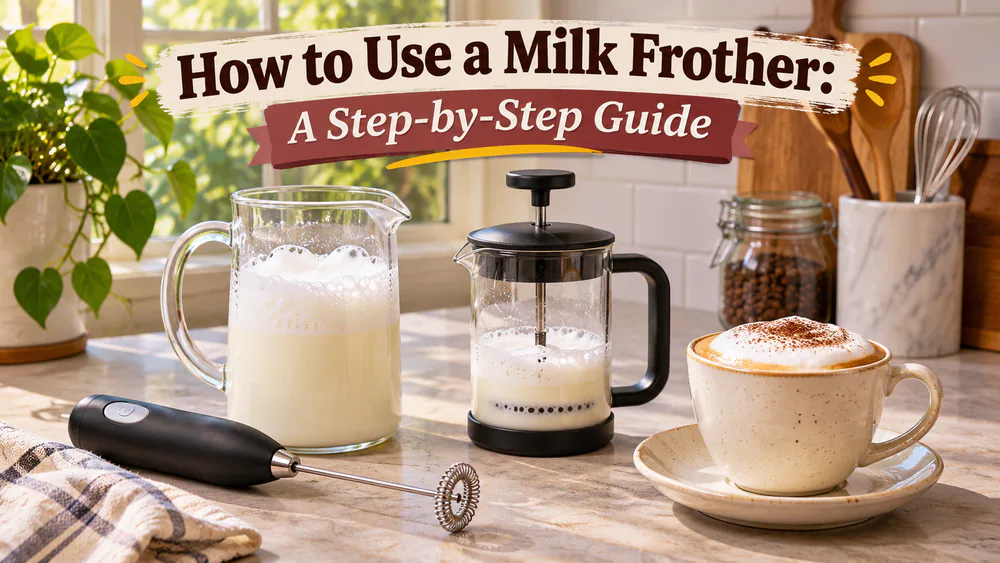
A milk frother whips air into milk so it turns into light, creamy foam for lattes, cappuccinos and iced coffee. The method depends on the device in your hand. A handheld whisk, a manual plunger and a steam wand all need a little technique, while an automatic jug does most of the work for you. Find your device below, warm the milk if the drink is hot, leave room for the foam to grow, and stop when the texture looks right. If you are still deciding what to buy, our milk frother reviews cover the options.
Before You Start: Choose Your Milk and Identify Your Frother
Before you start, identify your frother and choose your milk.
Handheld, Automatic, Manual or Steam Wand?
The biggest difference between these devices is heat. A spinning handheld whisk and a manual plunger add air but no warmth, so a hot drink needs milk you have warmed separately. An automatic jug can often heat and whisk in one go, and an espresso steam wand always heats and textures together. A spinning handheld wand is not the same thing as the steam wand on an espresso machine, even though both get called frothers.
| Device | Heats the milk? | Milk to start with | Main action |
|---|---|---|---|
| Handheld whisk | No | Warm milk for hot drinks, chilled for cold foam | Submerge, spin, adjust depth |
| Manual plunger | No | Warm milk for hot drinks | Secure the lid and pump |
| Automatic jug | Usually, so check the mode | Cold milk | Fit the whisk, fill, pick a cycle |
| Espresso steam wand | Yes | Cold milk | Purge, aerate, circulate |
Milk Type, Temperature and Room for Foam
Whole milk gives creamy body, and reduced-fat milk works too. Skim milk makes lighter, airier foam. If you drink plant milk, look for a barista-style carton as a starting point, because oat, almond and soy formulations all behave differently. Older milk can be disappointing to froth, so a fresh carton is the first thing we swap in when foam looks poor.
For hot drinks, warm the milk to about 140 to 150 F (60 to 65 C) and never let it boil. Aerolatte's own instruction temperature for warmed milk is 60 C (140 F). If your device or milk carton gives a different temperature, follow that instead. A thermometer takes the guesswork out the first few times.
Before you froth anything, run through this checklist:
- Use a tall, narrow vessel so the milk has somewhere to climb.
- Fill it no more than halfway, and closer to one third full if your frother makes a lot of foam.
- Start with fresh milk, chilled for cold foam and warmed for a hot handheld or plunger drink.
- Keep a spoon and a damp cloth nearby for the inevitable drips.
How to Use a Handheld Milk Frother
A handheld frother is the easiest way into frothing, and it handles a single drink well. It works with a smaller batch than a French press, which suits one mug at a time.
- Warm the milk to about 60 C (140 F) for a hot drink, or use chilled milk for cold foam.
- Pour it into your tall vessel, leaving generous space above the milk.
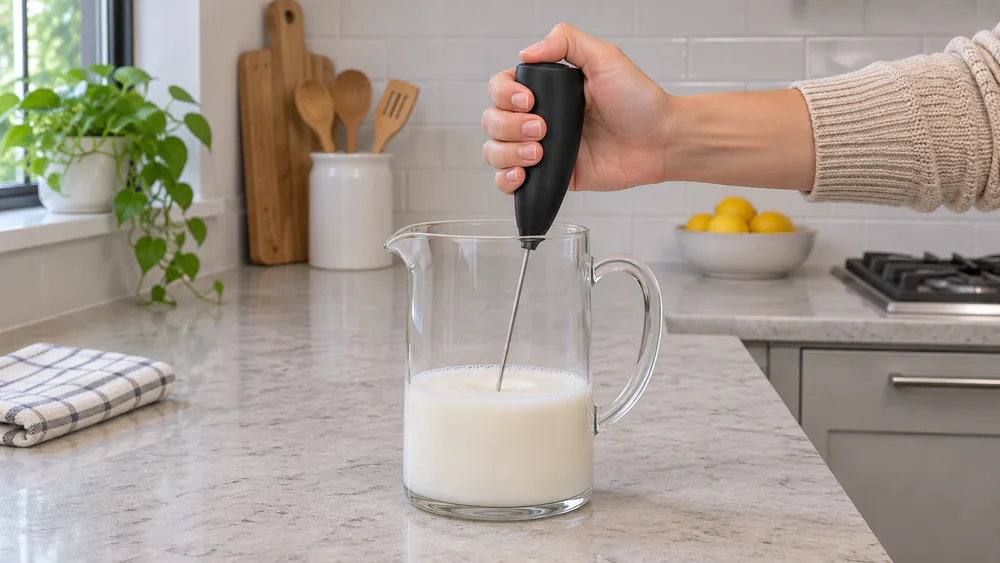
- Submerge the whisk before you switch it on, so it does not spray.
- Start with the whisk near the base, then lift it slowly toward the surface as the foam builds.
- Move the whisk gently through the milk until a steady whirlpool forms.
- Switch the whisk off before you lift it out.
Depth is what makes or breaks the result. A whisk held too close to the surface throws splashes and makes large bubbles, while a whisk buried deep barely moves the milk. The steady whirlpool is the visual cue we watch for. Allow roughly 15 to 30 seconds as a starting guide, then judge by the texture; milk volume, whisk power and milk formulation all affect the time.
Tip. Tap the pitcher gently on the counter to pop the larger bubbles, then swirl the milk until the foam looks glossy. If you keep whisking past that point, the foam usually gets coarser, not better.
How to Use a Manual Milk Frother
A manual frother is a plunger with a fine mesh inside a lidded jug. It heats nothing, so warm the milk separately for a hot drink. A glass jug helps because you can watch the foam develop and stop before it becomes excessive.
- Warm the milk, then pour it in with plenty of room for expansion. Follow the fill mark if the jug has one.
- Secure the lid and steady the jug with your free hand.
- Pump the plunger with short up-and-down strokes.
- Stop when the milk is foamy, rather than pumping on and on.
- Let it settle for a few seconds, then pour.
Timing varies. About 30 seconds is common, though some instructions specify up to 60 seconds; judge the result by the milk's expansion and texture. Cold milk can work in a plunger frother, but results depend on the technique and the milk, so do not count on it matching your hot foam.
No frother? Use a French press. A clean French press does the same basic job. Warm the milk, fill the press no more than halfway, and pump the plunger until the milk looks foamy. Overworking oat milk this way can make the foam collapse, so stop once it has enough body. A plain hand whisk also works, though it takes more effort and gives less foam with larger bubbles.
How to Use an Automatic Milk Frother
An automatic jug combines whisking and heating, so it is the least fussy option on a busy morning. Depending on the model, you may get hot foam, cold foam and heated milk modes. Pick the mode your model actually has.
- Seat the whisk on the drive pin at the bottom of the jug.
- Add refrigerated milk, staying within the fill limit.
- Fit the lid and choose your cycle.
- Wait for the cycle to end, then pour right away.
The fill line matters more than people expect. The Aeroccino 4, for example, has a 120 ml limit for foam and a separate 240 ml limit for heating, so filling to the higher line when you want foam gives you less of it. Check the marks in your own jug before you pour.
Keep syrup, sugar and powders out of the jug, since some makers forbid them and they can spoil the foam. Add flavoring to your drink instead, and keep the electrical connector dry.
Automatic jugs differ in how thick the foam comes out. The Philips Baristina produces thick hot and cold foam with both dairy and oat milk. That suits a cappuccino topping, but it makes latte art difficult. It is also quiet, and its nonstick interior releases leftover milk readily.
How to Use an Espresso Machine Steam Wand
A steam wand heats and textures milk at the same time, so it is the one method where you start with fresh cold milk.
- Purge the wand briefly toward the drip tray to clear condensation.
- Submerge the tip slightly off-center to set up a whirlpool.
- Introduce a little air near the surface, then sink the tip a bit deeper while the milk keeps circulating.
- Stop the steam before you remove the wand from the milk.
- Wipe the wand right away and purge it again.
This is the method baristas train on, and it takes the most practice. A steam wand cannot make cold foam, because it works by adding heat.
How to Make Cold Foam and Finish Your Drink
Foam is best made close to serving. It loses structure as it sits, so froth it separately from the coffee and combine them last.
Cold Foam for Iced Coffee
Use chilled milk with a handheld whisk or an automatic cold-foam program.
- Pour chilled milk into a tall vessel, leaving plenty of headroom.
- Whisk or run the cold program until the foam is thick enough to sit on top of a drink.
- Spoon or pour the foam over iced coffee.
Cold foam can be made with different milk and cream mixtures. The Nanofoamer Go produced thick sweet-cream cold foam more successfully than velvety foam from plain milk, so plain milk and cream-based foams are not interchangeable.
Pouring Foam for Lattes and Cappuccinos
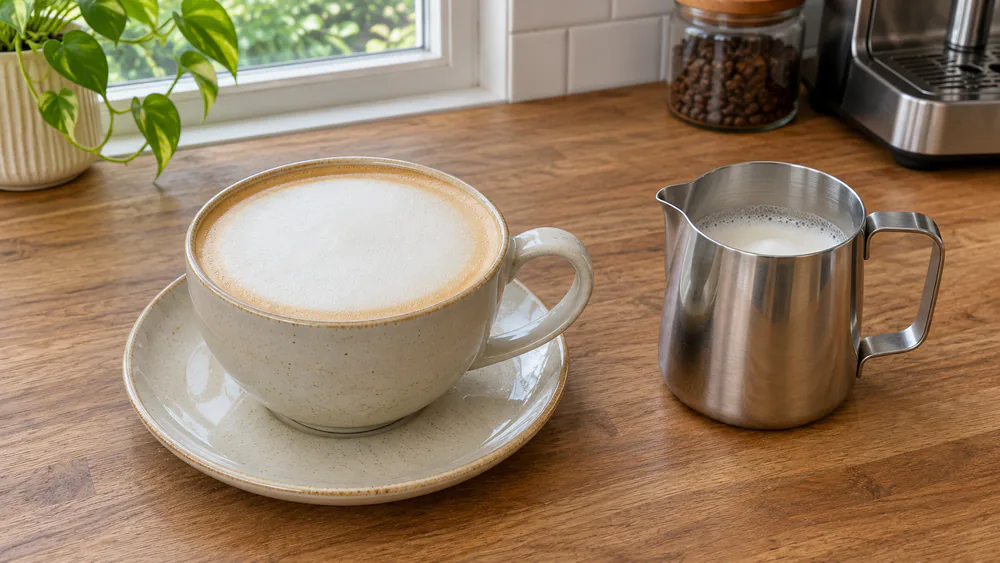
A latte needs fluid, fine-textured milk, while a cappuccino can carry more foam. Tap the pitcher to knock out the bigger bubbles, then swirl until the milk looks glossy and combined. Pour the milk into the coffee, holding back the stiffest foam to spoon on top if you want a cappuccino.
How to Clean Your Milk Frother
Clean the frother right after you use it. Dried milk residue is much harder to remove than fresh residue, so a quick rinse saves you scrubbing later.
Handheld and Manual Frothers
Wash the handheld whisk and shaft in soapy water and rinse them, keeping water out of the motor handle. Do not bend the shaft, and replace weak batteries when the motor slows. For a plunger frother, wash the mesh, plunger and jug promptly, and follow the maker's instructions on taking it apart and on dishwasher use.
Automatic Frothers and Steam Wands
For an automatic jug, lift the jug off its base and wash the removable milk parts with detergent and a nonabrasive tool. Keep the base dry. Dishwasher approval is model-specific, so check your manual before you load it. For a steam wand, wipe it with a damp cloth immediately and purge toward the drip tray. If the tip holes clog, switch the machine off, let it cool, and clear them with the supplied tool.
Warning. Never put the motor handle of a handheld frother or the base of an automatic jug under water. Wash only the parts that touch the milk, and always let a steam wand cool before you clear the tip.
Why Is Your Milk Not Frothing?
Most foam problems come down to three things: the milk, the depth or fill, and how clean the device is.
Little or No Foam
Check the milk first. Older milk is a common culprit, so try a fresh carton. Next, make sure the whisk is seated properly in an automatic jug, and that the whisk and jug are clean. A greasy film or old residue can flatten foam. If the milk is a plant milk, try a barista-style version, since formulations vary.
Large Bubbles or Foam That Collapses
Large bubbles usually mean the whisk sat too close to the surface. Lower it a little, keep the whirlpool steady, then tap and swirl. Some devices leave visible bubbles even after tapping and swirling, and the Nanofoamer Go shows that extra frothing time does not guarantee silky latte-art texture. Foam that collapses is often overworked, like oat milk in a French press, or it has simply sat too long before serving.
Splashes, Overflow or Scorched Milk
Splashing means the whisk broke the surface, so submerge it before switching on and keep it below the top. Overflow means the vessel was too full, so pour some out and use a taller one. Scorched or flat-tasting milk usually means it was heated too far, so stay within 140 to 150 F (60 to 65 C) and never boil it.
Milk Frother FAQs
Do You Froth Milk Before or After Adding Coffee?
Froth the milk first, in its own vessel, so you can control the texture. Then pour it into the coffee, or spoon cold foam over iced coffee.
Does a Milk Frother Heat the Milk?
It depends on the type. Handheld whisks and manual plungers do not heat, so warm the milk separately. Many automatic jugs heat and whisk, and a steam wand heats the milk as it textures it.
Can You Make Latte Art with a Handheld Frother?
It is difficult. Latte art needs fluid, finely textured milk, and a handheld whisk tends to leave bigger bubbles. Keep the whisk at the right depth, tap and swirl well, and expect a foamy cappuccino more than a glossy pour.
Can You Froth Milk Without a Milk Frother?
Yes. Warm the milk and pump it in a clean French press, or whisk it by hand in a tall jug. Both take more effort and give less foam than a powered frother, so see the manual section above.
Read next
Ready to upgrade your kitchen?
Explore our buying guides for more ways to enjoy coffee at home.