
Kitchen Appliances
How to Use a Nespresso Milk Frother: Aeroccino 3, 4 and XL

As an Amazon Associate we earn from qualifying purchases. We may earn a commission from links on this page, at no extra cost to you. Learn more.
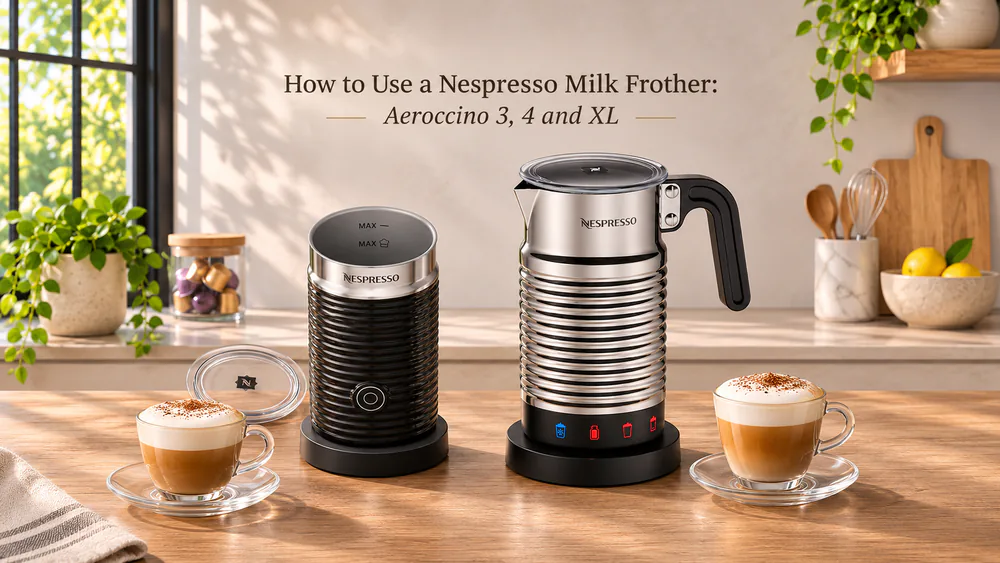
Wondering how to get café-style foam from your Aeroccino? Add cold milk below the right fill line, fit the lid, and press the button. The frother heats and whisks the milk, then stops by itself. In this guide, we walk through the Aeroccino 3, 4 and XL step by step, then cover milk choices, cleaning and fixes for common problems.
We cover standalone Aeroccino jugs here. The Barista Recipe Maker and integrated Lattissima systems have their own instructions. If you are weighing models, our milk frother reviews compare the options, and every Nespresso product we have covered is collected on one page.
How to use the Aeroccino 3
Fit the whisk and choose the right fill line
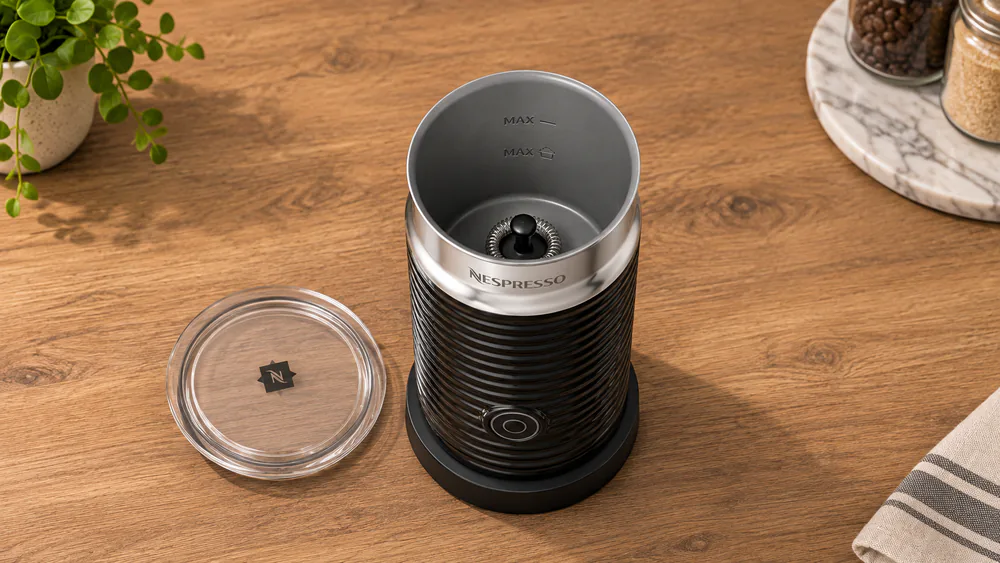
Set the jug on its base and check that the whisk sits firmly on the mount. A whisk that slips off its mount can stall the cycle, so give it a gentle push before you pour. Keep the spring fitted when you want foam. Remove it only for plain hot milk.
Pour in cold milk straight from the fridge, about 4-6 C. For hot or cold foam, stay at or below the lower MAX mark, which is 120 ml. For plain hot milk, you can fill to the upper mark, 240 ml.
Make hot foam, hot milk or cold foam
Close the lid and set the jug on the base. A brief press starts hot mode and lights the button red. For cold foam, press and hold for about 2 seconds until the light turns blue. We use press-and-hold rather than a double tap, so check the color before walking away.
Hot frothing takes about 70-80 seconds and cold frothing about 60 seconds. Plain hot milk takes longer, especially when the jug is full. Wait for the automatic stop. Foam consistency can vary a little between batches. Let the jug cool between rounds, since back-to-back hot batches can trigger overheating.
How to use the Aeroccino 4
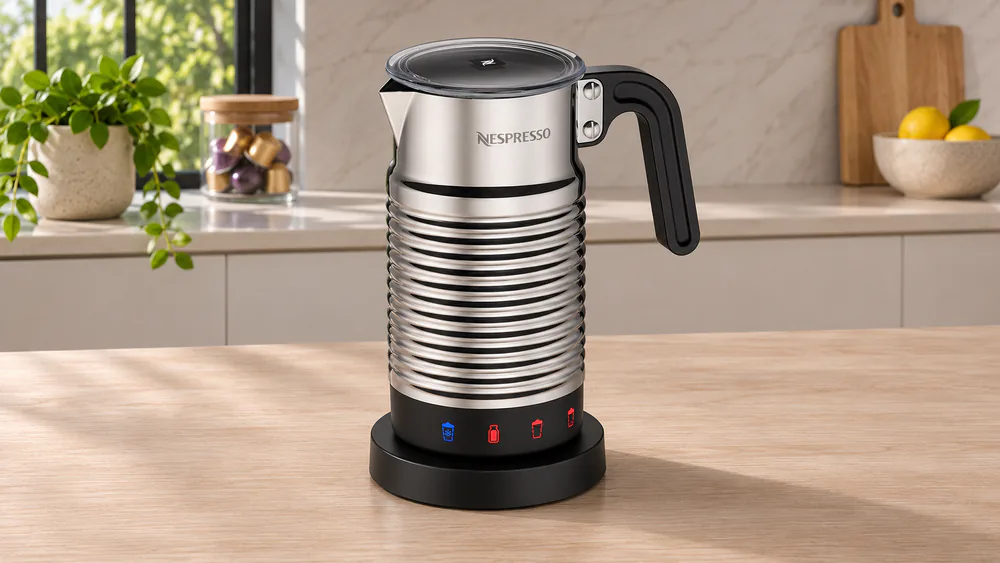
The Aeroccino 4 has four dedicated modes and a handle with a pouring lip. We found the handle makes pouring and washing easier, though the jug takes more counter space than the Aeroccino 3.
Add milk and select a froth setting
Seat a dry jug on the base with the lid on. Unlike the Aeroccino 3, keep the assembled whisk in place for every mode, including hot milk.
Foam is capped at 120 ml and heated milk at 240 ml. The interior marks can be hard to see, so measure your first pour and learn where the level sits. Then press one of four buttons: cold foam, hot milk, airy hot cappuccino foam or dense hot latte macchiato foam. The differences between the foam presets can be subtle in the cup.
Finish the cycle and pour your milk
The button blinks while the jug works and turns steady when it is ready. Hot or cold foam takes approximately 80 seconds, and hot milk about 150 seconds. Pour using the handle and spout, then spoon any remaining foam on top. Hot cycles can leave milk stuck to the bottom, so rinse soon after pouring.
How to use the Aeroccino XL
The Aeroccino XL holds nearly double the milk, which suits several cappuccinos at once. In our kitchen, it runs very quietly and makes thick, creamy foam.
Set up the whisk and fill the jug
Seat the whisk and press the lid on firmly. The XL lid needs a firm push, and the whisk stays put while you pour. Use at least the MIN mark, which is 120 ml. Foam tops out at 225 ml, and heated milk at 400 ml.
Select hot foam, hot milk or cold foam
A brief press gives hot mode with an orange light. Hold the button for at least 2 seconds for cold mode with a blue light. A short white light and a sound tell you the milk is ready.
Maximum cycles run roughly 120 seconds for hot foam, 90 seconds for cold foam and 180 seconds for hot milk. Remove the spring for plain hot milk, as on the Aeroccino 3. The liquid milk pours out before the thick foam; use a nonmetal spoon to portion the foam into the cup.
Tip. Add sugar, syrup or chocolate powder in the cup, never in the jug. Stir foam with a nonmetal spoon.
Which milk works best in a Nespresso frother?
Dairy milk and starting temperature
Fresh semi-skimmed milk is a practical starting point. Whole milk gives a creamier texture, and lower-fat milk still foams. Start with refrigerated milk, since warm milk foams poorly. The heated temperature is not adjustable, and it varies with the volume and starting temperature.
Oat, soy and other plant-based milks
Soy, oat and almond drinks all work. The Aeroccino 3 makes soft foam from plant-based milk. Formulations differ widely, so a barista-style carton is worth trying first. Check your model manual before using flavored or enriched milks or creamers.
How to clean your Nespresso milk frother
A quick rinse right after pouring saves scrubbing later. Milk residue becomes harder to remove once it dries on the chamber floor.
Clean the jug, lid and whisk after use
Lift the jug off the base. Pull out the whisk and lid seal, and on the Aeroccino 4 and XL remove the spring too. Wash the parts with mild detergent, rinse and dry. If a thin milk film remains on the bottom of the Aeroccino 3 after rinsing, gently wipe it away with a soft, nonabrasive cloth. Never put the base in water or the dishwasher, and keep the underside connector dry.
Check the cleaning instructions for your model
The Aeroccino 3 jug is handwash only and must not be immersed. The Aeroccino 4 and XL jugs and removable parts are dishwasher safe up to 70 C. After a dishwasher cycle, dry the connector recesses before reassembling.
Troubleshooting Nespresso milk frother problems
Little or no foam
Clean the jug and whisk, then check that the whisk is seated and the milk is fresh. Let the jug cool between batches.
Flashing light or a cycle that will not start
Check that the jug sits correctly, the lid is on and the connector area is dry. On the XL, a fast red light means you should cool the jug, check the whisk, meet the MIN fill and dry the base area. If the light keeps flashing or heating stops, contact Nespresso support.
Overflowing milk or residue on the jug
Overfilling is the usual cause. Drop below the foam MAX mark and rinse right after use.
Frequently asked questions
Can you use an Aeroccino with any coffee machine?
Yes. An Aeroccino works on its own and does not connect to your coffee maker. Prepare the milk, then pour it into coffee from any machine.
How long does an Aeroccino cycle take?
It depends on the model and mode. The Aeroccino 3 takes about 70-80 seconds for hot foam. The Aeroccino 4 takes approximately 80 seconds for foam and 150 seconds for hot milk. The XL runs up to 180 seconds for hot milk.
Does an Aeroccino steam milk?
No. It heats milk electrically and aerates it with a spinning whisk rather than injecting steam.
Read next
Ready to upgrade your kitchen?
Explore more kitchen guides and get practical tips for your daily coffee routine.