
Kitchen Appliances
Nespresso Milk Frother Troubleshooting: What to Check First

As an Amazon Associate we earn from qualifying purchases. We may earn a commission from links on this page, at no extra cost to you. Learn more.
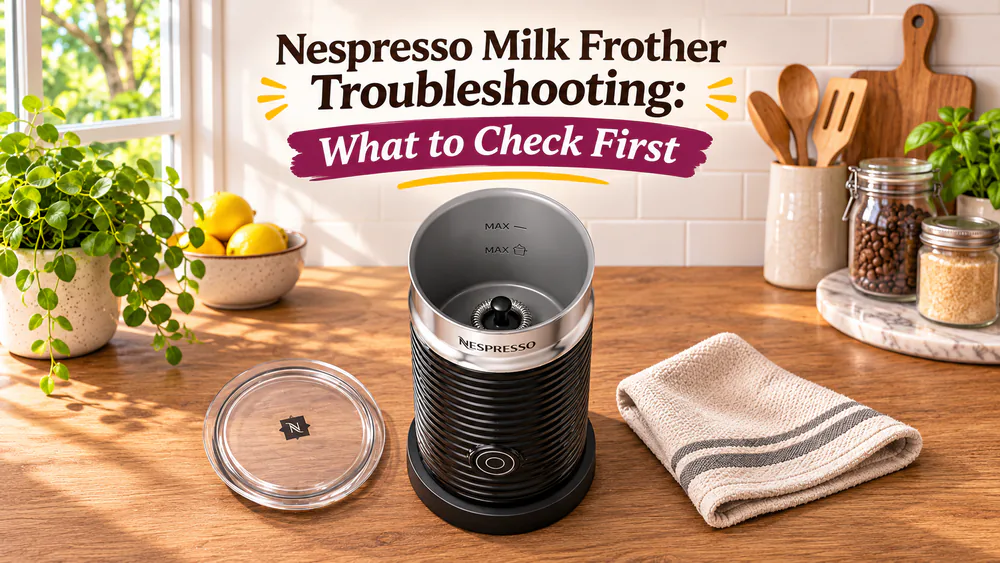
Is your Nespresso frother blinking, silent or making flat milk? Most of the time the cause is small: a whisk that is not seated, a jug that is too full, or a base that is still hot from the last drink. Work out which model you own, find the symptom below, and run the checks in order.
This guide covers common Aeroccino 3 and Aeroccino 4 symptoms, with checks based on Nespresso's instructions for each model. We also note where the Barista, Lattissima and Creatista differ.
These steps cover the Aeroccino line first, because it is the standalone frother most people mean. If you are comparing models rather than fixing one, see our milk frother reviews. Other machines are covered in every Nespresso product we have covered.
Start Here: Identify Your Frother and Find Your Symptom
Check the jug and the base before anything else. The checks differ by model, and a step that is right for one frother can be wrong for another.
Aeroccino 3 or 4
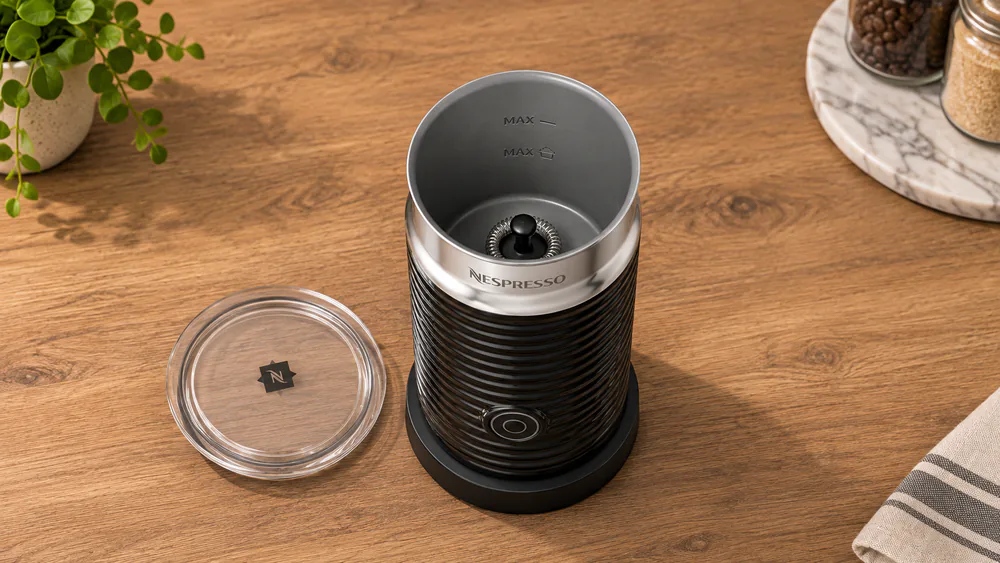
The Aeroccino 3 is a standalone jug on a powered base with a single button. A brief press starts a hot preparation with a red light, and holding the button for about 2 seconds makes cold foam with a blue light. The Aeroccino 4 adds separate buttons for cold foam, airy hot foam, dense hot foam and hot milk. On the original Aeroccino 4 the controls sit on the base, and on the refresh they sit on the jug. Both jugs hold 120 ml for foam and 240 ml for hot milk.
Barista, Lattissima or Creatista
These are different machines with their own menus. The Barista Recipe Maker has a display and a jug with a whisk. Lattissima and Creatista are families, and the right steps depend on the exact version, so use the manual for yours. We cover the main checks for each below, but never apply a control sequence from one model to another.
| Symptom | Jump to |
|---|---|
| Nothing happens when you press the button | The Frother Will Not Turn On |
| Red or flashing lights, or the cycle stops early | The Light Blinks or the Frother Stops Mid-Cycle |
| Hot milk with no foam | The Milk Heats but Does Not Froth |
| Whisk stalled, loose or noisy | The Whisk Does Not Spin or Makes an Unusual Noise |
| Foam but lukewarm milk | The Milk Froths but Does Not Heat |
| Spills, scorching or a stuck film | Milk Overflows, Burns or Sticks to the Jug |
1. The Frother Will Not Turn On
Check Power and Jug Placement
Set the jug on a clean base and press it down until it sits level. Confirm the whisk is attached correctly, since a missing or loose whisk can stop the unit before it starts. Check the outlet with another appliance, and make sure the cord is fully pushed in.
Inspect the Base and Connector
Unplug the base and look at the connector in the middle of it. Milk splashes and condensation can leave it wet or filmy, and the connectors must be dry before you use the frother again. Wipe the base with a damp cloth while it is unplugged, then let it dry fully. Do not run a unit with a damaged cord or plug.
2. The Light Blinks or the Frother Stops Mid-Cycle
A blinking light is the frother telling you something specific. It is rarely a sign the unit has failed.
Check Cooling, Fill Level and Whisk Placement
On the Aeroccino 3, a blinking red button points to one of three things: the jug is too hot, the whisk is missing, or there is not enough milk. Let the jug cool, check the whisk, and fill to the correct mark. The lower mark is for foam, including cold foam, and the upper mark is for warm milk without froth.
Back-to-back drinks are the usual trigger. Repeated hot preparations can force a cooling break before the next cycle, and a jug with residue around the bottom is another reason a cycle stops early.
Follow the Instructions for Your Model's Lights
On the Aeroccino 4, rapid flashing across the buttons is an error. Cool an overheated jug, check the milk quantity and dry the base. If it keeps flashing, contact support. On the Barista, read the message on the display: Replug means unplug and reconnect, Replace Jug means check the jug and whisk position, Add milk means too little liquid, and Cooling down means wait. A Lattissima Pro with irregular blinking or a repair message needs support, while a machine-too-hot message just needs time to cool.
3. The Milk Heats but Does Not Froth
If the milk comes out warm and flat, look at the whisk and the milk before blaming the motor.
Check the Whisk and Remove Milk Residue
On the Aeroccino 3, fit the spring for airy foam and remove it for less froth, so a missing spring gives you flat milk. Check that the whisk is seated before you start. A thin milk film can remain on the bottom of the Aeroccino 3 jug after a hot rinse. In our kitchen, a gentle wipe with a soft cloth clears it.
Check Milk Freshness, Temperature and Type
Milk brand, type, freshness and even the carton affect foam. Open a fresh carton, keep it refrigerated at around 4-6 C, and clean the jug and whisk first. Type matters as well. Ordinary almond milk warms with very little foam on the Aeroccino 4, while barista oat milk gives a much silkier, fuller result. On a Lattissima Pro, use cold skimmed or semi-skimmed milk for weak foam, then run the milk-system rinse with a vessel under the outlet and the regulator set to CLEAN.
4. The Whisk Does Not Spin or Makes an Unusual Noise
An Aeroccino 3 whisk can stall or slip off its magnetic seating during use. The Aeroccino 4 whisk is small and easy to misplace, so check that it did not end up in the dish rack.
Stop the cycle, empty the jug and take the whisk and spring out. Rinse them, dry them and fit them again so the whisk drops fully onto its seat. On the Barista, a blocked-whisk message means you should empty the jug, check how it is assembled and refill. Do not strike the jug, use wire brushes or try to re-magnetize parts.
5. The Milk Froths but Does Not Heat
First, let the automatic cycle finish. Taking the jug off early leaves the milk under-heated. Cool the jug between drinks, because overheating can shorten a cycle.
Finished milk temperature varies with the mode you chose and the conditions in the jug, so treat low heat as a fault only if the cycle completes and the milk is still cold. Cold foam is made on purpose in blue mode, so confirm you did not hold the button for 2 seconds by accident. On a Creatista Plus, check the temperature setting, the jug placement on the sensor and the steam tip for blockages.
If the frother still produces no heat, we cannot identify the failed internal part from that symptom alone. A stalled whisk or cold milk does not prove the heater has failed. Move on to the service section below.
6. Milk Overflows, Burns or Sticks to the Jug
Overflow almost always comes down to volume.
Check the Fill Mark for Your Selected Mode
Use no more than 120 ml for any foam setting and no more than 240 ml for hot milk without froth. The Barista tops out at 250 ml and follows the quantity for the selected recipe. On a Creatista Plus, stay between the jug's minimum and maximum marks and reduce the starting milk or the froth setting if it spills.
Clean Residue Using Your Model's Instructions
Burnt milk comes from residue left on the jug floor. Rinse right after use and avoid abrasive pads. Keep sugar, syrup and other ingredients out of the Aeroccino jug, and add sweeteners to the finished drink instead.
Clean Your Frother and Prevent Repeat Problems
Clean the frother after every use. Most repeat faults come from dried milk on the whisk, the spring or the base connector.
The Aeroccino 3 is hand-wash only. Wash the inner jug, lid, seal, whisk and spring with detergent and warm water. Never immerse the jug or wash its electrical underside, and dry everything before reassembling. The refresh Aeroccino 4 jug, lid, seal, whisk and spring are dishwasher-safe up to 70 C, and the base is excluded. The Barista whisk comes apart in two pieces for cleaning, and its powered base stays dry and gets wiped while unplugged. A Lattissima milk system needs disassembly on the schedule in your exact manual, because a rinse does not replace it.
Tip. Give the jug a short cool-down and a quick rinse between drinks. It is the cheapest way to avoid blinking lights and thin foam.
Restart or Reset: Follow Your Model's Instructions
Aeroccino Restart Checks
The checked Aeroccino instructions describe cooling, cleaning, filling and reseating. They do not document a factory-reset button sequence, so we will not invent one. A restart on an Aeroccino means letting it cool, cleaning the jug and whisk, filling to the right mark and placing the jug firmly on a dry base.
Barista and Integrated Milk-System Instructions
The Barista does have a documented reset. Hold both arrow buttons for 3 seconds to open the hidden menu, move to Reset and confirm with the center button. Lattissima and Creatista machines follow their own menus and manuals, so check the exact model before you press anything. The rating plate is the surest way to identify yours, since a Lattissima Pro example is 10.8 inches long and other versions differ.
When to Contact Nespresso or Replace a Part
Contact support if the same fault returns after cooling, cleaning, correct filling and reseating, or if the cord, plug or body is damaged. Do not keep running a visibly damaged unit.
Gather Your Model Details and Describe the Fault
Have the exact model name and the number on the rating plate ready, plus your purchase details. Describe the fill level, the mode and what the lights did. On the Barista, a Call Nespresso message from E01 upward means service, so write down the code shown.
Check Compatible Parts and Service Options
Whisks, springs and jugs are not interchangeable across generations, and we have not verified any part number that fits every model. Ask support to identify the correct replacement for your device. Warranty cover depends on the model, country and purchase date, so check your receipt and local support page.
Frequently Asked Questions
Can my frother's parts go in the dishwasher?
It depends on the model. The Aeroccino 3 is hand-wash only. The refresh Aeroccino 4 jug, lid, seal, whisk and spring are dishwasher-safe up to 70 C, and the Barista's jug, lid, seal and whisk can go in too. On every model, keep the powered base out of the dishwasher and avoid abrasive cleaners.
Can I add syrups or powders to my frother?
Not to an Aeroccino. The instructions for the original Aeroccino 4 prohibit syrup, sugar and chocolate powder in the jug, so add flavorings to the finished cup. The Barista manual allows recipe-directed ingredients.
Read next
Ready to upgrade your kitchen?
Browse our kitchen guides or subscribe for more help with your home coffee routine.