
Kitchen Appliances
How to Clean a Coffee Maker: Simple Steps for Fresher Coffee
As an Amazon Associate we earn from qualifying purchases. We may earn a commission from links on this page, at no extra cost to you. Learn more.
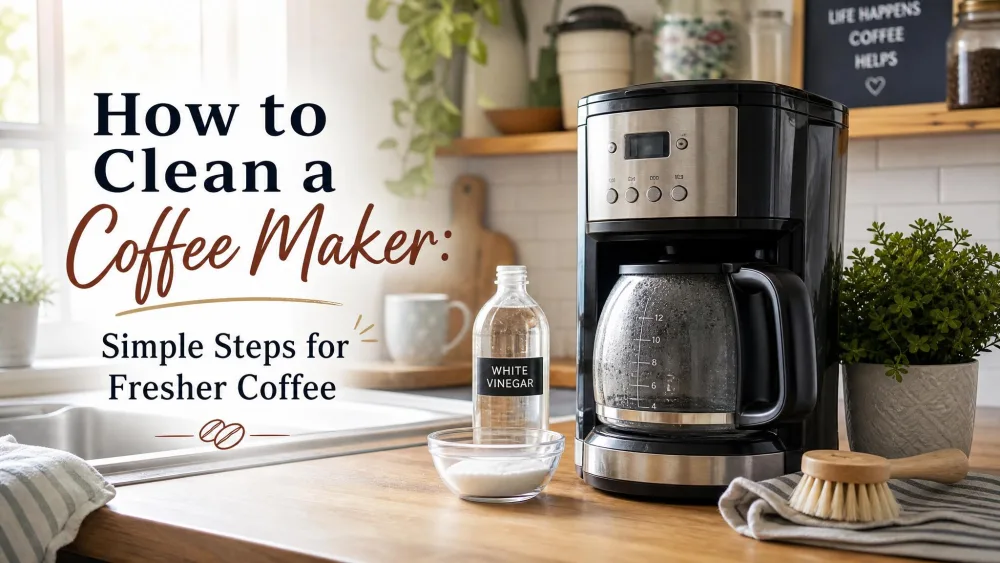
Every coffee maker collects two kinds of dirt. Coffee oils build up on the carafe, basket, and lid. Mineral scale from hard water coats the water path inside. Left alone, both show up in your cup as bitter, sour, or flat coffee that smells stale and brews slower each week.
The fix is cheap and takes minutes a day. We have cleaned everything from a five-year-old drip machine that was never descaled to a Keurig that had slowed to weak brews; one proper clean brought both back. No special cleaners required. This guide covers the daily routine, the monthly descale, and single-serve machines.
Key takeaway. The fix is a two-part routine. Rinse the removable parts after every use, and run one descale cycle a month; most taste and flow problems never get a chance to start.
Tip. Descale monthly with a 50/50 white vinegar and water cycle, then run 2-3 plain-water cycles to clear the lingering taste.
Why You Need to Clean Your Coffee Maker
A dirty coffee maker makes bad coffee and fails before its time. Coffee oils oxidize and turn rancid, so old residue in the basket and carafe leaves a bitter taste. Scale insulates the heating element, so water never reaches the 195-205 degree Fahrenheit extraction window and the coffee comes out sour and flat.
There is the germ factor. NSF International's 2011 study found yeast and mold in 50 percent of the coffee maker reservoirs it swabbed, with higher germ counts than bathroom door handles.
Signs Your Coffee Maker Needs Cleaning
Some signs are easy to miss because the machine gets worse gradually. Excessive steaming, or brew cycles that slowly get longer, means scale is already restricting flow.
- Coffee tastes bitter or sour
- Brew cycles take longer
- White residue sits in the reservoir
- The machine sputters or runs louder
- Coffee comes out lukewarm instead of hot
- A musty smell from a damp reservoir
Do not wait for the descale indicator light. By then, clearing the scale can take several cleaning cycles. If several signs match at once, start with the descale. One pass fixes the flow, the temperature, and most of the taste.
How Often to Clean a Coffee Maker
The daily and weekly basics take minutes. Rinse the brew basket and toss the grounds after every use, and wash the carafe after every brew. Once a week, wash the carafe, filter basket, and lid, and wipe the exterior; the whole scrub takes about two minutes. Empty the reservoir and leave the lid open to dry.
Descale every 1 to 3 months, or every 100 cups, whichever comes first. Daily brewers land on the monthly side; occasional use can stretch to every 2-3 months. Scale builds faster the harder your water is; the USGS's hard water classes start at 121-180 mg/L, and chalky deposits on your kettle or showerhead mean your water runs hard.
Filtered water is the single most impactful habit we have found: less scale, longer stretches between descales, and better flavor. Swap the charcoal filter every couple of months.
| Part | Routine | How often |
|---|---|---|
| Carafe and filter basket | Wash with warm soapy water | After every use |
| Exterior and warming plate | Wipe down | Daily |
| Reservoir | Wipe it out; wash it if removable | Weekly; monthly |
| Showerhead or needle | Clean with a narrow brush or paperclip | Monthly |
| Full descale | Vinegar or descaler cycle | Every 1-3 months; monthly in hard water |
What You Need to Clean a Coffee Maker
You likely have everything this takes already.
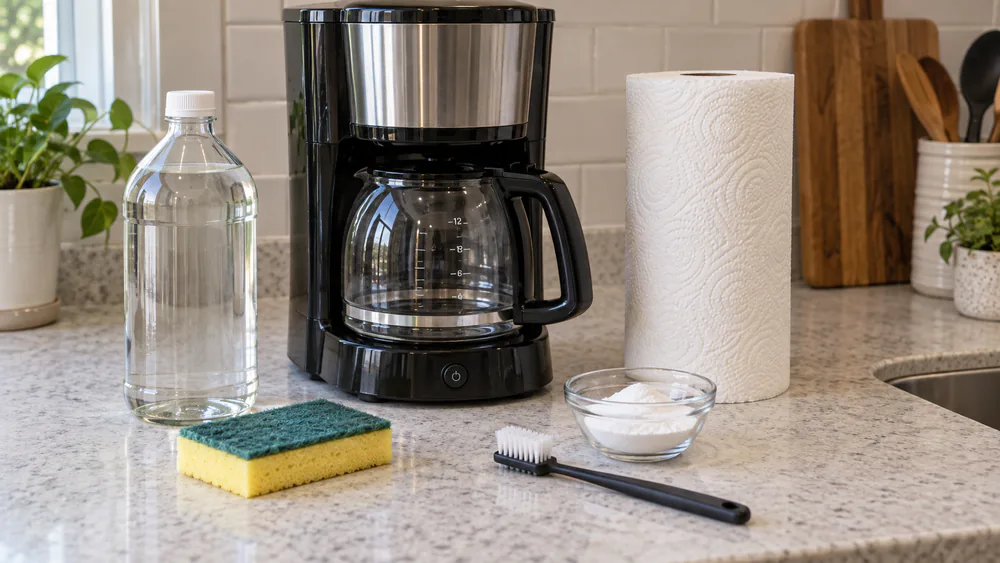
- White vinegar, plain distilled
- Dish soap
- A soft sponge and a bottle brush
- Paper towels
- Food-grade citric acid or a commercial descaler
A bottle of distilled white vinegar covers several descales; a coffee maker descaler suits pod and espresso machines.
How to Clean a Drip Coffee Maker: Step-by-Step
This is the routine we run on every drip machine in our kitchen.
Step 1: Unplug and Disassemble the Removable Parts
- Unplug the machine and let the base cool completely.
- Remove the carafe, filter basket, lid, and any reusable filter.
- Check the manual for dishwasher-safe parts; thermal carafes usually are not.
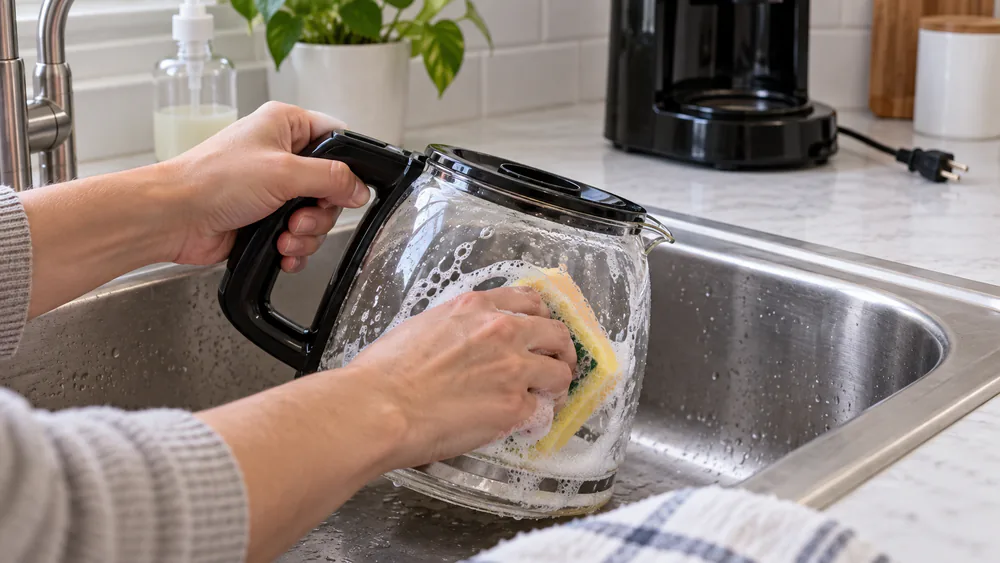
Step 2: Wash the Carafe and Filter Basket with Dish Soap
- Wash the carafe and filter basket in warm soapy water and rinse well.
- Scrub the basket mesh with a small brush to clear trapped grounds.
- Air dry on a dish rack.
The brown ring from coffee left overnight needs more than soap: soak with warm water and 1 to 4 tablespoons of baking soda, or shake in rice and warm sudsy water for 60 seconds.
Step 3: Descale with White Vinegar
Plain distilled white vinegar is about 5% acetic acid, which dissolves calcium carbonate scale, and it is the cheapest on-hand option. Skip apple cider, wine, and flavored vinegars; they leave flavors behind.
- Fill the reservoir with equal parts white vinegar and water, the standard 1:1 mix; the manual's ratio wins if it differs.
- Start a brew cycle with a paper filter in the basket; it runs about 20 minutes.
- Stop halfway and let the mix sit 15 to 60 minutes, longer for heavy scale.
- Restart and finish.
- Let the machine cool, then discard the filter and grounds.
Brown or white bits in the output are normal, just dissolved scale. Remove the charcoal filter before descaling if yours takes one.
Warning. Never use bleach on a coffee maker. It is corrosive to internal parts, leaves residue that is unsafe to ingest, and reacts with steel and plastic. Unplug before cleaning, never submerge the base, and check the manual before descaling pod or espresso machines.
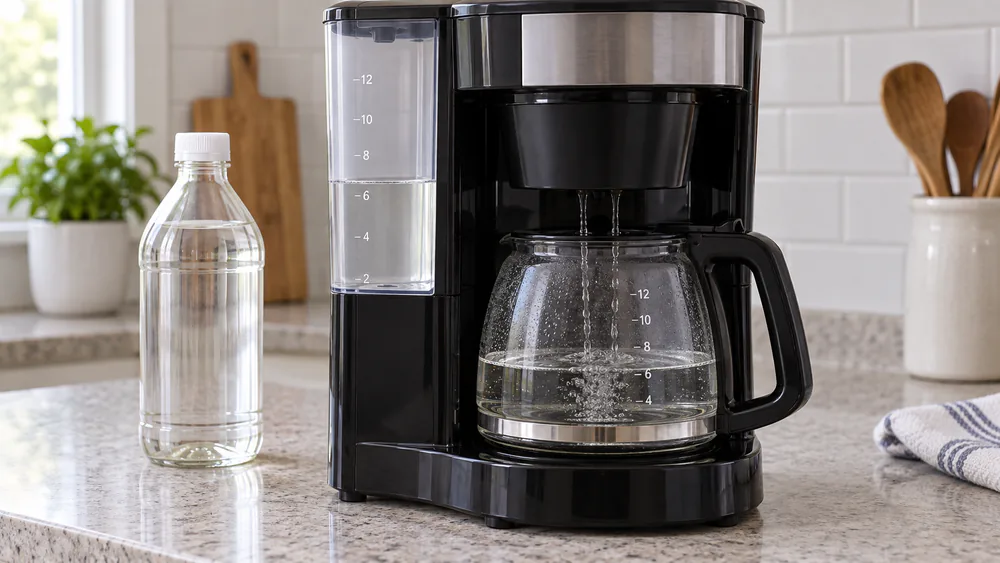
Step 4: Rinse with Fresh Water Cycles
Rushing the rinse shows up in the cup. Residual vinegar in the heater makes coffee bitter and acidic for days; machines heavy on plastic and silicone can need six to twelve rinse cycles before the smell clears.
- Run 2-3 full brew cycles with plain water only.
- Empty the carafe between cycles.
- Keep going until no vinegar smell or taste remains.
Step 5: Wipe Down the Exterior and Reassemble
- Wipe the exterior and warming plate; burnt-on stains lift with baking soda.
- Return the carafe, basket, and lid to their places.
- Empty standing water and leave the lid open between uses.
- Replace the charcoal water filter if the machine has one.
How to Clean a Keurig or Single-Serve Coffee Maker
Pod machines run on a different clock. Keurig officially recommends descaling every 3 to 6 months with its own solution, and Consumer Reports' coffee tester Ginny Lui agrees for pod machines. The brand advises against vinegar, which can degrade internal seals and void warranty coverage. Under warranty, use the brand's solution; out of warranty, diluted 1:1 vinegar works fine with a thorough rinse.
- Remove the water filter and any K-Cup.
- Fill the reservoir with descaling solution or a 1:1 white vinegar and water mix.
- Brew the solution through in mug-sized cycles without a pod until the reservoir is empty.
- Let the machine sit about 30 minutes.
- Rinse with fresh-water brew cycles until the water runs clear with no vinegar smell.
The pod-piercing needle is easy to overlook, and a blocked one is the most common cause of weak brews and slow flow. Clean it weekly to monthly with the needle tool or a paperclip; a single descale run usually revives it. Wash the drip tray, pod holder, and removable reservoir weekly and empty the drip tray daily. Our Keurig K-Duo review covers the machine in detail.
How to Clean an Espresso Machine
Espresso machines ask for the most care. Scrub the portafilter and basket with a brush after use, purge and wipe the steam wand after every steam session, and wipe the group head; that minute a day keeps old oils out of tomorrow's shot.
Weekly, backflush the machine: run a cleaner such as Urnex Cafiza tablets through the brew head with a blind filter, then rinse; backflush more often with heavy daily use. Skipping it is the fastest way to turn an espresso machine into a leaky paperweight.
Descaling the boiler is separate. Use a manufacturer-approved solution per the manual; under warranty, many makers void coverage for off-label descalers. Scale is the biggest reason home espresso machines fail before their warranty period.
Cleaning vs Descaling: What's the Difference?
Cleaning and descaling sound interchangeable, and they are not. Cleaning removes coffee residue: oils, stains, old grounds, and buildup on the carafe, lid, filter basket, drip area, and exterior. Descaling removes mineral scale: the limescale from hard water that coats the reservoir, heating element, tubes, valves, and spray head. You usually need both.
They fix different problems. A descale clears slow flow and lukewarm coffee; a soapy wash only fixes smell and taste. A machine can look clean outside and still have scale inside; if the basket or lid still smells like old coffee, it is not really clean yet.
Note. Cleaning removes coffee oils and stains. Descaling removes mineral scale. Hard water means descaling more often.
Descaling Without Vinegar: Citric Acid and Commercial Descalers
Vinegar is the cheapest option, but it needs the most rinsing. Two alternatives avoid the smell.
Citric acid is the no-odor budget route. Stir 2 tablespoons of food-grade citric acid powder into a full reservoir of warm water, run a full brew cycle, then two plain-water cycles. We have seen a five-year-old drip machine that was never descaled jump back to factory speed after one citric acid pass. Lemon juice is not a substitute; its sugars feed mold and yeast.
Commercial descalers use sulfamic or citric acid, act faster on heavy scale, and rinse out more cleanly, but they cost more. A packet such as Urnex Dezcal runs about $13 for roughly four cleanings, about $3 per descale, and street pricing moves week to week and varies by retailer. Under warranty, these machines want the manufacturer's own descaler; citric acid is a fine out-of-warranty alternative.
Common Mistakes to Avoid
The mistakes that undo a good clean most often:
- Skipping the rinse cycles. The rinse after a descale is the step most people skip; a rushed rinse leaves bitter, acidic coffee for days.
- Using bleach. It is corrosive to internal parts and leaves residue that is unsafe to ingest.
- Going stronger than 1:1 vinegar. Too-concentrated vinegar can damage metal and plastic parts.
- Letting coffee sit overnight. Oils oxidize and bond to glass within about 24 hours; soap alone will not touch the ring.
- Scrubbing with steel wool or abrasive sponges. They scratch the carafe and heating element; a soft sponge and baking soda handle the same stains.
- Pouring water from the coffee pot into the reservoir. It transfers oils from the pot into the water path; keep a pitcher dedicated to water.
- Running dish soap through the reservoir. Soap foams inside the water path and takes a long time to rinse out. Never dunk the base; wipe it down instead.
Do not wait until the machine stops drawing water; a machine clogged by grounds or scale may be beyond saving.
The whole routine costs a few minutes a day and one lazy hour a month. Pick a day for the monthly descale, keep white vinegar on the shelf, and the bitter cups that prompted the search stay gone. For a new machine, our best coffee maker roundup covers the models we rate highest.
Frequently Asked Questions
How often should I clean my coffee maker?
Rinse the removable parts after every use, wash them with soap weekly, and descale every 1 to 3 months, monthly for daily brewers.
How much vinegar should I use to clean a coffee maker?
Fill the reservoir with equal parts white vinegar and water, the standard 1:1 mix. Run the cycle, then rinse with plain water until the vinegar smell is gone.
How do I clean a coffee maker without vinegar?
Use 2 tablespoons of food-grade citric acid powder per reservoir, or a commercial descaler. Denture tablets fizz away carafe stains; baking soda scrubs the rest.
Can I use bleach to clean a coffee maker?
No. Bleach corrodes internal parts and leaves residue that is unsafe to ingest. Use vinegar, citric acid, or a commercial descaler instead.
How do I get coffee stains out of the carafe?
Soak with warm water and 1 to 4 tablespoons of baking soda, or shake in rice and warm sudsy water for 60 seconds. Denture tablets work too; narrow-neck thermal carafes need a bottle brush.
Why does my coffee taste bad even after cleaning?
Usually one of four things: residual vinegar from a rushed rinse, hard-water scale on the heating element, oils from the pot, or beans past their prime. If it is still slow after a full clean, the problem is scale, not residue.
Read next
Ready to upgrade your kitchen?
A clean coffee maker brews better coffee, and the right routine keeps it that way.