
Kitchen Appliances
How to Sharpen Blender Blades: 5 Proven Methods That Actually Work

As an Amazon Associate we earn from qualifying purchases. We may earn a commission from links on this page, at no extra cost to you. Learn more.
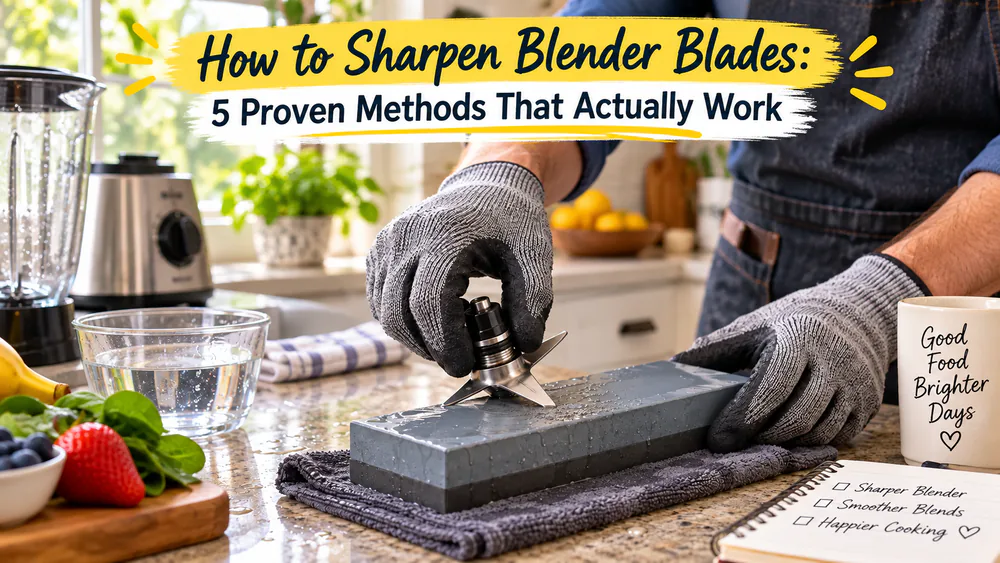
Dull blades are the real reason your blender leaves chunks in the bottom of your smoothie. The motor strains, the whine gets louder, and a batch that once took thirty seconds now takes a full minute. Before you blame the recipe, check the edge: a few minutes with the right tool makes a visible difference, and your blender blends like new again.
This guide covers five methods for sharpening blender blades at home: the whetstone technique that gives the best results, the eggshell, foil, salt, and rice hacks with their honest limits, and the truth about ice. You will also find the step-by-step routine, the methods to skip, and when to replace the blades instead.
Why Blender Blades Get Dull (and 6 Signs It's Time to Sharpen)
Blender blades are more blunt by design than they look. The edge drags food into a vortex and pulverizes it against the jar, so motor power matters more than razor edges; poor blending is often misdiagnosed as dullness.
Real dulling still happens. Ice, frozen fruit, nuts, and coffee beans wear the edge unevenly, and mineral scale or biofilm can mimic dullness. Dull edges force the motor to run longer and hotter, so rule out a cleaning problem first; our guide to how to clean and sharpen blender blades covers the wash-first route.
Six signs that blades are genuinely dull:
- Uneven texture with visible bits and seeds
- Blend time that creeps noticeably longer
- A high-pitched or straining motor note
- The jar or base feeling hot after a short run
- A weak vortex that needs frequent scraping
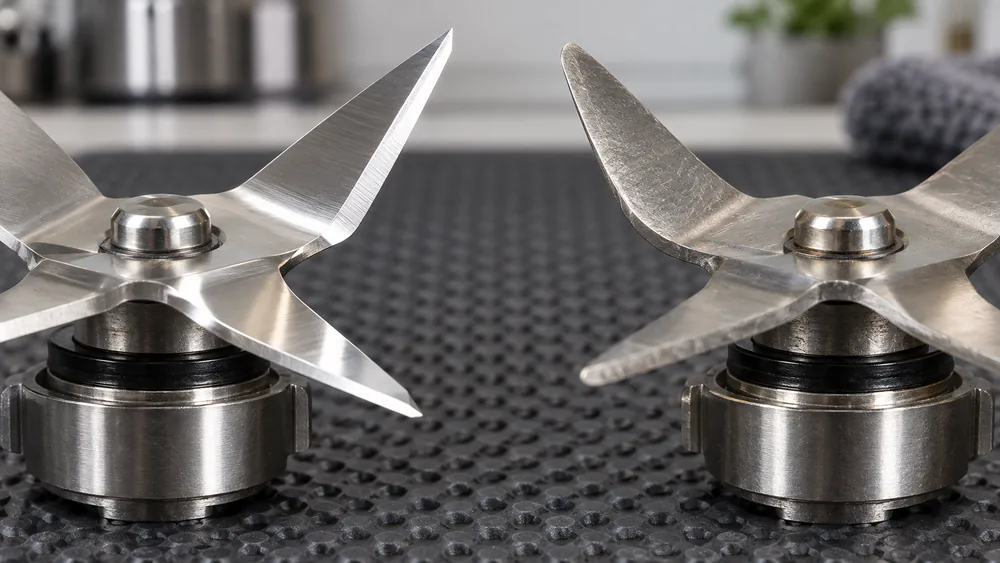
- Visible edge damage: rounded, chipped, or burred
That wear is worse under ice and frozen fruit, which is why the best blenders for crushing ice and the best blenders favor stronger motors and sturdier blade stacks.
Safety First: Protect Your Fingers and Your Warranty
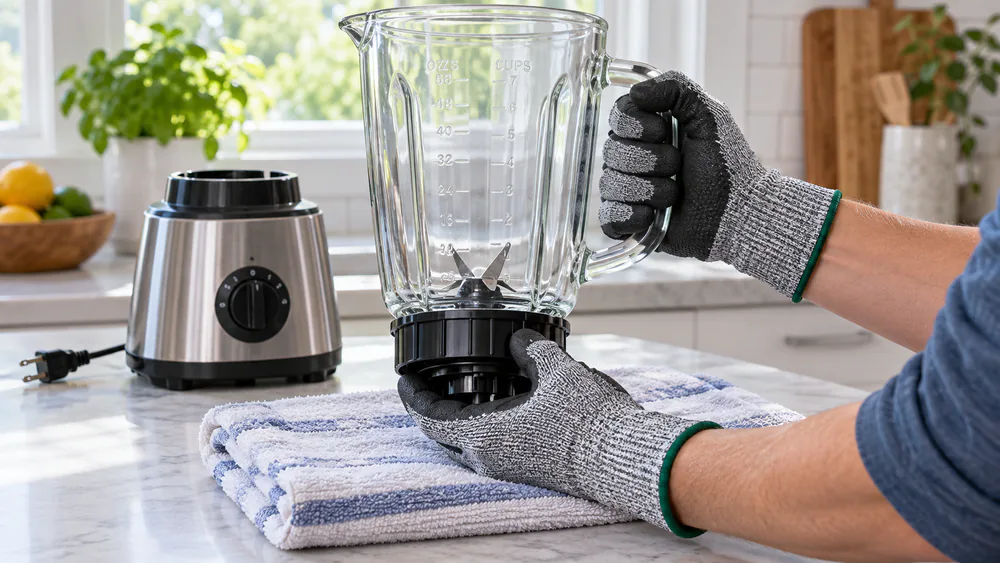
Unplug the blender before touching the blade assembly, and wear cut-resistant gloves. Hold the blade by the hub, never test sharpness with a finger, and replace any cracked, bent, or rust-pitted blade; a chipped edge can break off mid-blend.
Some assemblies are sealed and non-removable, common on NutriBullet 600W and Magic Bullet models, so never pry them apart. Blades are excluded wear parts on many warranties, and some brands void coverage if you disassemble the assembly yourself.
Warning. Unplug the blender first, keep your fingers off the cutting edges, and never pry a sealed blade assembly apart. Even blades that look dull can cut you.
Method 1: Whetstone or Sharpening Stone (Best Results)
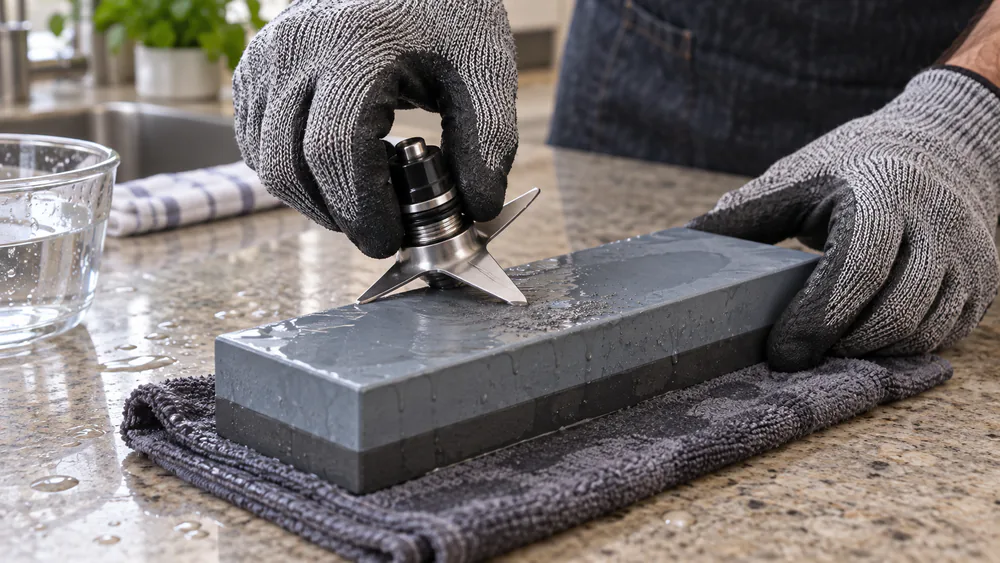
The whetstone is the only method here that truly sharpens a blade, and it is the one we reach for first in our test kitchen. A 600-1000 grit stone matches most stainless steel blades, and a budget double-sided stone runs about $11-$30, with a fine 4000-grit side to finish; you can pick up a budget double-sided 1000-grit whetstone in that range.
Expect the most effort of any method: remove the blade assembly, hold each edge at 15-20 degrees, and make 5-10 even passes per edge. Worth it: after we sharpened a struggling test blender, a clean gleam returned to the blades and test blends ran smooth and quick.
How to Sharpen the Right Way: Step-by-Step Technique
For any removable assembly; if yours will not come apart, skip to the replacement section.
Step 1: Unplug the Blender and Remove the Blade Assembly
Unplug first, then remove the jar. Ninja Total Crushing stacks unscrew from the jar base, and Oster assemblies unscrew the bottom cap counterclockwise from the inverted jar; Hamilton Beach assemblies are typically removable too.
Warning. Never touch the cutting edge while removing the assembly. Hold the blade by the hub and rest it on a cloth, never in your bare hand.
Step 2: Clean and Dry the Blades
Wash and dry the assembly completely; scale and biofilm mimic dullness, so a clean blade sometimes performs like a sharpened one. To dislodge food trapped under the blade, blend a little banana and milk rather than scraping under the edge.
Step 3: Find and Match the Existing Bevel Angle
Match the factory bevel rather than creating a new one. Blades follow the same 15-20 degrees per side as most kitchen cutlery, though some guides quote up to 30.
Tip. Match the existing factory bevel instead of inventing a new angle. Sharpening works by removing a thin layer of metal at a consistent angle, and the edge returns.
Step 4: Sharpen Each Edge with Even Strokes
Set the stone on a wet cloth so it cannot slide. Make 5-10 even passes per edge at the step 3 angle, counting evenly across all edges, and lift the blade on the return stroke.
Step 5: Remove the Burr with a Fine Stone
Sharpening leaves a thin wire of waste metal, the burr, along the edge. Make 3-4 light passes on a fine 4000-grit stone to fold it off; skip this and the edge dulls fast.
Step 6: Reassemble and Test with a Frozen-Fruit Smoothie
Seat the assembly back in the jar and run a test blend of frozen fruit or water and ice; a restored edge crushes faster and runs quieter.
Method 2: Eggshells
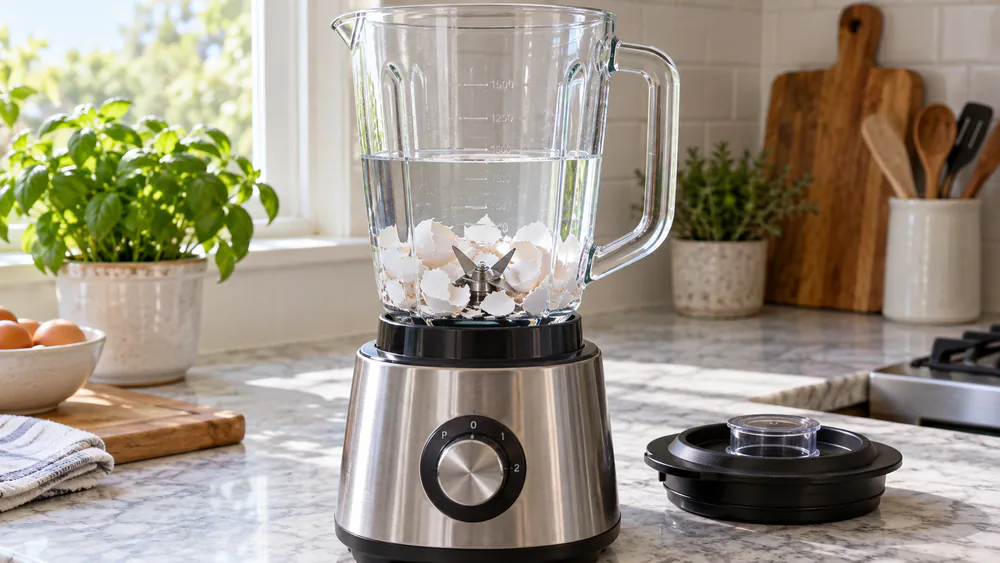
Use 4-6 eggshells, dry or frozen for extra brittleness, with about a cup of water. Run in short bursts, 10-15 pulses or up to 2 minutes on high, then rinse thoroughly.
The honest verdict: shells are too soft to true-sharpen hardened stainless steel. At best they restore a little edge bite, a hone rather than a sharpen, less consistent than a proper clean.
Tip. Dry shells bite better than wet ones; pat them dry or freeze them first, pulse in short bursts, and rinse well.
Note. Like the foil and salt methods below, this restores edge bite rather than truly sharpening; a whetstone is the only true sharpen.
Method 3: Aluminum Foil
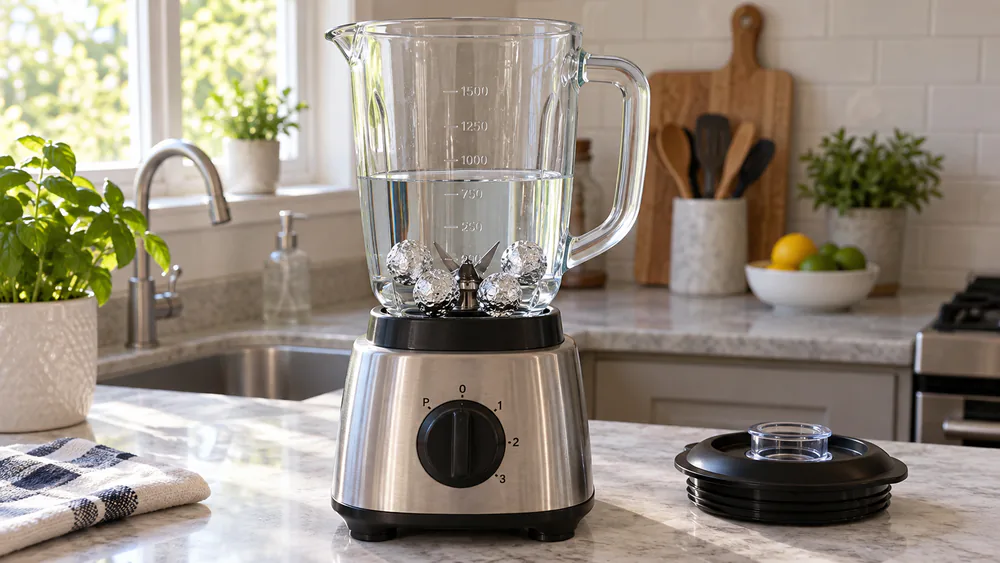
Roll 5-6 tight foil balls about the size of a marble and add about a cup of water; run on high for about 30 seconds (some guides use stops for roughly 10 minutes). Foil removes microscopic burrs and light oxidation, but its true-sharpening effect is negligible.
Method 4: Rock Salt or Uncooked Rice
Add half a cup of coarse rock salt (or dry rice) and run on medium to high for 60-90 seconds, rinsing afterward. Salt polishes oxidation and mineral scale; rice is a minor abrasive clean with no real edge restoration and can strain the drive socket.
Method 5: The Truth About Ice Cubes (and What It Can't Do)
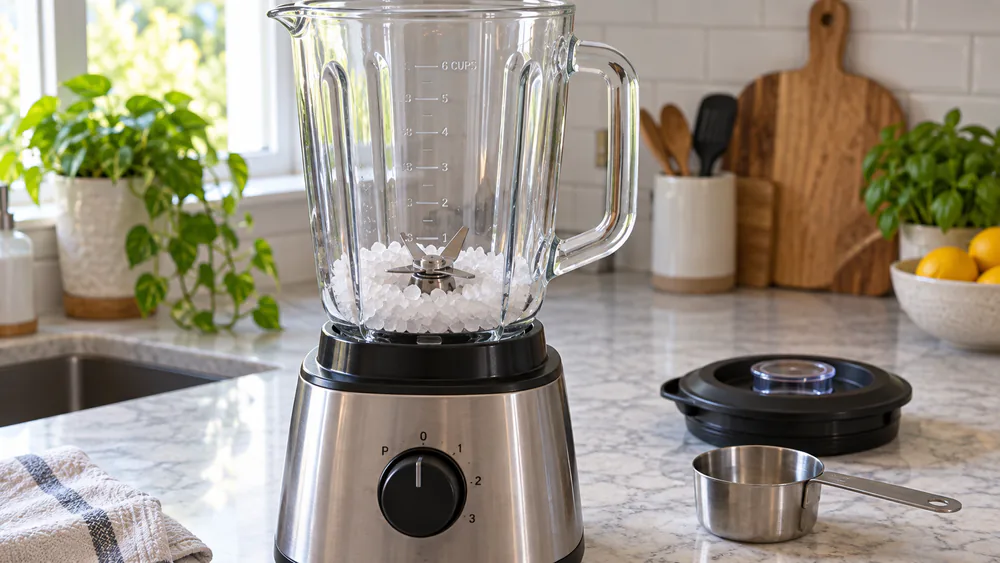
Ice does not sharpen blender blades, no matter how often the trick circulates. Large cubes hit the edge at odd angles, and abrasives contact it from every direction rather than along the bevel, rolling the edge instead of restoring it. Crushing ice without liquid wears blades and bearings.
Warning. Some blenders ship with sealed, non-detachable blade assemblies, so none of these methods apply. Never pry the assembly apart; if you cannot remove it, you replace it.
How the five methods (and replacement) compare:
| Method | Effort | Cost | Effectiveness | Risk |
|---|---|---|---|---|
| Whetstone or sharpening stone | Highest: removal plus technique | About $11-$30 | Highest: true edge restoration | Low with gloves; cut risk handling blade |
| Eggshells | Low: shells plus water, short bursts | Free | Low: restores edge bite at best | Low; shell grit can linger |
| Aluminum foil | Low: foil balls plus water, high speed | Free | Low: removes light oxidation | Low |
| Rock salt or uncooked rice | Low: half a cup, 60-90 seconds | Free | Low: polishes oxidation, no edge restoration | Low; rice can strain the socket |
| Ice cubes | None | Free | Does not sharpen: contributes to dulling | Medium: blade fatigue and bearing wear |
What Doesn't Work: Sharpening Methods to Skip
The household hacks above clean and polish, but they do not true-sharpen hardened stainless steel, and one can make things worse: shells are too soft to affect hardened steel and can slowly dull or damage the blades.
Pull-through sharpeners deserve caution: they work only on flat, knife-like blades such as the Ninja 6-blade stack, risk chipping curved or stamped edges, and cannot reach angled wing blades. A whetstone or fine diamond file is safer; in our testing, coarse sandpaper made an edge worse before a fine diamond pad fixed it.
When blending seems weak, a deep clean is often the real fix: in our testing, deep cleaning restored smoothie texture in 9 of 12 blenders, while manual sharpening worked in only 3. A baking-soda paste or 50/50 vinegar-water soak of no more than 10 minutes removes the scale that mimics dullness; our guide on how to clean and sharpen blender blades has the full routine.
Note. Sharpening removes metal to create a new edge; honing only realigns a rolled one, and the household methods sit on the honing side of that line. Wash first and sharpen second.
When to Replace Blender Blades Instead of Sharpening
Replace the assembly when you see chipped or cracked edges, a bent or wobbling shaft, rust or pitting, a loose hub, or no improvement after a proper sharpening; likewise if repairs would top half the price of a new blender.
Listen to the base too: a grinding noise usually means failing bearings, and brown liquid pooling at the base means a broken seal. Both are replacement triggers. And check the drive socket and coupler, the most overlooked parts of any blender; a worn coupler causes poor performance even after cleaning and sharpening.
Replacement assemblies are cheap and fast: about $15-$40 for Ninja and Hamilton Beach (street pricing moves week to week, as of 2026) and $62-$245 for genuine Vitamix, swapping in within minutes.
How to Keep Blender Blades Sharp Longer
Most dulling is avoidable. Rinse the jar right after use, add liquid before ice and frozen fruit, pulse hard ingredients, respect the max line, and start slow before ramping up. Load order matters: liquids first, soft next, hard items last, and large food sliced smaller.
Hand-wash the blade assembly, store the jar upside down, and check the gasket and O-ring for wear; lubricating the blade shaft keeps grease out of the motor and protects the coupler and bearings.
Frequently Asked Questions
How often should I sharpen blender blades?
Every 3-4 months for daily use, 6-8 months for occasional blending, and about every 2 months for heavy ice users; dulling depends on blend volume and hard-ingredient load.
Can I use a knife sharpener on blender blades?
With caution. A pull-through sharpener works only on flat, knife-like stacks such as the Ninja 6-blade design, risks chipping curved or stamped edges, and cannot reach angled wing blades; a whetstone or fine diamond file is safer.
Does crushing ice sharpen blender blades?
No. Ice dulls or rolls blades and wears the bearings; Method 5 explains why.
Can I sharpen Ninja or Vitamix blender blades?
Ninja blades sharpen well with a fine diamond file at 15 degrees. Vitamix blades are not very sharp by design, and worn blades get replaced instead.
Will sharpening void my blender's warranty?
Sometimes. Ninja's 1-year warranty excludes blades; Vitamix covers 7-10 years but not sharpening; and some brands void coverage if you disassemble the assembly. Check your manual.
How often should I sharpen blender blades?
Every 3-4 months for daily use, 6-8 months for occasional blending, and about every 2 months for heavy ice users.
Can I use a knife sharpener on blender blades?
Only on flat, knife-like stacks such as the Ninja 6-blade design, and with caution; they risk chipping curved or stamped edges, so a whetstone or fine diamond file is safer.
Does crushing ice sharpen blender blades?
No. Ice contacts the edge from odd angles and every direction, dulling or rolling blades, and crushing ice without liquid wears blades and bearings.
Can I sharpen Ninja or Vitamix blender blades?
Ninja blades sharpen well with a fine diamond file at 15 degrees. Vitamix blades are intentionally not very sharp, and worn blades get replaced instead.
Will sharpening void my blender's warranty?
Sometimes. Ninja's 1-year warranty excludes blades; Vitamix covers 7-10 years but not sharpening; and some brands void coverage if you disassemble the assembly. Check your manual.
Final Thoughts
Clean first, then whetstone for genuinely dull edges, and treat the household hacks as occasional touch-ups, never sharpeners. Ice never sharpens. If the edge is chipped, the base grinds, or sharpening does not help, replace the assembly; it is cheaper than a new blender.
Read next
Ready to upgrade your kitchen?
Follow the whetstone routine for genuinely dull edges and treat the household hacks as touch-ups; your blades stay sharp for years.