
Kitchen Appliances
How to Use a Pressure Cooker: From Setup to Steam Release
As an Amazon Associate we earn from qualifying purchases. We may earn a commission from links on this page, at no extra cost to you. Learn more.
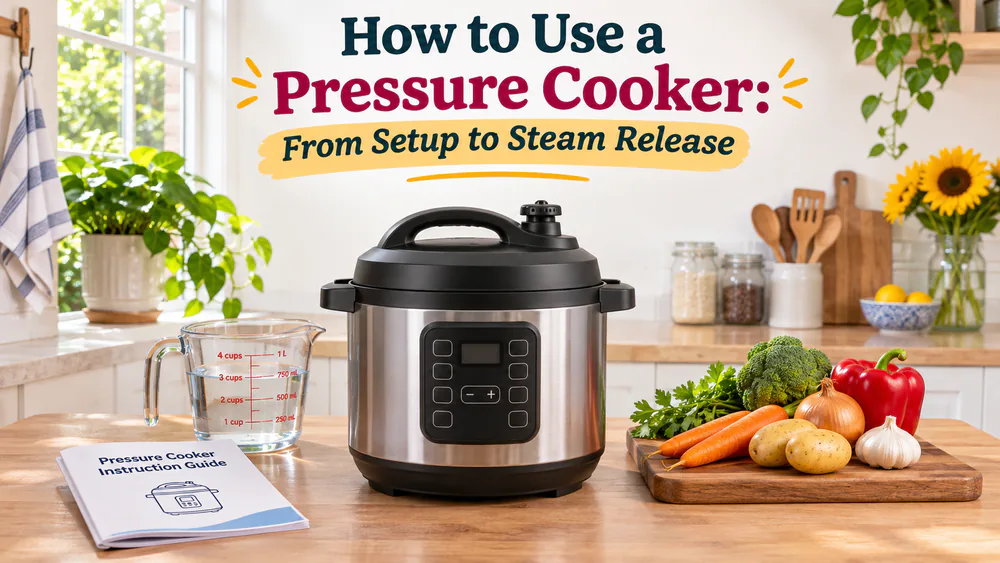
To use a pressure cooker, add food and the required liquid, lock the lid, set the pressure, cook for the recipe time, release the pressure, and open the lid only when it is safe. The steps are the same for electric and stovetop models, though the controls differ. If the first few minutes feel intimidating, that is normal. Once you know the parts and the sequence, a pressure cooker is a steady, predictable way to get dinner on the table.
Know your pressure cooker before you start
Every cooker works on the same idea. Sealed steam builds pressure, and pressure cooks food faster than an open pot. Before you cook, it helps to know which parts do what. In a house with kids of every age wandering through the kitchen, we also want everyone to know the hot cooker is not a toy. Keep children away from it while it runs. If you are comparing models, our pressure cooker reviews cover the options.
Electric and stovetop controls
An electric cooker has a control panel. You pick a cooking program and a duration, and the appliance heats first. The countdown only starts once the cooker is up to pressure. An inner pot holds the food and liquid, and some models switch to Keep Warm when the cook ends.
A stovetop cooker has no program. You heat it on a burner until the model's pressure signal appears, then turn the burner down to hold that pressure. Recipe timing starts at that point. On a weighted model, the regulator should rock gently, not jump around.
The sealing ring, pressure indicator, and release valve
Three parts matter most.
- The sealing ring sits inside the lid and holds the seal.
- The pressure indicator or cover lock signals that pressure has built up.
- The release valve or regulator controls pressure and lets steam out.
Many cookers also come with a rack, which lifts food above the liquid. Learn where each part sits on your model, because the names and shapes vary.
Check your cooker and prepare for first use
A few minutes of checking now saves frustration later.
Read your model's instructions and inspect the parts
Start with your cooker's manual. It explains the controls for your model and the limits that apply to it. Then do a quick inspection.
- Check that the sealing ring is fitted correctly and is not damaged.
- Look over the handles for anything loose.
- Make sure the vent is clear and the pressure indicator moves freely.
- Fit the lid so it sits the way the manual shows.
Follow your manual's first-use water test
Most manuals describe a first-use water test. It lets you watch the cooker seal, read the display, and release steam before real food is involved. The water amount, program, duration, and release controls differ by model, so follow your manual's version rather than a generic one. The water test lets you practice the sequence before cooking a meal. We like it because the first release is far less stressful with only water inside.
How to use a pressure cooker step by step
This is the sequence for a normal recipe. Your manual and your recipe fill in the details.
1. Add ingredients and the required liquid
Put the food in the pot and add the thin liquid your model requires, such as water or broth. There is no single cup amount that works for every cooker. The minimum depends on the cooker's size and design, so check your manual and a recipe written for your model. Thick sauces and oil cannot stand in for the required thin liquid. If a recipe calls for browning first, do that before adding the liquid (see the FAQ below).
2. Check the fill level and lock the lid
Do not overfill. The usual maximum is 2/3 full, counting food and liquid together, and some manuals set a lower limit. For foods that expand or foam, stay at 1/2 full or whatever lower limit your manual gives. Some stovetop manuals also limit soup to half full.
Wipe the sealing surfaces so no food sits on them. Then close the lid as instructed. Some cookers need the release control moved to its sealing position, while others seal on their own. Follow the controls shown in your manual.
3. Set the pressure and bring the cooker up to pressure
On an electric model, choose the program and set the time and pressure level your recipe calls for. The cooker heats and builds pressure before the countdown begins, so the screen may look idle for a while.
On a stovetop model, turn the burner up until the pressure signal appears. Then lower the heat so the cooker holds pressure without racing. Expect a little steam during this stage. Steady, steam-free pressure is the goal once the cooker is up to pressure.
4. Time the cook and maintain pressure
An electric cooker counts down on its own. On the stove, start your timer when the model reaches operating pressure and adjust the burner so the pressure stays steady. Too much heat vents away liquid and can scorch the food, so reduce the heat once pressure is reached. Stay in the kitchen while it cooks.
5. Release pressure as directed
When the timer ends, release pressure the way the recipe tells you to. That means one of two methods, natural release or quick release, covered in detail in the next section. Choose the method that suits both the food and your manual.
Whichever method you use, keep your face and hands away from escaping steam. Never cover the vent with a towel or anything else. Quick venting sends out a forceful plume of steam. Leave clear space around the release area and keep children and pets away.
On an electric cooker, never cool the appliance under running water. On a stovetop cooker, use water cooling only if your own instructions say it is allowed.
Warning. Never force a lid that will not open. Wait until all pressure is gone and your model's indicator says the lid can be opened, then open it away from your face.
6. Confirm pressure has dropped and open the lid
Check your model's indicator to confirm the pressure is gone. Time alone does not prove it. When the indicator allows, open the lid tilted away from you so any leftover steam escapes the other way. Stir the food, check that it is done, and set the hot lid somewhere safe. Make room for the hot lid before opening the cooker, or use its lid holder if it has one.
Choose the right pressure-release method
Both methods end with a depressurized cooker. They differ in how the pressure comes down and what happens to the food meanwhile.
| Natural release | Quick release | |
|---|---|---|
| Action | Leave the release control closed while pressure falls | Operate the model's approved vent control |
| Best for | Thick, starchy, or high-liquid dishes | Permitted quick-cooking foods such as vegetables |
| Cooking effect | Food keeps cooking while the cooker cools | Stops pressure cooking sooner |
| Main caution | Elapsed time alone does not prove pressure is gone | Hot steam and possible food spray; not for foamy dishes |
| Opening | Follow the indicator and manual; never force | Follow the indicator and manual; never force |
Natural release
With natural release, you leave the release control alone and let the cooker cool and lose pressure by itself. If a recipe asks for a natural-release period and then venting, follow that. How long it takes depends on the food and how much liquid is inside, so wait for your model's depressurization indication instead of guessing at a time. A large liquid load can hold pressure longer.
Quick release
Quick release means using the model's approved vent control to let steam out. It suits foods whose texture suffers from extra cooking, such as vegetables, when your manual permits it. Quick venting can eject hot food, so skip it for foamy or starchy dishes. A general quick-release habit should never override your manual. Even after quick venting, the lid may still need a moment before it opens.
Understand cooking times and choose your first recipe
Pressure-building time, cooking time, and release time
Dinner takes longer than the number on the screen. The full wait has three parts: heating and pressure buildup, the programmed cook, and the release. Plan for all three. No universal chart covers every cooker, because pressure-building time depends on the model, the amount of food, and the liquid. Use the times in a recipe written for your cooker.
Start with a recipe written for your cooker type
Pick a recipe that names your type of cooker, either electric or stovetop. Electric and stovetop cookers can run at different working pressures, so do not convert times with a rule of thumb. A suitable recipe matters more than treating every food the same. Check these points before you begin:
- The liquid amount matches what your model requires.
- The pressure setting suits your cooker.
- The food is cut to the size the recipe gives.
- The release method is the one the recipe names.
Clean and maintain your pressure cooker
Cleaning is easier when you know where food collects. Let the cooker cool, and unplug an electric one first. Then work through these steps.
- Wash the pot, the removable sealing ring, and any lid parts your manual allows.
- Keep the vent paths clear.
- Wipe the electric base with a damp cloth and never immerse it.
- Dry everything before you put it back together, and store the cooker with the lid set so air can move.
Check your manual for which parts are dishwasher safe, because coatings and removable valve parts differ between models. The narrow groove around an electric cooker's rim collects crumbs and liquid and is awkward to wipe. A lid that lifts off and a gasket that lifts out make those recesses easier to wash. Onion and garlic odors can linger in a sealing ring, and even nonstick inserts sometimes need a soak after sticky foods.
Replace a damaged sealing ring with a compatible part. There is no one replacement interval for every model, so follow your manual, and act sooner if you see visible damage.
Troubleshoot common pressure-cooker problems
Always bring the cooker down to safe pressure and let it cool before you inspect anything.
The cooker will not build pressure or leaks steam
A little steam while the cooker pressurizes is normal. Steam that keeps leaking is not. Once the cooker is safely depressurized and cool, check the likely causes:
- A sealing ring that is fitted wrong or damaged.
- Food on the sealing surfaces.
- A release control left open.
- Too little liquid.
If the problem keeps coming back, use your model's troubleshooting instructions or contact support.
Food scorches or a burn warning appears
On the stove, too much heat vents away liquid and scorches food, so lower the burner once pressure is reached. On an electric model, a burn or overheating alert means you should stop the program and depressurize by the safe method for what is inside. Do not quick-vent a foamy dish to take a look. Open the lid only when it is safe, then deal with stuck food and add liquid before you restart. Codes and restart steps differ by model, and a cooker that keeps scorching should not be restarted again and again.
The lid will not open
A stuck lid usually means pressure is still inside. Do not force it. Wait, let the cooker cool, and check that the indicator permits opening. If the lid still resists, follow your manufacturer's guidance.
Your first cook: a quick recap
Here are the six steps in short form.
- Add the ingredients and the required liquid.
- Check the fill level and lock the lid.
- Set the pressure and bring the cooker up to pressure.
- Time the cook and maintain pressure.
- Release pressure as directed.
- Confirm pressure has dropped, then open the lid.
Do the water test first, pick a recipe written for your cooker type, and keep your manual close the first few times.
Frequently asked questions
How much liquid does my pressure cooker need?
It depends on your model. Use the minimum thin liquid your manual and a compatible recipe require, such as water or broth. Thick sauces and oil do not count as the required liquid.
Can I cook frozen food in a pressure cooker?
Frozen meat can be pressure cooked with suitable instructions, but it can lengthen both pressure-building and cooking time. Use a recipe written for that food and cut instead of adding a guessed amount of time.
Can I brown food before pressure cooking?
Yes. Brown with the lid off, using your electric model's sauté setting or the stovetop method. Then add thin liquid and loosen the browned bits from the bottom before you seal the lid.
Read next
Your first cook: a quick recap
Explore more kitchen guides, or get our newsletter for your next cooking project.