
Kitchen Appliances
How to Use a Rice Cooker: A Step-by-Step Guide

As an Amazon Associate we earn from qualifying purchases. We may earn a commission from links on this page, at no extra cost to you. Learn more.
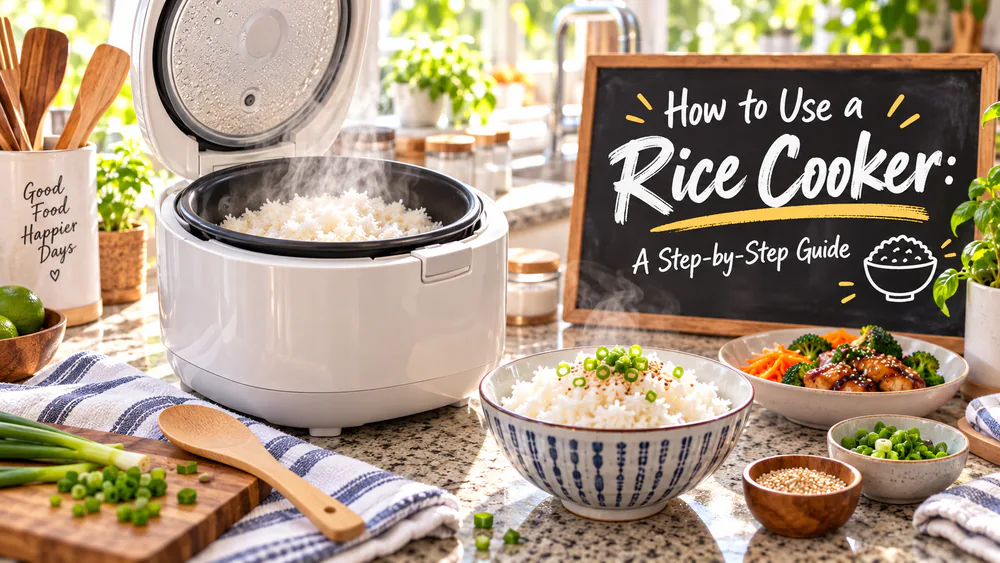
A rice cooker does one job and does it well. You add rice and water, press a button, and it boils, steams, and switches itself off when the rice is done. No pot-watching, no boil-overs, no scorched bottom.
That hands-off cooking is the appeal, but a rice cooker still rewards a little technique. Measure right, rinse well, and rest the rice at the end, and you get fluffy, separate grains instead of a gummy clump. In our test kitchen we have run enough rice through these machines to know where the small steps pay off.
What You Need Before You Start
You do not need much:
- The cooker with its nonstick inner pot seated in the housing.
- The measuring cup from the box. A standard rice-cooker cup holds 180 ml, about three-quarters of a US cup, which is why the cup and the pot's fill lines are calibrated together.
- The flat rice paddle, for fluffing without scratching the coating.
- Your rice, cold water, and the pot itself for rinsing.
Rice cookers also share common features: automatic shut-off, a keep-warm mode, a removable inner lid and steam vent, and, on multi-function models, dedicated white, brown, sushi, and quick settings.
How to Use a Rice Cooker Step by Step
The routine is the same for almost any rice: measure, rinse, add water, cook, rest, and fluff.
Step 1: Measure Your Rice
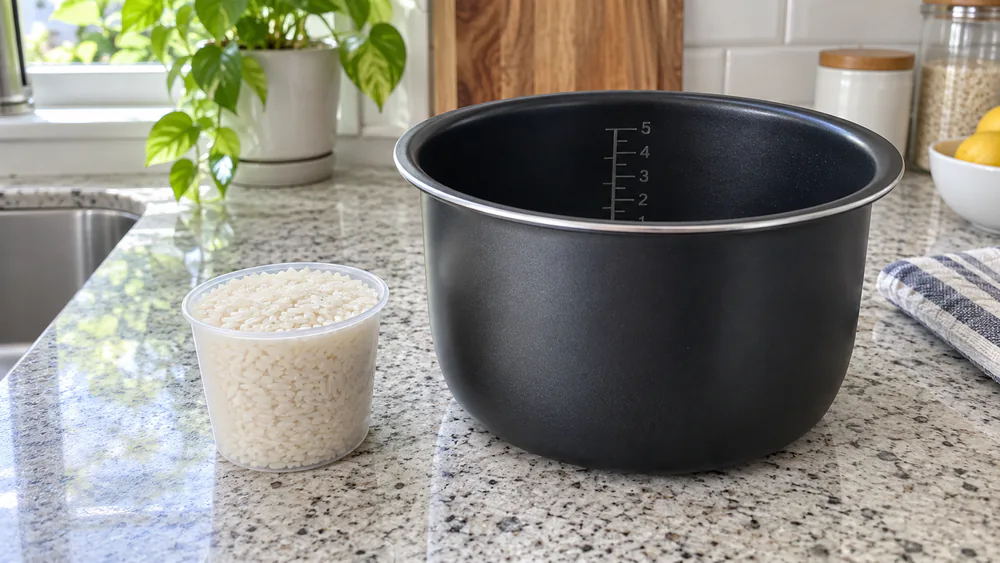
Measure your dry rice with the cup that came with the cooker. That cup holds 180 ml, not a full US cup, and the pot's water lines assume you are using it. One cup of dry rice yields roughly two cooked cups, so scale up by whole cups.
Note. The engraved lines inside the pot are matched to the included cup. Measure rice with that cup, add water to the line for your number of cups, and the ratio takes care of itself.
Step 2: Rinse the Rice Until the Water Runs Clear
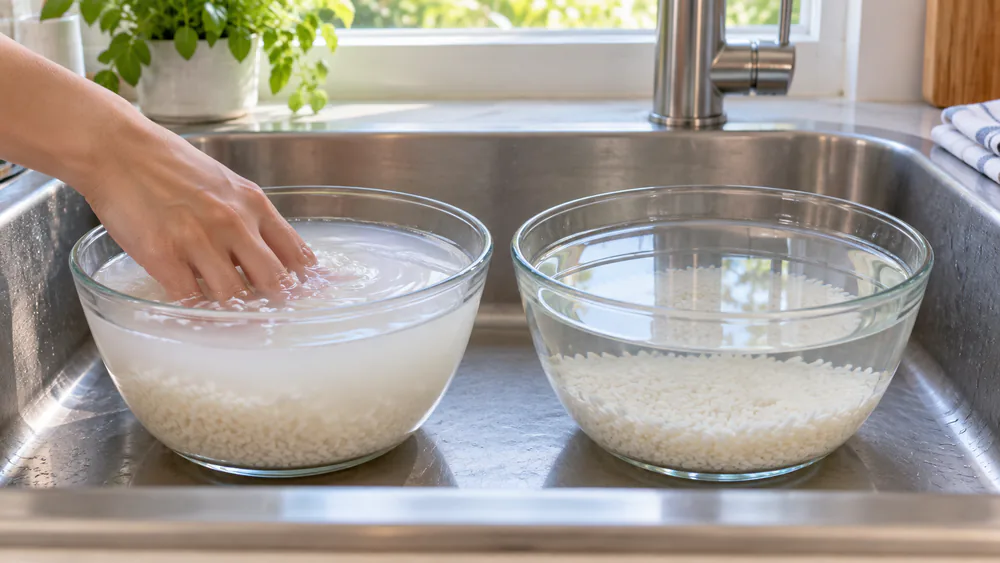
Rinse the rice in cold water and drain, then repeat at least two more times until the water runs clear. This washes off the surface starch that turns rice gluey and makes it stick. We have watched it play out batch after batch: under-rinsed rice comes out gummy and clings to the bottom, while rinsing until the water runs clear is what fixes stickiness and boil-over. The one exception is enriched white rice, where rinsing washes away the added nutrients coating the grains.
Step 3: Add the Right Amount of Water
Now match water to rice. The exact amount depends on rice type, covered in the table below. Most white rice cooks well between one and one and a half parts water, though the ideal figure varies by grain length and by how soft you like the result. When in doubt, trust the pot: add rice, level it, then fill water to the engraved line.
Step 4: Soak the Rice (Optional)
Soaking is optional but helps certain grains. Soaking short-grain rice 20 to 30 minutes before cooking helps the rounder grains absorb water to the core. Long-grain white rice generally does not need it. If you do soak, count that water toward your total so the rice does not turn out wet.
Step 5: Set Up and Start the Cooker
Seat the inner pot in the housing, wipe any water off its outside, and make sure it sits flush against the heating plate. Close the lid, plug in, select your setting, and press start. White rice cooks in roughly 20 to 30 minutes, and a full pot can take 25 to 35 minutes. When the cycle ends, most cookers drop automatically into keep-warm.
Warning. Do not lift the lid to peek during the cook. Opening it releases the steam the rice needs and leaves you with uneven, gummy, or undercooked patches. Leave it closed until the cycle finishes.
Step 6: Let It Rest, Then Fluff and Serve
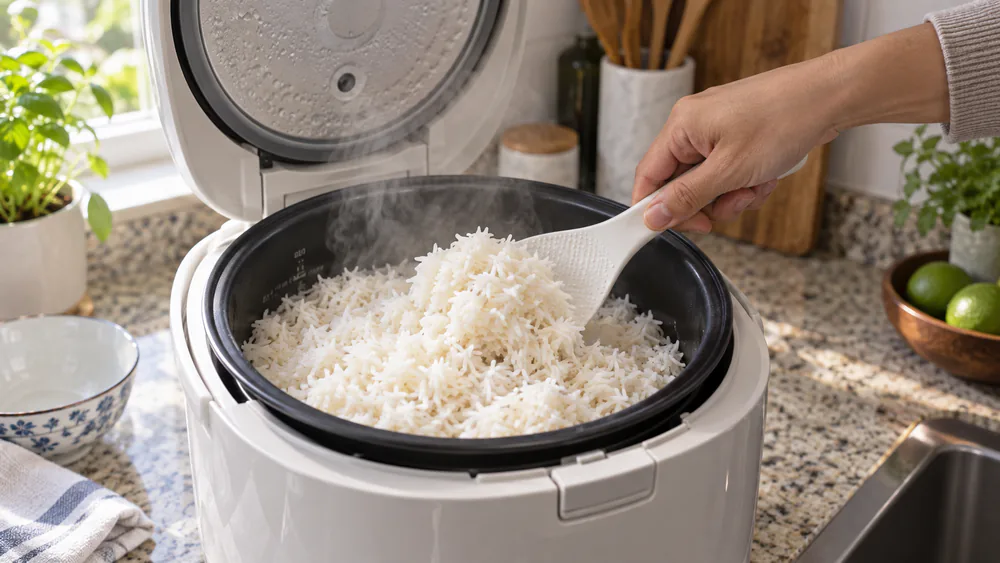
When the cycle finishes, wait. Let the rice rest 10 to 15 minutes in keep-warm mode so the moisture redistributes before you open the lid. Open it right away and you get wetter, clumpier rice; the rest lets the grains firm up. Then fluff, sliding the flat paddle in vertically and turning scoops up from the bottom with a slicing motion.
Tip. Fluff from the bottom up with the paddle held on edge. A gentle slicing lift separates the grains; a stir compresses them and brings out more starch.
Water-to-Rice Ratios by Rice Type
Ratios are where most rice goes right or wrong. The table gives our working numbers per cup of dry rice.
| Rice type | Water-to-rice ratio (per cup dry) | Notes |
|---|---|---|
| Long-grain white | 1 : 1.75 (1 3/4 cups) | About 20 to 30 minutes |
| Medium/short-grain white | 1 : 1.5 (1 1/2 cups) | Firmer, stickier grains |
| Basmati | 1 : 1.5 (1 1/2 cups) | Rinse well |
| Jasmine | 1 : 1.5 (1 1/2 cups) | Fragrant long grain |
| Brown | 1 : 2 to 1 : 2.25 (2 to 2 1/4 cups) | Longest cook |
| Sushi / Japanese short-grain | 1 : 1.1 (180 ml rice to about 200 ml water) | Soak 20 to 30 minutes |
| Parboiled | 1 : 2 (2 cups) | Holds shape well |
Note. Sources disagree on the single "right" white-rice ratio, from 1:1 up to 1:1.75, because it changes with grain length and preference. Start near these figures, then trust your cooker's fill lines.
Cooking Different Types of Rice (Brown, Basmati, Jasmine, Sushi)
Brown rice keeps its bran and germ, so it takes about twice the water, roughly a 2:1 ratio, and cooks longest. That bran also gives it more fiber, B vitamins, and minerals, plus a lower glycemic index, around 55 versus 64 for white; Harvard's nutrition source lays out the nutritional differences between white and brown rice. Use the brown setting if you have one.
Basmati and jasmine are aromatic long grains that cook at about 1 cup rice to 1 1/2 cups water. Rinse them well and they come out separate and fragrant.
Sushi and Japanese short-grain rice run close to a 1:1.1 ratio, roughly one 180 ml cup of rice to 200 ml water, with a 20 to 30 minute soak. The result should be tender and just sticky enough to hold together.
How a Rice Cooker Works
A rice cooker knows when to stop without a timer. It heats the water to a boil, and as long as liquid water surrounds the rice, the temperature at the bottom holds near the boiling point of water, 212 F. Once the rice has absorbed all the water, nothing holds that temperature down, so it climbs past 212 F. A sensor in the base detects the rise and automatically switches the cooker off or drops it to keep-warm. That is why lifting the lid or short-changing the water throws off the result.
Common Mistakes to Avoid
A few habits account for most disappointing batches, and all are easy to fix.
- Skipping the rinse. Leftover starch is the main cause of gluey rice that sticks to the pot.
- Lifting the lid. Peeking mid-cook can drop the temperature inside the pot by around 96 F, disrupting the cook.
- Eyeballing the water. Use the included cup and the fill lines instead of guessing.
- Skipping the rest. Opening the lid the second it beeps gives wetter, clumpier rice.
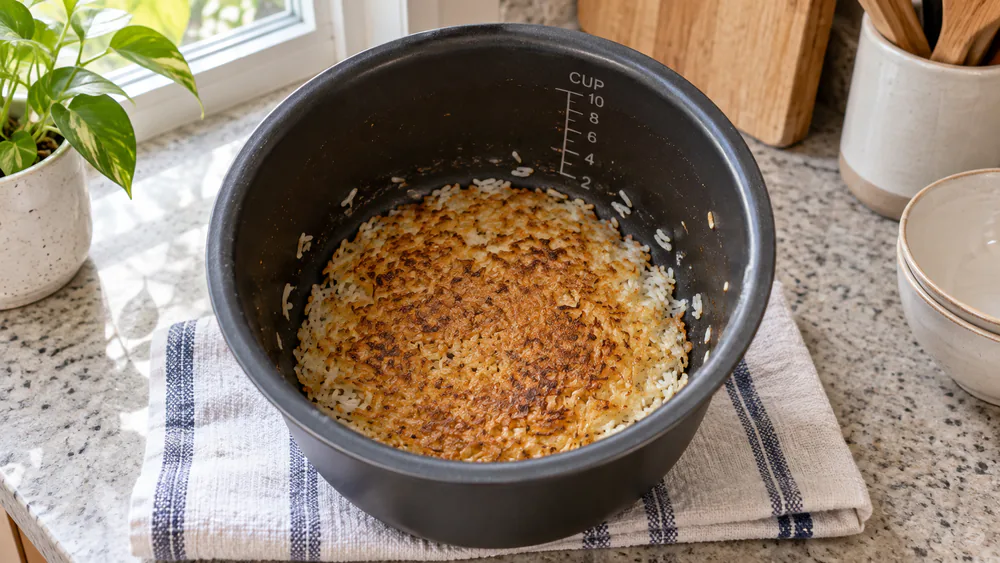
- Leaving rice on keep-warm too long. It dries the rice out and bakes a hard crust onto the bottom of the pot.
The rinse and the rest are the two steps beginners skip, and the two that separate fluffy rice from a gummy clump.
Cleaning and Maintenance
Clean the cooker after it cools and it will last for years. In our teardowns of well-worn machines, the parts that fail are almost always the ones people neglect. Wash the inner pot with warm water, mild dish soap, and a soft sponge. Avoid abrasive scrubbers, metal pads, harsh cleansers, and vinegar, which scratch or corrode the nonstick coating. Detach and wash the inner lid and steam vent separately, since that is where starchy water collects.
The inner-lid gasket is the first thing to go: after enough use it hardens, and you start seeing steam leak around the lid while it cooks. The nonstick pot is the other wear point, since a dent or a coating scratched by metal utensils makes rice stick and burn. The steam vent cap needs the same attention; skip it and it clogs, so a quick pass with a cotton swab keeps it clear.
Warning. Always unplug the cooker and let it cool before cleaning any part. Never submerge the housing or heating base in water; only the inner pot, lid, and vent are washable.
Store the cooker somewhere dry and out of direct sun. A humid cupboard or sunny windowsill encourages mold and premature wear on the seals in a surprisingly short time.
Troubleshooting: Mushy, Undercooked, or Stuck Rice
Most problems trace back to water, rinsing, or timing.
Mushy or gummy rice. Usually too much water, too little rinsing, or both. Cut the water slightly next time and rinse until it runs clear.
Undercooked or crunchy rice. Often too little water, or a lid lifted and heat lost. Add a splash of hot water, close the lid, and give it a few more minutes on keep-warm.
Rice stuck or burnt on the bottom. Under-rinsing and leaving rice on keep-warm too long are the usual culprits, and a scratched or dented pot makes it worse.
The cooker will not turn on. Check that it is plugged in, that the inner pot sits flush against the heating plate, and that the lid is fully closed. Many cookers will not start if the pot is misaligned.
Frequently Asked Questions
What is the correct rice-to-water ratio?
It depends on the rice. Long-grain white runs about 1 cup rice to 1 3/4 cups water, short and medium grain about 1 to 1 1/2, and brown rice roughly twice the water at 2:1. When in doubt, use your cooker's fill lines.
Do I need to rinse rice first?
For most rice, yes. Rinse until the water runs clear to wash off surface starch that makes rice gummy. The exception is enriched white rice, where rinsing removes added nutrients.
How do I know when the rice is done?
The cooker switches to keep-warm on its own when a sensor detects the water is gone and the temperature climbs past boiling. Let it rest at least 10 minutes before opening.
Why is my rice mushy or undercooked?
Mushy usually means too much water or too little rinsing; undercooked means too little water or a lid lifted mid-cook. Adjust the water and keep the lid closed until the cycle ends.
Can I cook other grains or foods in a rice cooker?
Many models handle quinoa, oats, and steamed vegetables, and multi-function cookers have dedicated settings. Follow the grain's own water ratio.
How do I clean a rice cooker?
Unplug and cool it first, then wash the inner pot, inner lid, and steam vent with warm water, mild soap, and a soft sponge. Skip abrasive pads and vinegar.
Conclusion
Using a rice cooker comes down to a handful of steps: measure with the right cup, rinse until the water runs clear, match the water to your rice, let it cook untouched, and rest before you fluff.
One last note for leftovers. Do not leave cooked rice at room temperature more than an hour or two; cool it quickly, refrigerate, and reheat only once to steaming hot. Food-safety authorities explain the safe storage and reheating of cooked rice, because the spores that survive cooking can cause trouble if rice sits out warm.
Read next
Ready to upgrade your kitchen?
Explore our tested buying guides and how-tos to get the most out of every appliance on your counter.