
Knives & Cutlery
Best Knife Sharpening Technique at Home: Step-by-Step Guide

As an Amazon Associate we earn from qualifying purchases. We may earn a commission from links on this page, at no extra cost to you. Learn more.
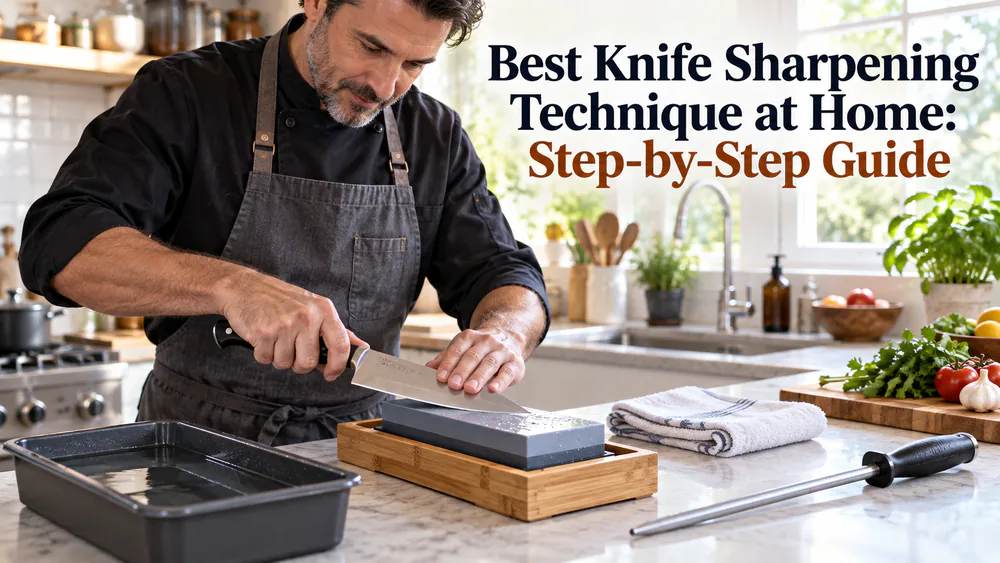
Behind a butcher counter, a knife is a coworker, not a gadget. We spent twenty years working eight hours a day and learned sharpening as an apprentice to a master sharpener. A dull chef's knife slows the work and raises risk; the same blade, freshly sharpened, changes the whole day.
For this guide, we tested the four home techniques: whetstone, honing rod, pull-through sharpener, and electric sharpener, on real dull kitchen knives, ranking them by edge, effort, and cost. We also worked through the finishing strop and the emergency tricks people ask about, like the coffee mug.
The winner is the whetstone, and this guide walks it through step by step, from soaking the stone to testing the edge. If you have never sharpened before, start here and work slow.
Why Sharp Knives Matter (and Why Dull Ones Are Dangerous)
The Hidden Danger of a Dull Blade
A dull knife is the dangerous one: it demands more force, and extra force is when the blade slips.
The Efficiency Cost of a Dull Knife
Sharp steel cuts with the weight of the blade; dull steel needs pressure and repeat passes, so prep takes longer.
How Sharpening Actually Works: Grinding vs. Honing
The Difference Between Sharpening and Honing
Sharpening grinds steel away for a fresh edge; honing realigns a rolled edge without removing metal. Honing keeps a working edge alive; sharpening brings a dead one back.
Blade Anatomy: Bevel, Apex, and the Burr
A knife edge is two bevels meeting at the apex, the cutting point. The burr, a faint rough wire on the far side, is your signal that the apex is finished; no burr means no true apex. The sharpening stone page covers the angle and grit science.
Signs Your Knife Needs Sharpening
Simple Home Tests (Paper, Tomato, Thumbnail)
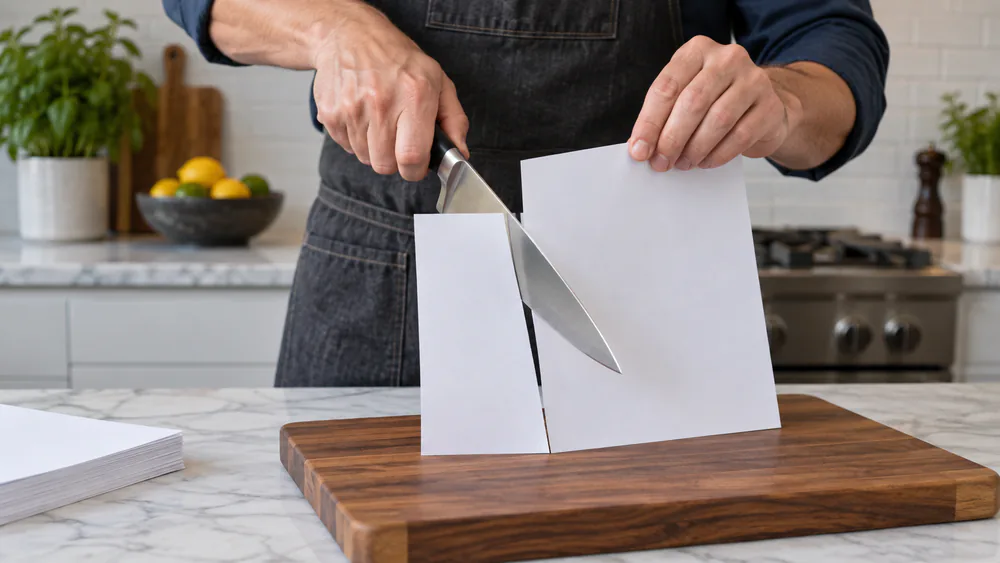
Paper test: a sharp knife slices straight down through printer paper; a dull edge crumples it. Tomato test: the blade's own weight should break the skin; a dull edge saws and crushes. Thumbnail test: rest the edge on a thumbnail; a sharp edge bites, a dull one slides. Fails paper but passes tomato? Hone. Fails tomato? Sharpen.
How Often to Sharpen vs. Hone
Hone weekly, and sharpen 2-4 times a year for a typical home cook; heavy users every 2-4 weeks, light users about twice a year.
The Best Technique at Home: The Whetstone Method
Why the Whetstone Wins for Home Cooks
The whetstone gives the best balance of control and finish of any home method. It removes the least steel, and water keeps the blade cool, so the temper is protected.
Choosing Your Stone: Grit and Type
Coarse stones run 400-1000 and restore dull edges or repair chips; medium runs 1000-3000; fine runs 4000-8000 for polish. A 1000-2000 finish beats most factory edges. If you buy one stone, make it 1000 grit; a 1000/3000 or 1000/6000 combination is the best starter setup, about $40-$70 with street pricing moving week to week.
What You'll Need Before You Start
A whetstone, water, a towel, and a flat work surface. Add a flattening stone; stones wear hollow and need periodic leveling. We learned that the hard way, after about $100 in stones.
Step 1: Prepare the Stone (Soak and Level)
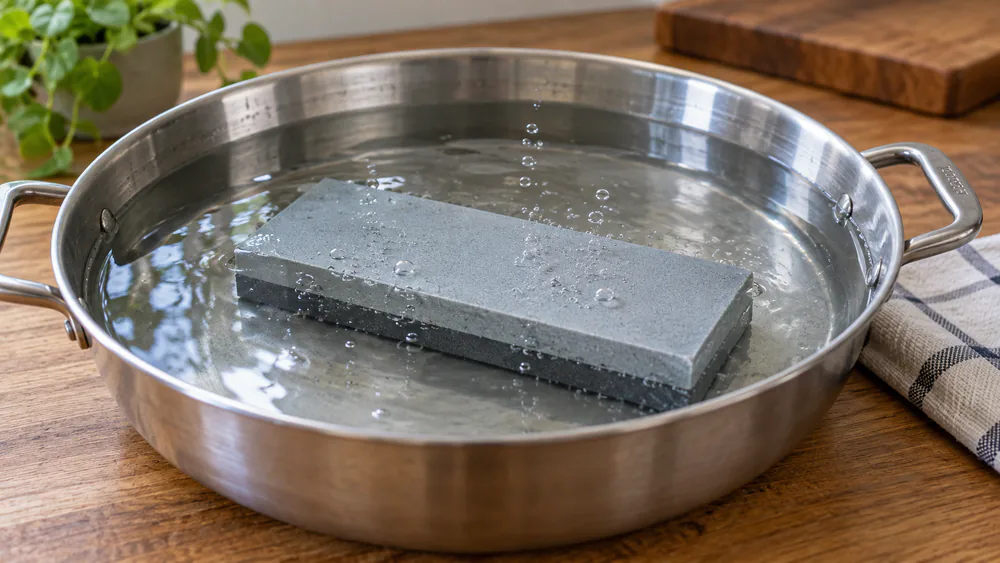
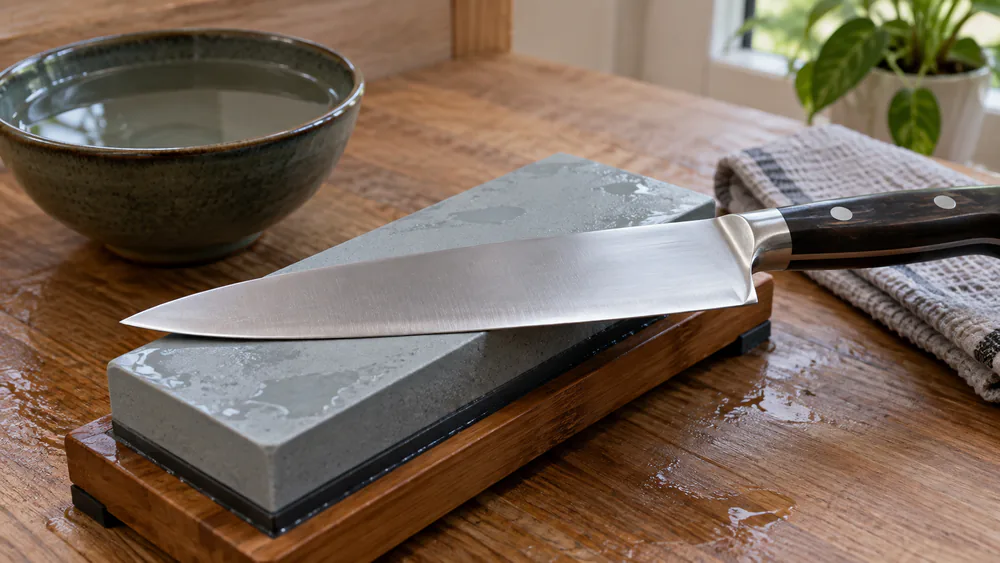
Most soaking stones need 10-15 minutes in water; some take 20-30, and splash-and-go stones skip soaking. First sessions are messy; work over a towel.
Step 2: Find the Correct Angle (15-20 Degrees)
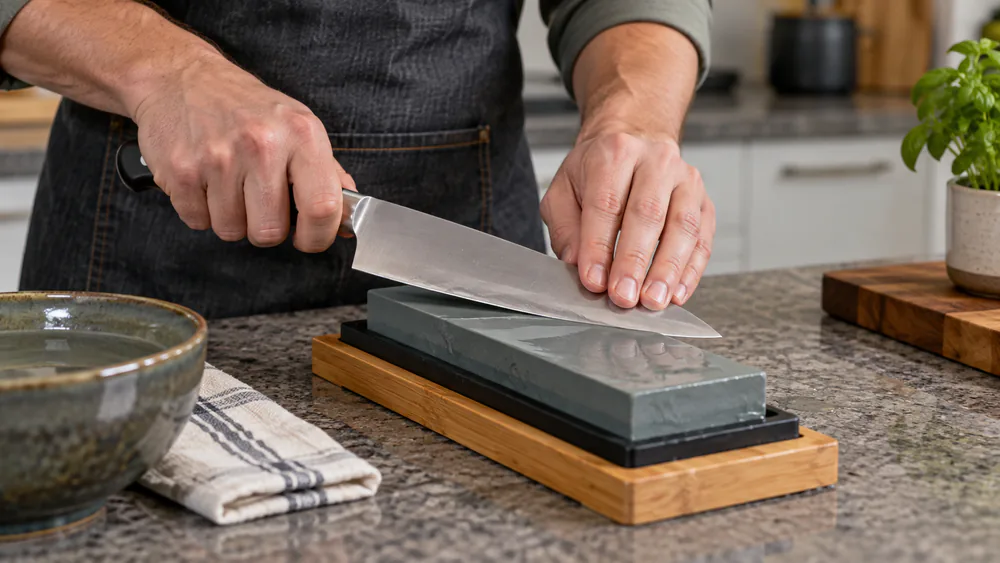
Kitchen knives sharpen best at 15-20 degrees per side; Japanese blades run 15 or less, Western chef's knives 18-22. Match the factory angle.
Tip. Hold the angle and keep the wrist still; a wobbling wrist rounds the edge.
For more on angles and burr control, see the Serious Eats knife sharpening guide.
Step 3: Sharpen the First Side (Coarse Grit)
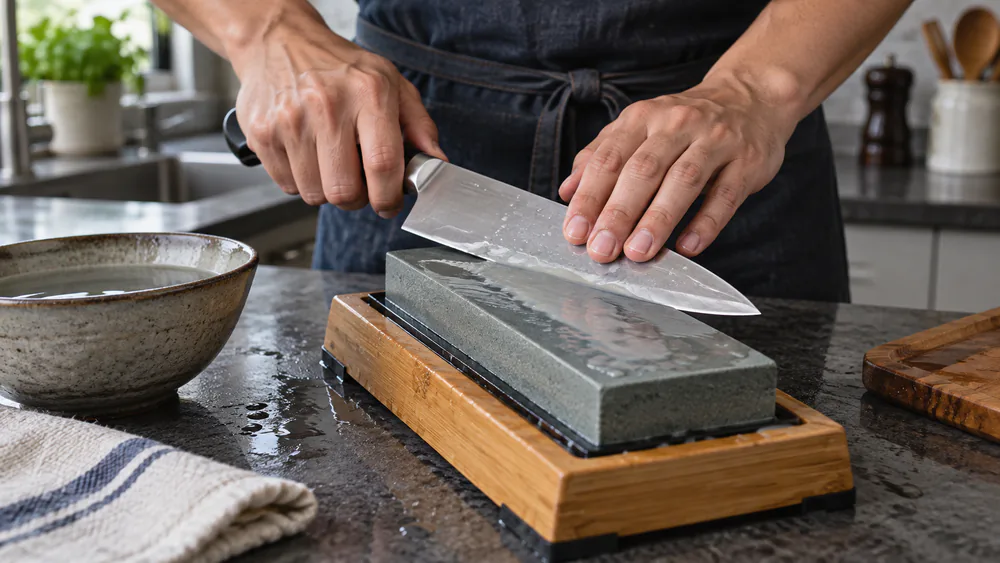
Work the coarse grit first, 10-20 strokes per side; a rich slurry forms within seconds and carries away the metal.
Step 4: Sharpen the Second Side and Build the Burr
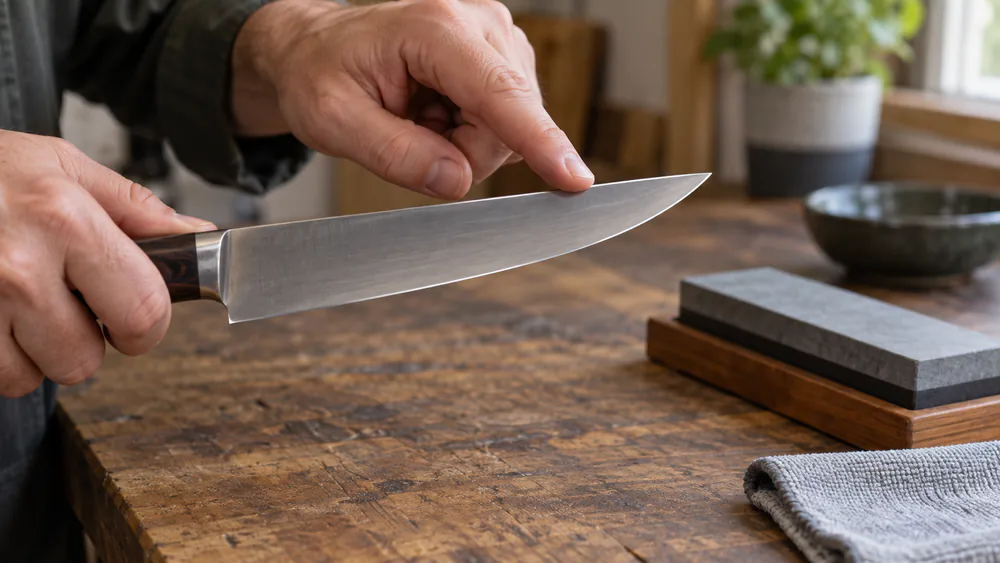
Feel the far edge; the burr should run the full length. Flip the knife and raise the burr on the other side too.
Tip. Check for the burr with a fingertip moving across the edge, never along it. Along the edge is how cooks get cut.
Step 5: Refine with a Finer Grit
Move to medium, then fine grit, with light pressure; heavy pressure rounds what the coarse stone just cut.
Step 6: Clean, Deburr, and Test the Edge
The burr must come off: light alternating strokes at a shallower angle, then single strokes to finish. Wash, dry, and test the edge.
Optional Finish: Stropping with a Leather Strop
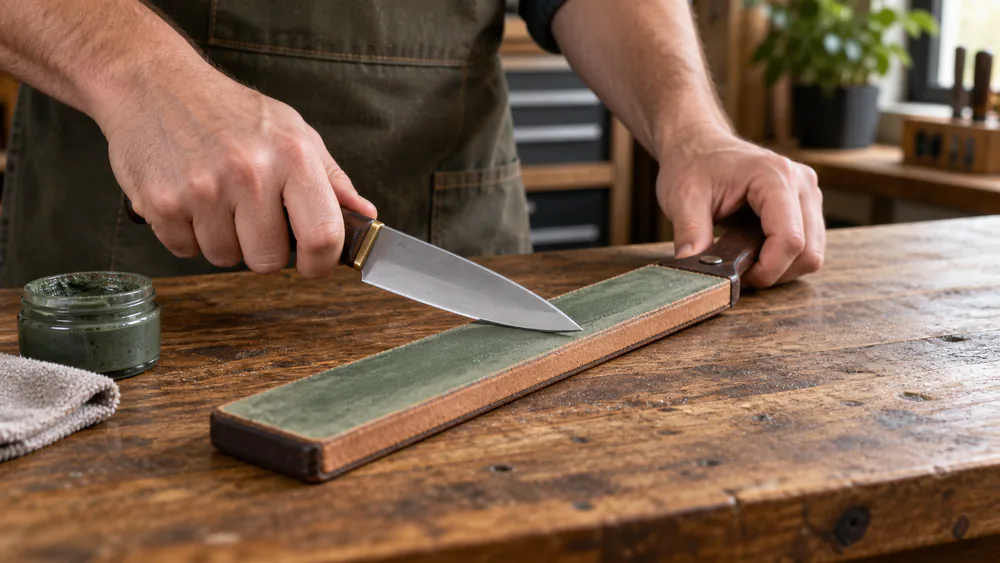
A leather strop removes the final burr and polishes the edge to a razor finish; it cannot set an edge alone, but turns a good edge into a great one.
The Other Three Methods, Ranked
| Method | Edge quality | Effort | Cost | Best for |
|---|---|---|---|---|
| Whetstone | Razor-sharp, long-lasting | Learning curve, then about 20 minutes per knife | $30-$170 | Home cooks who want the best edge |
| Honing rod or steel | Keeps an edge alive; adds no sharpness | 5-10 light passes per side | Low | Weekly maintenance |
| Pull-through | Feels sharp briefly, then fails within days | 5-8 pulls per slot | Budget | Emergencies and cheap knives |
| Electric | Good to excellent on pro models | Angle guides do the work | $136-$199 pro grade | Busy households, softer steels |
Beyond these four, the coffee mug and sandpaper methods are covered in the FAQ.
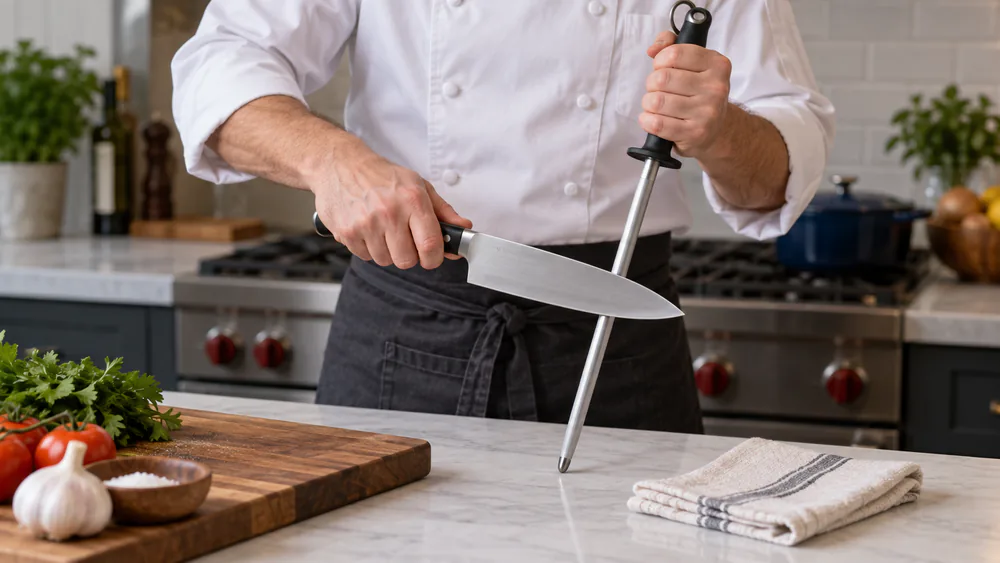
Honing Rod: Daily Maintenance, Not Sharpening
Where the whetstone cuts a fresh edge, the rod only realigns the one you have. Hold the blade at about 15-20 degrees to the rod and work 5-10 light strokes per side, alternating. Steel rods suit Western knives; ceramic or diamond rods handle hard Japanese steels.
We keep a ceramic rod beside the cutting board and spend one minute on the edge before a prep session, the blade meeting the rod at the same shallow angle you use on the stone. The angle matters as much as the rod itself.
Pros: fast, quiet, and safe; the right tool for weekly touch-ups.
Cons: it adds no sharpness and cannot fix a dull or chipped blade.
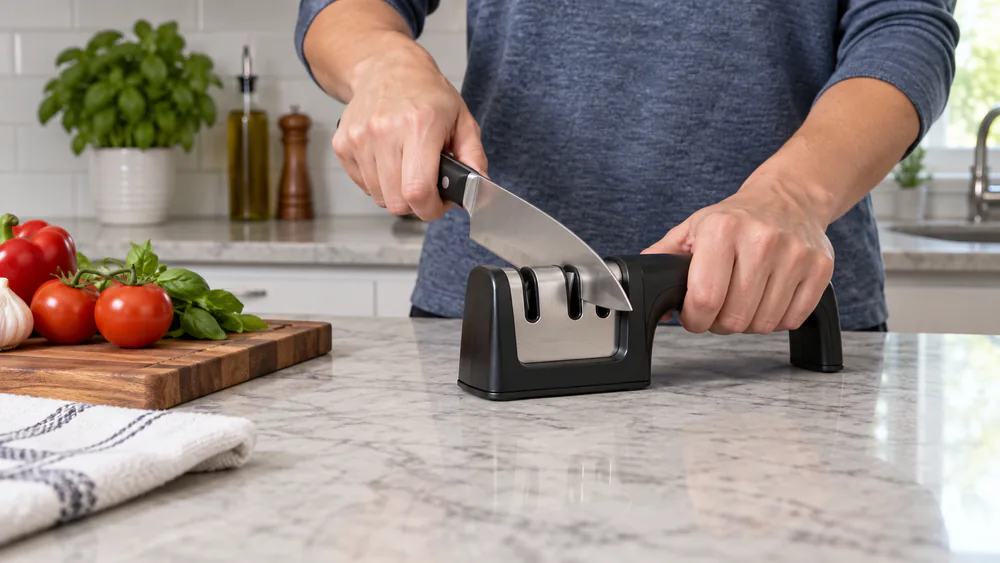
Pull-Through Sharpeners: Fast but Risky
Pull-throughs cut at fixed angles, usually 20-25 degrees per side, no matter the factory bevel, and carbide models eat steel. They leave a burr that never gets removed, so the edge feels sharp briefly, then folds over and dies within days. If you must use one, 5-8 passes per slot is enough.
Pros: nearly instant, zero skill, and cheap.
Cons: fixed angle and heavy metal removal; the edge does not last.
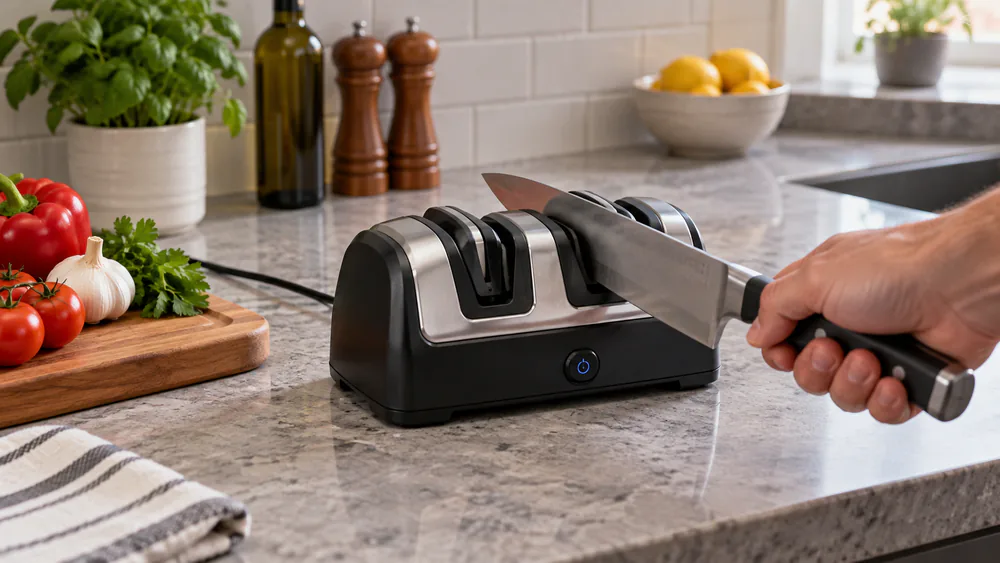
Electric Sharpeners: Convenient but Aggressive
Budget units frustrate more than they save. In our test kitchen, one unit's wheel stopped dead when the blade hit it at the wrong angle, again and again, and another machine's auto shut-off kept stopping before the edge was done, so a single knife took three cycles instead of one. Run one in an open kitchen and you will hear it across the room: about 68 dB, as loud as a blender.
A quality electric re-sharpens a dull knife in about a minute, with roughly 10-second touch-ups after, though times vary by model and steel. The catch is heat and metal: sharpening can soften an edge and shorten its life, and cheap units over-grind. Pro models offer adjustable 15-20 degree settings; budget units use fixed angles that can wreck thin hard Japanese blades. The best units remove more steel than hand methods and struggle above about 62 HRC, though top models match whetstone edge quality.
Pros: fast, nearly automatic, repeatable.
Cons: heat risk, more steel removed, price, and noise.
How to Keep Your Knife Sharp Longer
Honing Between Sharpening Sessions
Hone little and often; a ceramic or diamond rod handles quick morning touch-ups.
Proper Storage and Cutting Surfaces
Wood and plastic boards keep edges alive. Glass or stone boards dull an edge almost immediately, so swap the board before you blame the knife.
A Realistic Maintenance Schedule
When honing stops restoring the edge, that is your cue to sharpen: start at 1000 grit, and drop to 400 grit if the edge still slips. Keep to the cadence above.
Common Mistakes to Avoid
Inconsistent Angle
A drifting wrist rounds the bevel; it is how most people damage their first knife.
Too Much Pressure
Pressure does not make the stone work faster; on fine grits it rounds the edge.
Skipping the Burr
Stop before the burr forms and you have just polished a dull edge.
Not Testing the Edge
Finish with a test, not a guess; re-sharpen if paper or tomato fails.
Warning. Keep your fingers above the spine and never in line with the edge. Work slow, keep your hands dry, and test the edge across a fingertip, never along it.
Troubleshooting Sharpening Problems
Blade Won't Get Sharp
No burr, no edge. Recheck your angle and raise a burr on both sides; most failed edges trace back to that step, not the stone. If it still will not cut, start over on the coarse side.
Uneven Edge or Chips
Uneven bevels trace back to an inconsistent angle. Chips come out on the coarse side, worked until the chip line is gone.
Knife Rusting After Sharpening
Wet sharpening exposes fresh, bare metal, and carbon steel rusts fast if left wet. Dry it immediately and coat it with a thin food-safe mineral oil; camellia oil works too.
Sharpening skills transfer; see how to sharpen blender blades if yours are dull.
Frequently Asked Questions
What angle should I sharpen kitchen knives at?
15-20 degrees per side is the safe starting band, but factory angles vary by maker and model, and expert sources disagree on the exact Western range; match your blade's own bevel when you can measure it.
Is a honing rod the same as a sharpener?
No. A rod maintains the edge you already have; it cannot restore a dull one.
Can I sharpen serrated knives at home?
Yes, on the beveled side only, one serration at a time, with a tapered ceramic or diamond rod; general machine slots flatten the teeth. Plan on it every 6-12 months.
How long does a sharpened edge last?
With weekly honing, most kitchen edges last weeks to months between sharpenings.
How do I know my knife is dull?
Test before a big prep day: if a sheet of printer paper slices clean, you are set; if it crumples, hone first, and sharpen if honing does not restore it.
Can I sharpen a knife with a coffee mug or sandpaper?
In a bind, yes. The unglazed rim under a mug works like a coarse stone at 15-20 degrees, and it took about 30 seconds to turn a knife that barely cut a potato into one that sliced tomatoes cleanly, as how Serious Eats sharpens a knife on a coffee mug shows. It removes a lot of steel, so keep it for cheap knives; sandpaper works the same way.
Conclusion: The Best Technique Is the One You'll Actually Do
For most home cooks, the whetstone is the best technique: the best edge, the least steel removed, a skill that pays for itself. But it only wins if you practice it. If you will never sit down with a stone, a quality electric sharpener with angle guides beats a whetstone that gathers dust. Hone weekly and test the edge on paper or a tomato. Your cooking will thank you.
Read next
The Best Technique Is the One You'll Actually Do
Hone weekly and test the edge on paper or a tomato. Your cooking will thank you.