
Knives & Cutlery
The Best Way to Sharpen a Knife: A Step-by-Step Guide
As an Amazon Associate we earn from qualifying purchases. We may earn a commission from links on this page, at no extra cost to you. Learn more.
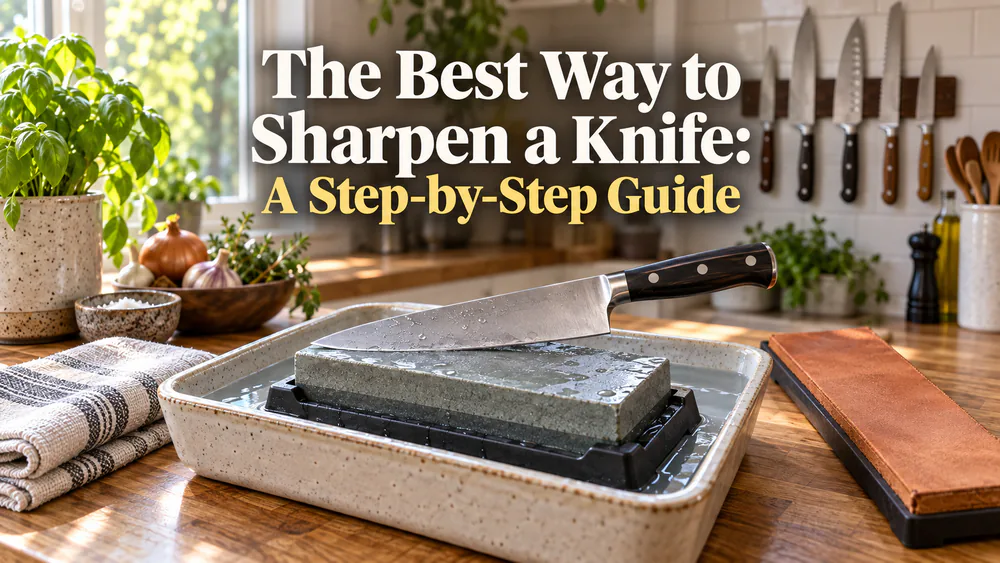
A dull blade doesn't cut well and is more likely to slip, but both problems are fixable in about ten minutes.
We judge edges the way a working kitchen does: a knife is only as good as how it holds up after a week of prep. That is why, after testing every method, we keep a whetstone on the bench, the most controllable way to a razor-sharp edge.
This guide covers why a sharp knife is safer, how sharpening differs from honing, how each method stacks up, and the whetstone routine itself.
Why a Sharp Knife Matters (and Why Dull Is Dangerous)
A dull knife is the more dangerous one because it needs more pressure to push through food, and that force makes it slip when it gives. A sharp edge bites where you put it, so you control the cut.
The edge wears with use: the cutting teeth roll over and fold, and a rolled edge pushes through a tomato instead of slicing it. The fix is a few minutes of sharpening, a skill that pays off across every knife you own.
Warning. A dull knife is a slip waiting to happen: it needs more force and is more likely to skid into a finger, so keep your fingers clear when you sharpen.
Sharpening vs. Honing: What's the Difference?
People use the two words interchangeably, but they mean different jobs: sharpening removes metal to rebuild the edge, while honing realigns the edge you have.
What Sharpening Does (Removes Steel to Rebuild the Edge)
Sharpening grinds away a thin layer of steel to form a fresh cutting edge, and that is how you fix a knife that is truly dull, chipped, or so worn it pushes through food. A whetstone, an electric sharpener, a pull-through, even a coffee mug, all sharpen by removing metal.
What Honing Does (Realigns the Edge Between Sharpenings)
Honing straightens the edge without removing meaningful amounts of metal; with use the cutting teeth roll over, and a few passes on a honing steel push them upright. That is why a steel cannot fix a dull knife: when the edge is gone, steeling only makes it feel sharp for a few minutes. Hold the knife at about 20 degrees to a Western rod, three to five strokes per side.
The Best Sharpening Methods Compared
The five methods below cover what most people need, and they differ in speed, learning curve, and how much steel they remove; see Wikipedia's overview of knife sharpening methods.
Whetstone: Best Overall Control and Edge Quality
A whetstone is a block of abrasive stone you slide the blade across at a set angle, and we recommend it for most home cooks because you set the angle yourself; a combo runs $20 to $60. A guided system like the guided field sharpener sets the angle for you; our knife sharpening technique at home guide covers the full routine.
Honing Rod (Sharpening Steel): Everyday Maintenance Between Sharpenings
A honing rod is the metal rod hanging from so many knife blocks, and it maintains rather than sharpens: a smooth rod realigns the edge between sharpenings and keeps a good knife cutting, while a coarse diamond or ceramic rod is abrasive, closer to a sharpener.
Pull-Through and Electric Sharpeners: Fast but Higher Risk
Pull-through and electric sharpeners are the fastest option, re-sharpening a knife in one to two minutes, but the trade-off is metal: a pull-through took 2 grams of steel off a knife in one sharpening, and overused, that whittles a blade down. Reserve them for stamped-steel knives; an electric knife sharpener with a fine slot is safer.
Leather Strop: Final Polish and Burr Removal
A strop is a strip of leather that finishes an edge and removes almost no metal; it straightens the teeth and lifts the burr left by sharpening. Pull the edge trailing so you do not slice the leather, 5 to 15 passes per side; a cheap leather strop is an easy upgrade.
DIY Alternatives: Sandpaper, Coffee Mug, and Mousepad
When you are stuck without a stone, a few kitchen objects work: the unglazed rim of a coffee mug removes metal at a 15 to 20 degree angle, and in about 30 seconds a knife that could barely hack through a potato was slicing tomatoes. It eats metal, so save it for emergencies, and sandpaper on a mousepad also replicates a stone.
How to Sharpen a Knife with a Whetstone (Step by Step)
This is the routine we use on most of our kitchen knives, and it takes ten to fifteen minutes the first time.
What You'll Need to Get Started
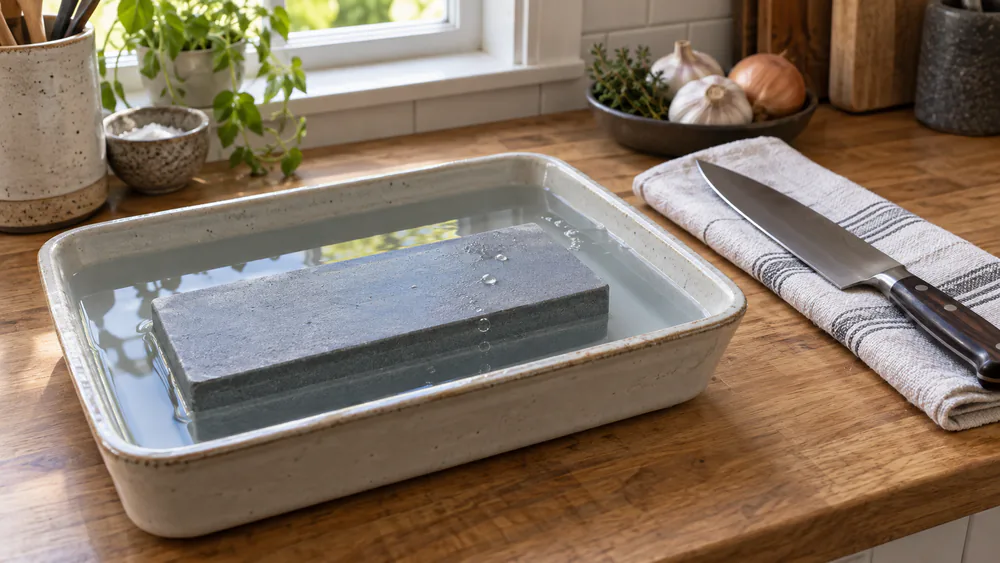
A combination water stone is the best value for most kitchens, and a 1000/3000 or 1000/6000 combo covers routine sharpening and refinement in one, though a single 1000-grit stone suffices for basic work. Soak a traditional stone until it stops bubbling, about 5 to 15 minutes, and spritz a splash-and-go stone instead. Set it on a towel with a wiping cloth nearby, and you will find sharpening stones at almost any price.
Warning. Set the stone on a non-slip mat or wet towel so it does not slide, keep fingers clear of the edge, and cut on wood or plastic, never glass or stone.
Find and Hold the Correct Angle
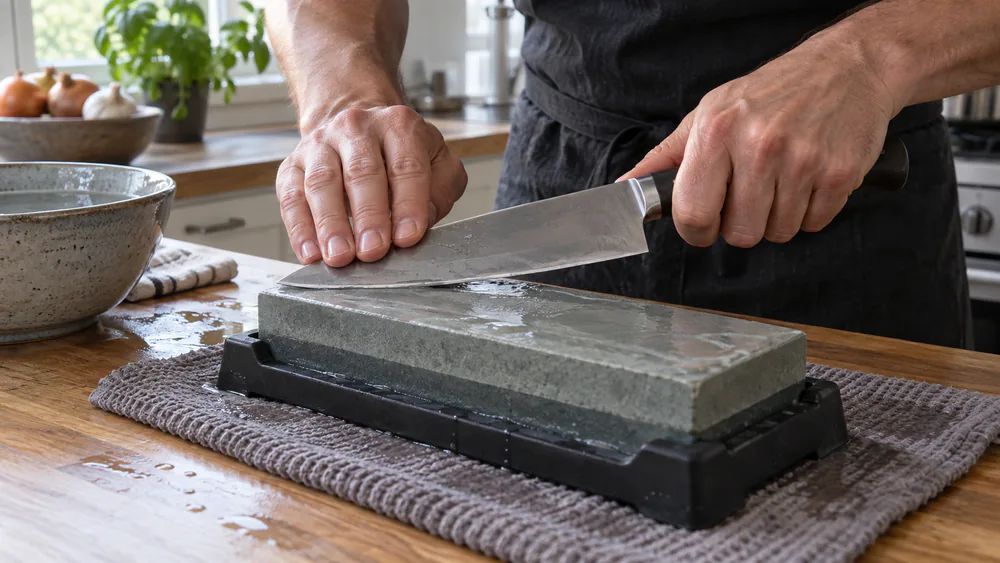
The angle is the hardest part to learn: hold a kitchen or chef's knife at 15 to 20 degrees per side, roughly two stacked coins' width under the spine, and lock your wrist. Move from the shoulder so the angle does not drift; angle consistency beats precision, and a steady 18 degrees beats a wobbly 15.
Start Coarse: Raise a Burr
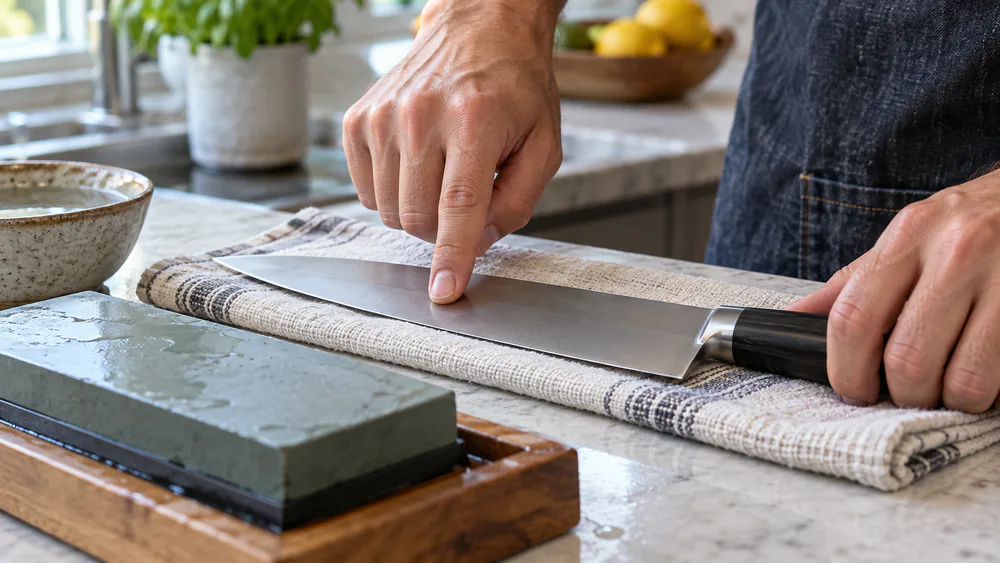
Start coarse if the edge is dull or chipped, 400 to 800 grit, or at 1000 grit for a knife in decent shape, and stroke edge-leading from heel to tip with the angle locked. In our tests, a medium-grit stone raised a burr in about 20 strokes per side; the burr, a thin wire of folded metal, tells you when to switch sides once it catches a thumbnail.
Tip. Feel for the burr with a light thumbnail drag across the full edge; an even catch from heel to tip means switch sides.
Move to Finer Grits: Refine the Edge
Flip to the finer side, 3000 to 6000 grit, and repeat with lighter pressure. Save 8000 grit or finer for a mirror edge, since a high-polish edge struggles to start cuts on soft vegetables.
Remove the Burr and Finish with a Strop
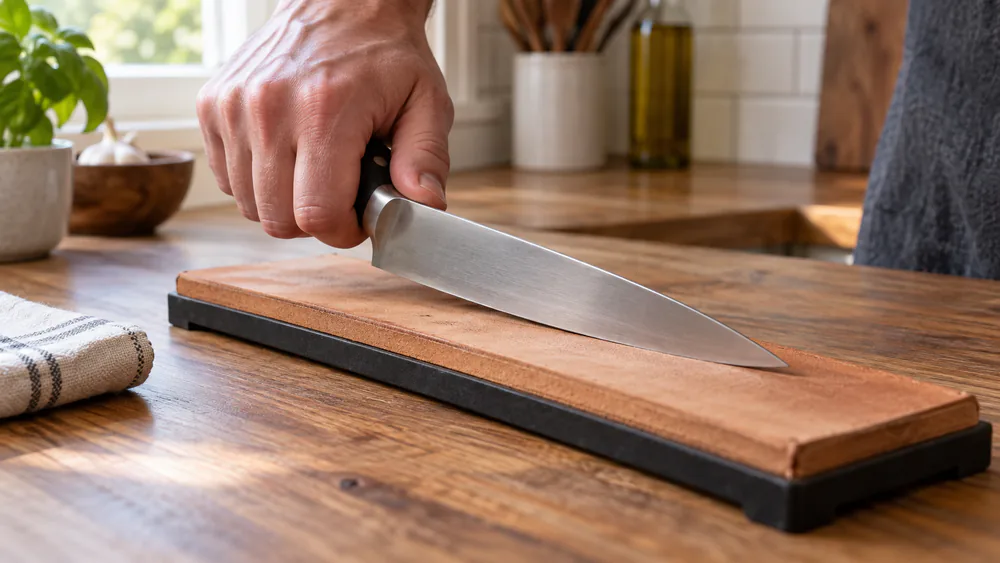
The burr must come off, or it folds over and dulls the edge on the first cut, so finish with 5 to 15 trailing-edge strokes per side on a leather strop.
Tip. Keep finishing strokes trailing, edge pointing away from travel; light passes remove the burr without rolling it back.
Test the Edge (Paper and Thumbnail Tests)
Push-cut paper without snagging, then the tomato test, where the edge bites the skin and glides through; a thumbnail drag should catch, and the edge reflects no light. If it fails, go back to the finer grit.
Sharpening Angles and Grit by Knife Type
One angle does not fit every blade: kitchen knives, outdoor blades, and serrated edges each want a different geometry, and in CATRA testing of 48 knife steels, sharpening practice had a larger effect on cutting performance than the steel itself.
Kitchen and Chef's Knives (15-20°)
Hold a kitchen or chef's knife at 15 to 20 degrees per side; German knives sit at 17 to 20, while Japanese double-bevel knives cut sharpest at a lower 10 to 15. Start at 1000 grit for routine work, drop to 400 to 800 for repairs, and finish at 3000 to 6000.
Pocket, Outdoor, and Fixed-Blade Knives (20-25°)
Heavy-duty and outdoor blades take a wider 20 to 25 degree angle for a tougher edge, starting around 400 to 800 grit and finishing at 800 to 1200. Pocket knives stop around 800 to 1200, fixed blades around 600 to 1000.
Serrated Knives
Serrated knives are the exception: sharpen only the beveled side, one serration at a time, with a tapered ceramic honing rod sized to fit the teeth, at roughly 13 to 17 degrees and two to five strokes per tooth. Never use an electric or belt sharpener.
Note. Bevel conventions differ: most Western knives are ground symmetrically, one bevel per side, while many Japanese knives are single-bevel or cut much lower.
| Knife type | Recommended angle | Starting grit | Finishing grit | Best method | Notes |
|---|---|---|---|---|---|
| Kitchen / Chef's | 15-20° per side | 1000 (routine); 400-800 (repair) | 3000-6000 | Whetstone | German knives 17-20°; Japanese double-bevel 10-15° |
| Pocket / Outdoor / Fixed | 20-25° per side | 400-800 | 800-1200 | Whetstone or guided field sharpener | Convex edge from sandpaper/mousepad is forgiving |
| Serrated | 13-17°, match the existing bevel | Ceramic rod, no grit stone | Rod only; deburr the flat side | Tapered ceramic rod, bevel side only | Never use electric or belt sharpeners |
Knife Maintenance to Keep Edges Sharp Longer
How Often to Sharpen a Knife
A knife needs sharpening when the edge is gone, not on a fixed calendar. A home cook who hones regularly lands every 3 to 6 months, and diligent honing stretches that to once or twice a year; working chefs sharpen every 1 to 3 weeks. The cue is the edge: if honing no longer helps, sharpen.
Storage, Cleaning, and Honing Between Sharpenings
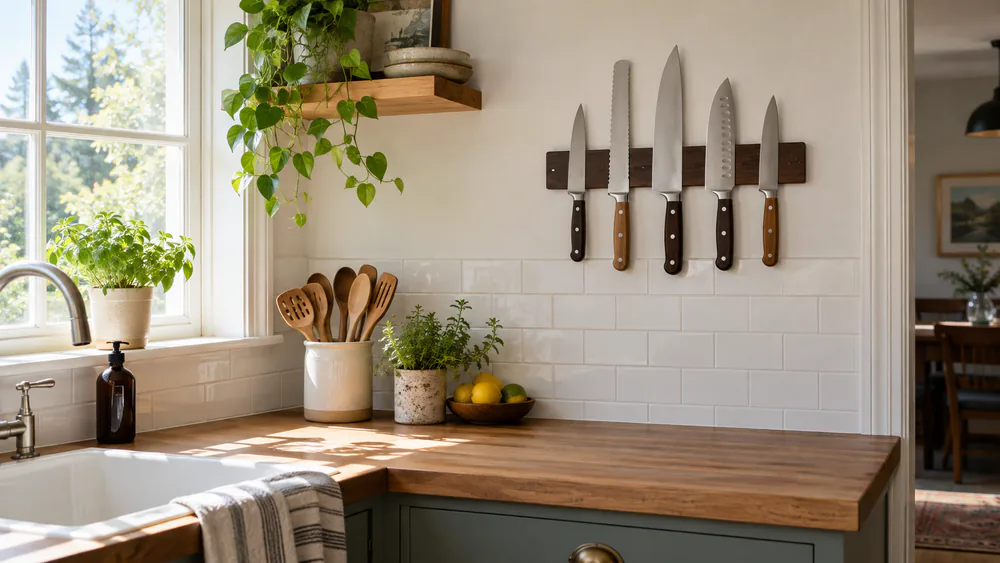
How you store a knife affects the edge as much as how you sharpen it: use a block, magnetic strip, or sheath, never a loose drawer, and hand-wash instead of the dishwasher. Hone every few uses, and a minute of stropping after each session extends the time between sharpenings.
Common Sharpening Mistakes to Avoid
The mistakes below account for most bad edges we see.
- Honing a truly dull knife and calling it sharpened, when the worn-away edge only feels sharp for a few minutes because the metal is gone, not just rolled.
- Letting the angle drift, since a wobbly wrist rounds the edge and no extra passes fix it.
- Pressing too hard on fine grits, where light pressure is the rule as the grit climbs.
- Switching sides before the burr forms, which sharpens air on the other side.
- Running serrated or very hard knives through electric sharpeners, which can chip or thin a blade.
- Sharpening on a glass or stone board, which undoes the edge almost as fast as you raise it.
Frequently Asked Questions
How often should you sharpen a knife?
Hone for about 20 to 30 seconds a session, and let the edge, not the calendar, decide: when a few passes on the steel stop restoring the bite, the knife needs a stone.
When should you hone instead of sharpen?
Hone between sharpenings, every few uses, while the edge is still there but rolled; if a knife pushes through a tomato instead of slicing and honing does not help, it needs real sharpening.
Do electric sharpeners damage knives?
They can, over time, though not for every blade. They remove more metal than a whetstone, and repeated passes thin the blade and throw off its balance. Fixed-angle slots rarely match Japanese or single-bevel knives, so keep powered sharpeners for stamped-steel knives and the finest slot for touch-ups.
Can you ruin a knife by sharpening it the wrong way?
Yes, and the damage is usually one of a handful of habits, so practice on a beater knife first. An inconsistent angle rounds the edge, a coarse slot can chip a hard blade, and an electric sharpener can thin it past balance. Work both sides evenly: over-repairing one side leaves a lopsided bevel that steers the knife.
How do I know when my knife needs sharpening?
It pushes through a tomato instead of slicing, the paper test snags, honing stops helping, or the edge reflects light; any of those means the edge is gone.
Can I sharpen a serrated knife at home?
Yes, with a tapered ceramic rod sized to the teeth, working one serration at a time on the beveled side and never touching an electric sharpener. The gotcha is knowing when you are done: a sharp serrated edge catches a thumbnail on every tooth, and a light pass on the flat side removes the burr without flattening the points.
Conclusion: Master the Best Way to Sharpen a Knife
For most home cooks, the best way to sharpen a knife is a medium-grit whetstone at a steady 15 to 20 degrees; it is the most controllable method and gives the best edge quality. Learn to raise a burr, refine it, and finish on a strop, and you will never dread a dull knife again.
You do not need an expensive setup: a 1000/3000 combo and a little practice keep every knife razor sharp. Hone between sharpenings, store knives properly, and sharpen when the edge tells you to.
Read next
Master the Best Way to Sharpen a Knife
A 1000/3000 combo and a little practice keep every knife razor sharp. Hone between sharpenings, store knives properly, and sharpen when the edge tells you to.