
Knives
How to Sharpen a Serrated Knife at Home, Gullet by Gullet
As an Amazon Associate we earn from qualifying purchases. We may earn a commission from links on this page, at no extra cost to you. Learn more.
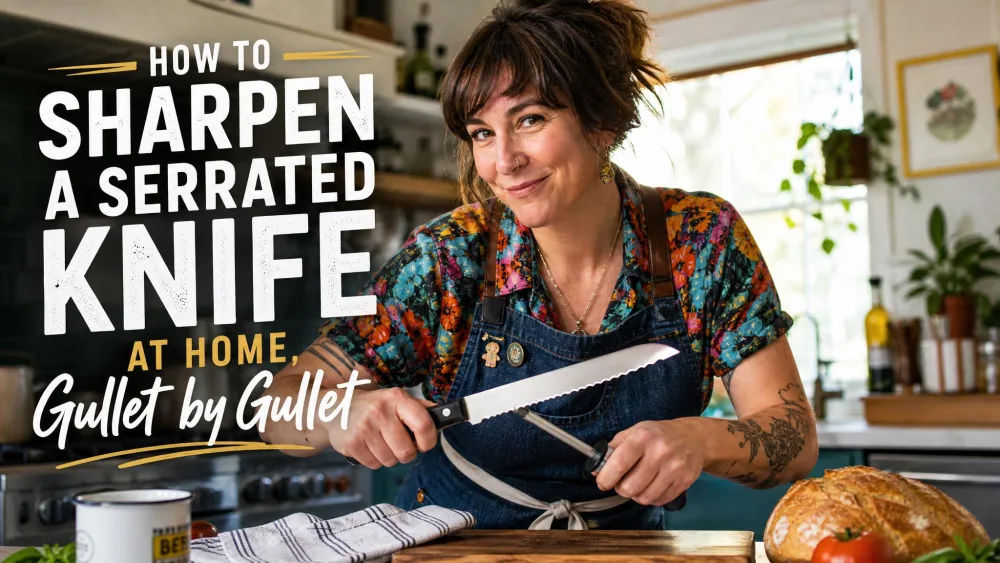
A serrated knife is a blade with a row of small scallops, called gullets, that grip and saw through crusts and tomato skins. The good news is that it stays sharp far longer than a straight-edged knife, and a tapered rod can bring it back at home. In our kitchen we sharpen each scallop on its own with light pressure, and this guide shows exactly how.
How a Serrated Edge Works
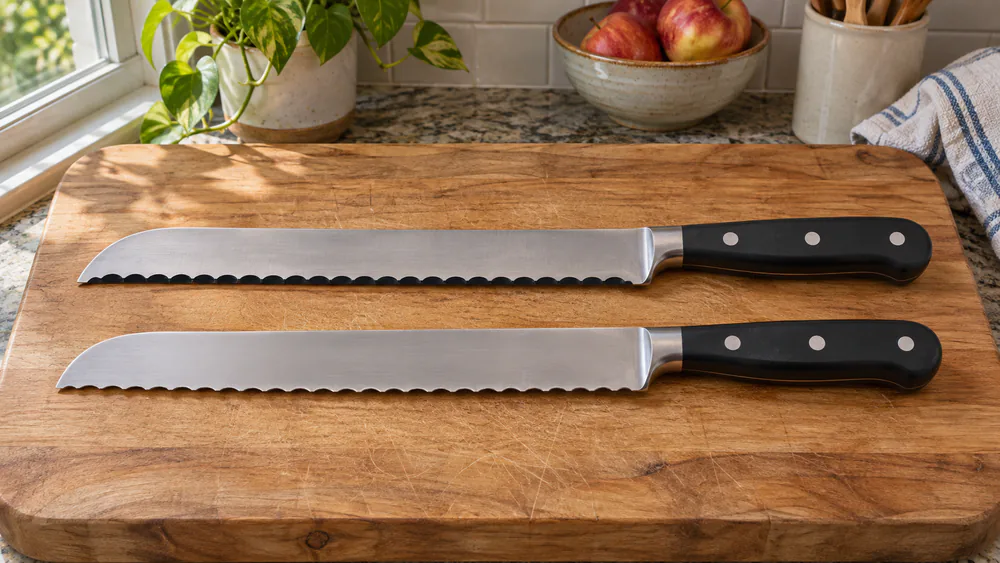
Only one side of a serrated blade is beveled into scallops. The other side is flat. Each scallop acts as its own small blade, which is why the knife can saw through a hard crust without needing a razor-fine apex.
You can see how serrations are shaped on a blade edge in any bread knife: points on the tips, curved valleys between them. Culinary serrated knives mostly run from 4.5 to 10 inches, so a long loaf knife can carry dozens of scallops. The number of scallops determines how much work lies ahead: each needs a few strokes of its own.
Can You Sharpen a Serrated Knife?
Yes. You just can't treat it like a straight edge. A flat stone or a fixed-slot pull-through can't follow the curve of each gullet, so you need a tool small enough to sit inside it.
You also do not need to sharpen it often. A bread knife can go a year or even several years between sharpenings, while a daily-use chef's knife needs attention about monthly.
Signs your serrated knife needs sharpening
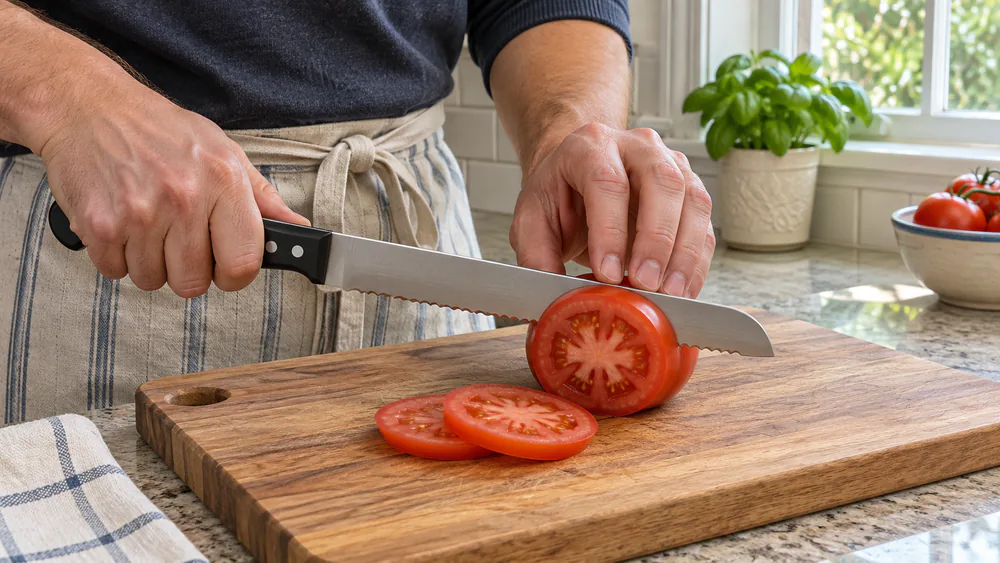
The tomato tells you first. A dull bread knife squishes or tears the skin and leaves liquid on the board instead of cutting cleanly. Other signs are a crust that crushes before it cuts, and a blade that needs pressure instead of a light sawing motion.
What You Need to Sharpen a Serrated Knife
The kit is small. You need a tapered rod, something to remove the burr, and a marker.
Tapered ceramic or diamond rod
A tapered rod is thin at the tip and wider at the base, so you can pick the spot on the rod that matches each gullet. A ceramic rod has a finer grit that burnishes each serration gently, which makes it more forgiving for a first attempt. A diamond rod cuts faster, so use it when the edge is truly dull and keep your pressure light.
For the fine serrations on a steak knife, use the thin tip. For a bread knife with wide scallops, move toward the thicker part.
Other options: electric sharpener slot, slipstone
A slipstone or triangular rod also works. For the flat-side burr you want a fine stone, a strop, or 600-plus grit sandpaper. In a pinch, a thin screwdriver wrapped in fine sandpaper stands in for a rod, and a rat-tail file handles chipped teeth. Electric units are covered in their own section below.
If you also keep straight-edged knives, our guide to knife sharpeners covers the tools that suit those blades.
Warning. Skip flat stones and pull-through sharpeners on a serrated blade. They flatten the teeth, and in our experience the knife never cuts the same afterward.
How to Sharpen a Serrated Knife Step by Step
Wash and dry the blade first. Food residue, oil and rust hide in the gullets and get in the way, and soaking dried-on food for a minute or two loosens it. Then work on a stable board or hold the knife flat on a towel.
Step 1: Find the beveled side and match the angle
Look along the edge. The side with the angled scallops is the beveled side, and that is the only side you sharpen. The flat side stays flat.
Hold the rod against the existing bevel at 15-20 degrees. Factory angles vary by knife, so let the knife tell you the right one. Color the bevel with a marker, take a few strokes, and see where the ink clears. Ink left only at the apex means your angle is too steep. Ink left at the top of the grind means it is too shallow.
Step 2: Choose a rod that fits the gullet
Slide the rod into a scallop and look at the fit. A rod larger than the gullet rounds the teeth and erases the pattern. If the rod looks too big for the gullet, it is.
Tip. Match the rod diameter to the scallop, use light pressure, and keep your free hand clear of the blade.
Step 3: Sharpen each gullet with light strokes
Push the rod away from the edge with light pressure. Keep the other hand clear, because a slip with heavy pressure moving toward the blade is how people end up with stitches.
Use short strokes. Long strokes cut a crater into the center of each scallop because a section of the tapered rod that is too thin does most of the work. Short strokes, or spinning the rod at the matched diameter, avoid that.
How many strokes? Sources run anywhere from 4 to 20 per gullet, depending on how dull the edge is, so don't count. Watch for the burr instead. It shows up as a faint wire on the flat back, and once it runs along every scallop you can stop raising it.
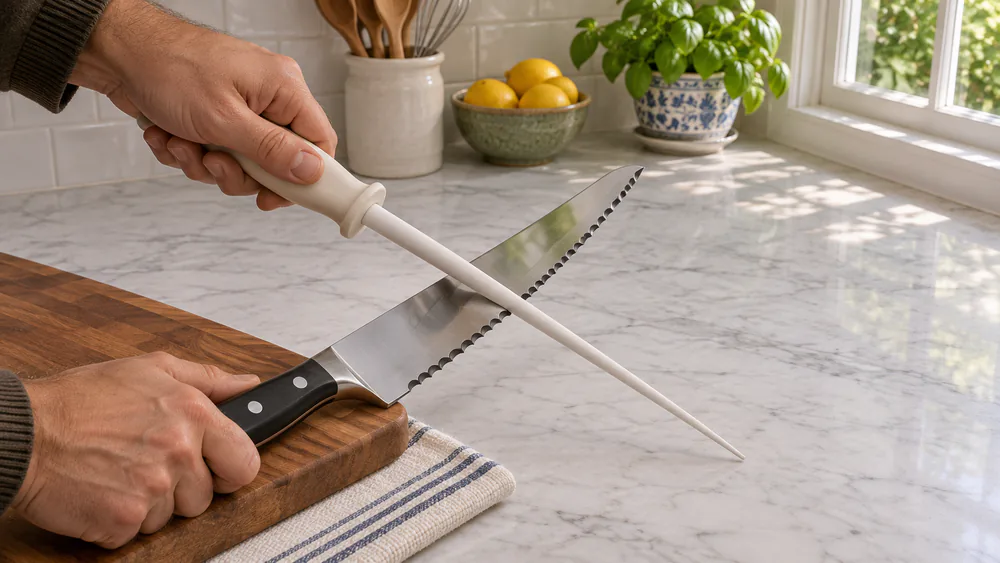
With 30 or more scallops, the job is slow and a little monotonous. Each scallop goes quickly once you've found the angle, so the first one is the hard one.
Step 4: Remove the burr on the flat side
Turn the knife over. Lay a fine stone, strop or sandpaper nearly flat, at about 10 degrees, and make 2-3 feather-light passes along the flat back. Going back and forth between light passes on each side folds the burr off cleanly.
Resist the urge to do more. Over-deburring is a real mistake: grinding the flat side like a straight edge wears the teeth down.
Step 5: Test the edge
Go back to the tomato. A sharp serrated knife bites the skin on the first draw and cuts without squishing. A sheet of paper or a soft crust works as well. If it still tears, return to the gullets and add a few more short strokes where it drags.
How to Sharpen a Serrated Knife With an Electric Sharpener
Only use an electric unit that has a dedicated serrated stage or belt. Standard two-wheel diamond units can't follow gullet curves, and they remove metal unevenly. If the machine doesn't name a serrated slot, leave your bread knife out of it.
Even with a proper unit, follow the same logic: sharpen only the beveled side, and keep the flat side to a light touch.
How to Keep a Serrated Knife Sharp Longer
A few light rod passes now and then beat a full resharpening later. The habits below do most of the work.
Cleaning and storage
Wash and dry the knife right away, and keep it out of the dishwasher. Heat can damage the handle, and rattling against other items dulls the edge further. Store it in a block, a sheath or on a magnetic strip so the teeth don't bang against other tools.
Cutting surfaces and use
Use a wood or plastic board. Glass, stone and ceramic dull teeth quickly. Let the saw action do the work, with light downward pressure, and the scallops keep their points far longer.
Common Mistakes to Avoid
The biggest one is the wrong tool. Flat stones and pull-throughs flatten the teeth. Close behind is a rod that is too big for the gullet, which rounds off the points.
The next is grinding the flat side. Only the beveled side gets sharpened, and the back gets one or two feather-light passes. Then comes heavy pressure and long strokes, both of which dig craters and make slips more likely.
Last, don't skip the clean-up. Residue in the gullets throws off your angle before you've started.
When to Take It to a Professional
Hire a pro for chipped, bent or flattened teeth, uneven gullets, or a very dull edge. A very dull serrated knife can take nearly an hour at the shop bench, which is real work for one blade.
If the knife is a very cheap stamped one, replacing it is often cheaper than sharpening it. Good bread knives are worth the trip.
FAQs
How often should I sharpen a serrated knife?
Rarely. A bread knife can go a year or more between sharpenings. Do a few light rod passes when the tomato test starts to fail.
Can I use a whetstone on a serrated knife?
Not on the scalloped side. A flat stone can't follow the gullets and flattens the teeth. A fine stone is only for the flat back, to remove the burr.
Can I use a pull-through sharpener on a serrated knife?
No. Generic pull-throughs flatten the teeth, and the knife never cuts the same afterward. Use a tapered rod, or an electric unit with a dedicated serrated stage.
Is a bread knife the same as a steak knife for sharpening?
The method is the same, but the rod is different. Steak knives have finer serrations, so use the thin tip of the rod. A bread knife has wider scallops that take a thicker section.
Final Thoughts
Sharpening a serrated knife comes down to three habits: find the beveled side, match the rod to the gullet, and stop when you feel the burr. Keep your pressure light and let the tomato test tell you when you're done.
Read next
Ready to upgrade your kitchen?
Browse our buying guides for the knives and sharpeners that keep every edge working.