
Recipes
Ninja Creami Milkshake Recipe

As an Amazon Associate we earn from qualifying purchases. We may earn a commission from links on this page, at no extra cost to you. Learn more.
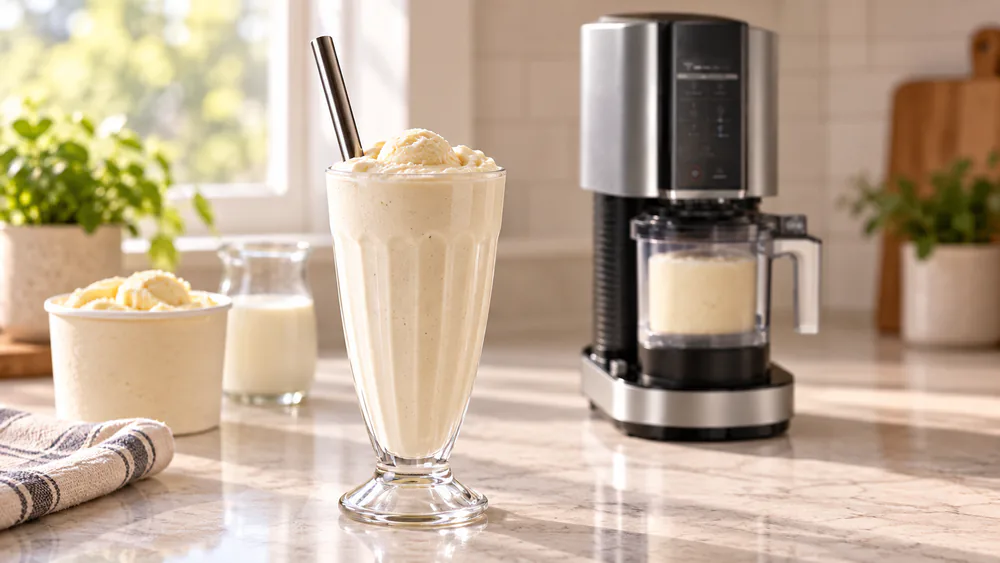
A Ninja Creami milkshake is exactly what it sounds like: a thick, creamy, spoon-coating shake spun up in the same little pint jar you use for the machine's ice cream. What makes it different from a blender shake is the dedicated Milkshake program, which runs automatically and pulls everything into a smooth, even pour. In our kitchen, that one button is the whole reason the Creami earns its counter space for shakes.
The best part for a busy weeknight is what you can skip. When you start with store-bought ice cream, there is no advance 24-hour freeze to plan around, so the shake is ready right away. We time the whole thing at about 5 to 7 minutes from grabbing the jar to the first sip. The Milkshake program behaves more like a powerful blender than the long ice-cream spin cycles, which is why you get that creamy texture without the usual wait.
We have run this base method through chocolate, vanilla, strawberry, peanut butter, and a high-protein version, and it holds up every time. Below is the formula we keep coming back to, plus the small fixes that rescue a shake that comes out too thin or a little powdery.
Why You'll Love This Milkshake
This is a genuinely creamier shake than a standard blender turns out, and the pint jar is easier to clean afterward. No thin, foamy layer on top, no scraping a tall blender jar, just a rich shake and a quick rinse.
It is fast and forgiving. The ratio is simple, the program does the work, and a shake that comes out wrong is easy to correct in under two minutes.
It is endlessly flexible. Swap the ice cream flavor, add an extract, or stir in candy and fruit, and the same base becomes a different sweet treat every time.
Ingredients: What You'll Need
The ingredient list for the base shake is very short. Two ingredients do the heavy lifting, and everything else is optional.
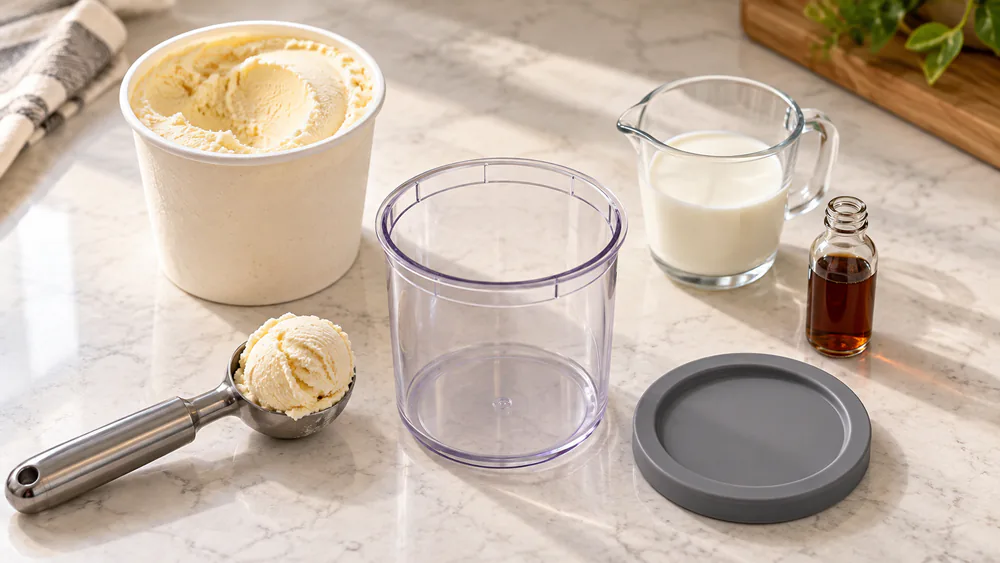
- Ice cream: about 1.5 cups, roughly 3 scoops, of your favorite flavor.
- Milk: about 1/2 cup to start. Whole milk's higher fat content gives the richest, creamiest texture, though oat or almond milk work well for a dairy-free shake.
- Optional add-ins: a splash of vanilla extract, a spoon of cocoa or peanut butter, or up to about 1/4 cup total of crushed candy, frozen fruit, or chocolate.
That ratio of ice cream to milk is the part worth memorizing. We start with a ratio of about 3:1 for a thick shake that you can still sip through a straw.
Tip. Start with less milk than you think you need. You can always add more and re-spin, but you cannot pull milk back out once the shake goes thin.
Equipment and Tools Needed
You need the Ninja Creami itself, with its pint jar and outer bowl and the paddle blade that clicks onto the lid. Beyond the machine, the list is short:
- A dry measuring cup for the ice cream and a liquid cup for the milk.
- A spoon or small spatula for scooping and for loosening the finished shake.
- A tall glass and a wide straw for serving.
The Creami pint jar holds about 3 cups, and we fill it at least halfway for the best results. Too little in the jar and the paddle cannot catch everything evenly.
How to Make a Ninja Creami Milkshake
Here is the base method we use every time. It scales cleanly, so once you know it, every variation below is just a swap.
- Scoop the ice cream. Add about 1.5 cups, roughly 3 scoops, to the empty pint jar. Press it down lightly so it sits below the max-fill line.
- Pour the milk. Add about 1/2 cup of milk over the ice cream. For a thicker shake use less milk, around 1/4 cup; for a thinner, more pourable shake add more, up to about 3/4 cup.
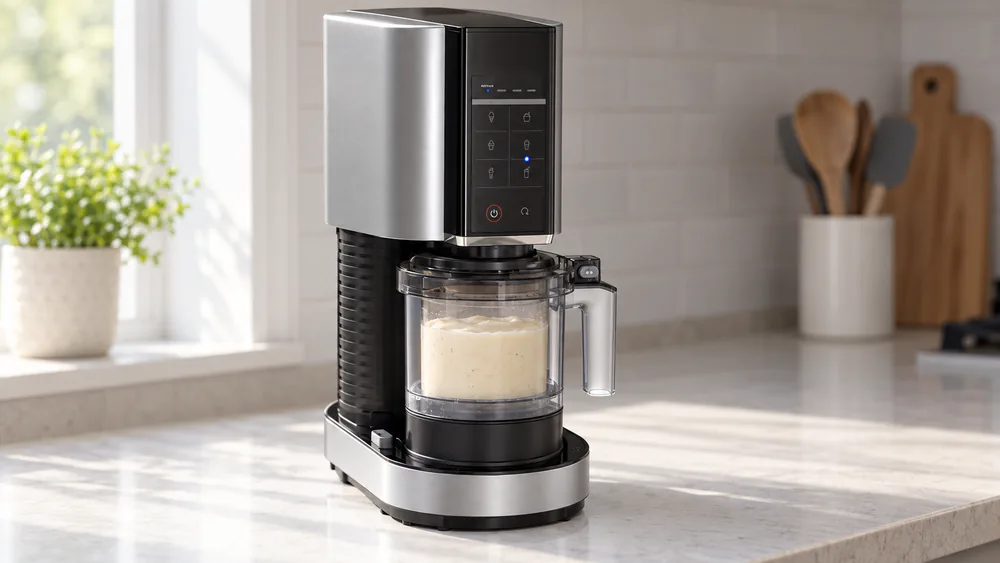
- Lock and load. Seat the paddle lid, drop the pint into the outer bowl, and lock the whole thing into the machine.
- Run the Milkshake program. Press the dedicated Milkshake button and let it run. The program takes about 1 to 2 minutes and stops on its own.
- Check and pour. Pop the lid and look at the texture. If it is right, pour and serve. If not, use the fixes in the next section.
That is the entire process, and it is why we clock it at about 7 minutes start to finish. A too-thick shake actually loosens up on its own after sitting a minute or two, so give it a beat before you decide anything is wrong.
Tips for the Thickest, Creamiest Shake
The Creami is forgiving, but a few habits make the difference between a good shake and a great one.
Chase thickness with the ratio, not luck. Starting with less milk and adding more gradually is the reliable way to hit your preferred thickness rather than over-thinning on the first pass.
Fix a too-thick shake with a splash and a Re-Spin. If it comes out stiffer than you want, add 1 to 2 tablespoons more milk and run the Re-Spin program. A runny shake goes the other way: add a scoop more ice cream and re-spin, and it firms right back up.
Rescue powdery results by blending longer. Powdery texture usually means too little milk, too short a blend, or unevenly distributed mix-ins. Extend the blend past two minutes and it smooths out.
Warning. Do not overfill the pint jar. Fill at least halfway so the paddle can catch everything, but keep the contents under the max line or the program cannot move the shake evenly.
Start with less milk than you think you need, add more a tablespoon at a time, and re-spin. That is the whole secret to a shake that comes out thick every time.
Flavor Variations and Mix-Ins
Once the base method is second nature, the flavors are just swaps. Add up to about 1/4 cup total of mix-ins so the paddle can still move the shake. And when you want candy or chocolate chunks to stay intact, add them with the gentler Mix-In pass instead of the main program, which keeps the pieces whole rather than pulverizing them into the shake.
Chocolate
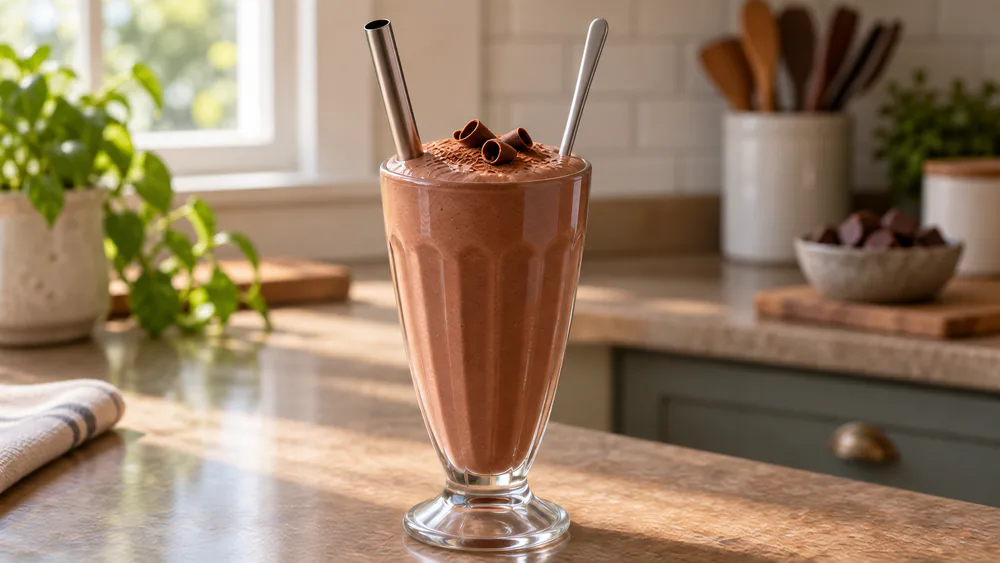
Start with chocolate ice cream and whole milk, then add a teaspoon of cocoa powder for a deeper, less-sweet result. A handful of chocolate chips run through the Mix-In pass gives you texture in every sip.
Strawberry
Use strawberry or vanilla ice cream with milk, and fold in up to 1/4 cup of frozen strawberries. Frozen fruit keeps the shake cold and thick rather than watering it down the way fresh fruit can.
Vanilla
The classic. Vanilla ice cream, whole milk, and a splash of real vanilla extract make a rich, creamy shake that shows off the flavor without competing with it. This is our default when we just want a plain sweet treat.
Peanut Butter
Add a tablespoon of peanut butter to a vanilla or chocolate base before spinning. It blends in smooth and gives the shake a nutty, dessert-like body. A few crushed peanuts on the Mix-In pass add crunch.
High-Protein
For a higher-protein shake, we like a simple 3-ingredient version: chocolate protein powder, peanut butter, and milk, which lands around 30 or more grams of protein per serving. One thing to plan for is that a from-scratch protein base is blended and then frozen for 24 hours before spinning, unlike the store-bought-ice-cream method that skips the wait. It comes out as thick as a Wendy's Frosty right after spinning, then thins slightly within a few minutes, so add milk a tablespoon at a time and re-spin to dial it in. If you want to read more on how much protein supports post-workout recovery, the dietary protein guidance from the NIH is a sensible starting point.
How to Store and Make Ahead
Milkshakes are best the minute they come out of the machine. If you have leftovers, press the shake back into the pint jar, seal it, and freeze it. It will set firm, so let it sit on the counter a few minutes, then run a quick Re-Spin with a splash of milk to bring it back to a drinkable texture.
The protein version works well for advance preparation because its base needs a 24-hour freeze. Blend and freeze a couple of jars over the weekend, then spin them as needed during the week. The store-bought-ice-cream base is so fast that there is little reason to prep it ahead. Our guides on using frozen fruit in the Creami and fixing crumbly or powdery texture pair well with this recipe.
Frequently Asked Questions
Can I use non-dairy milk?
Yes. Oat and almond milk both make a good dairy-free shake. Their lower fat content makes a slightly thinner shake than whole milk, so start with less and add more only as needed.
How do I make it thicker or fix a too-thin shake?
For thickness, use less milk to start, around 1/4 cup. If a shake comes out too thin, add a scoop more ice cream and run the Re-Spin program. It firms right back up.
Do I need to freeze the base first for 24 hours?
Not with store-bought ice cream. That method is ready right away with no advance freeze. Only a from-scratch protein or homemade-ice-cream base needs the 24-hour freeze before spinning.
Can I add protein powder?
Yes. A simple mix of chocolate protein powder, peanut butter, and milk makes a high-protein shake with about 30 or more grams per serving. Freeze that base for 24 hours, then spin.
What ice-cream-to-milk ratio is creamiest?
We start near 3:1, about 1.5 cups ice cream to 1/2 cup milk. That lands a thick, creamy shake. Adjust from there depending on whether you want it stiffer or more pourable.
What are the best mix-ins?
Crushed candy, frozen fruit, nuts, or chocolate, up to about 1/4 cup total. Add them on the gentler Mix-In pass so the pieces stay whole instead of blending in completely.
Recipe Card
Here is the base recipe at a glance, the version we make most often.
| Prep time | About 5 minutes |
|---|---|
| Spin time | 1 to 2 minutes |
| Total time | About 5 to 7 minutes |
| Ice cream | 1.5 cups (about 3 scoops) |
| Milk | 1/2 cup (whole milk for the creamiest result) |
| Ratio | About 3:1 ice cream to milk |
| Program | Milkshake, then Re-Spin as needed |
Method, in short: Scoop 1.5 cups ice cream into the pint jar, pour in 1/2 cup milk, lock it in, and run the Milkshake program. Check the texture, then add milk and Re-Spin for thinner, or ice cream and re-spin for thicker. Add up to 1/4 cup of mix-ins on the Mix-In pass. Pour and serve.
Read next
Ready to spin your next shake?
Grab a pint jar, pick a flavor, and let the Milkshake program do the work.