
Appliances
Rice Cooker Water Ratios by Rice Type: What Actually Works

As an Amazon Associate we earn from qualifying purchases. We may earn a commission from links on this page, at no extra cost to you. Learn more.
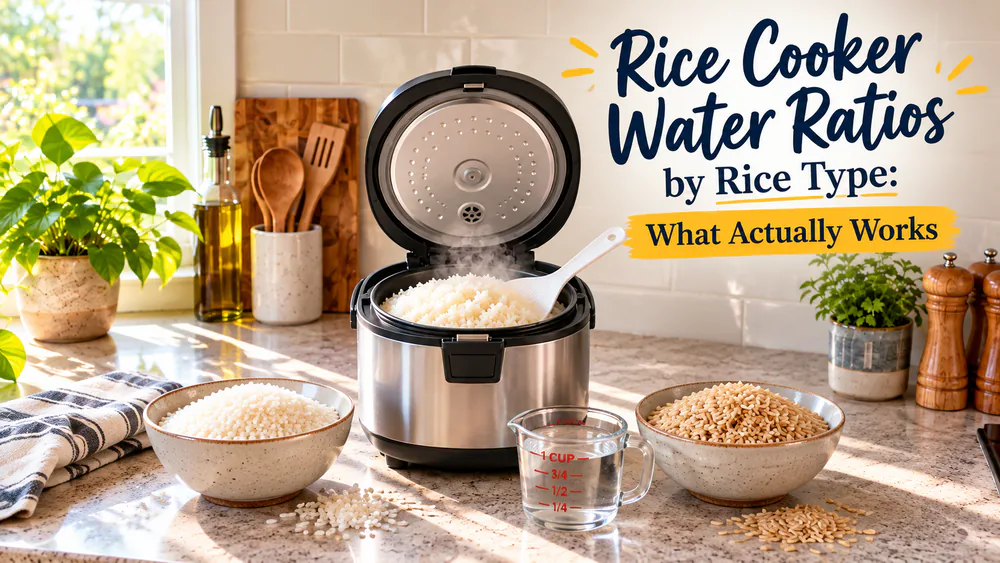
For white rice, the ratio that works in most rice cookers is about 1:1 to 1:1.5 rice to water, measured with the cooker's own cup and the water lines printed inside the pot. Brown rice needs more, closer to 1:2. We lean on the lines first and the ratio second, because the cup, the grain and the cooker all change the answer.
Quick Answer: The Rice Cooker Water to Rice Ratio
Here is the short version we use in our test kitchen. Rinse the rice, level it in the pot, fill with water to the line that matches your rice type, and let it rest after the cooker finishes. Those four steps solve most of the mushy and crunchy batches we see.
If you would rather use numbers, start with these:
- White rice (long-grain and jasmine): about 1:1 to 1:1.5 by rice cooker cup.
- Basmati: about 1:1.5 to 1:1.75, a little more water than other white rice.
- Short-grain and sushi rice: about 1:1 to 1:1.1.
- Brown rice: start near 1:2 and adjust.
- Rest time: let it rest for 10 minutes with the lid closed.
The ratios vary by cooker model and rice brand, so the pot's line or your manual is the final word. Our other rice cooker reviews and guides cover how each model behaves if you are still choosing one.
Rice Cooker Water Ratio Chart by Rice Type
This chart gives the starting point for each grain. Ratios are rice to water by volume, using the same cup for both.
| Rice type | Rice to water | Notes |
|---|---|---|
| Long-grain white | 1:1 to 1:1.5 | Use the white rice line |
| Jasmine | 1:1.25 to 1:1.5 | Rinse well for separate grains |
| Basmati | 1:1.5 to 1:1.75 | Gentle fluffing keeps grains long |
| Medium-grain | About 1:1.25 | Between long and short grain |
| Short-grain and sushi | 1:1 to 1:1.1 | Use the sushi line if there is one |
| Brown (short-grain) | About 1:2 | Use the brown line or setting |
| Brown (long-grain) | About 1:2 to 1:2.25 | Often wants a little extra |
| Wild rice | About 1:3 | Long cook, check the manual |
Published ratios for basmati and brown rice differ by about a quarter cup per cup of rice depending on brand and cooker, so treat the chart as a starting point and adjust by a small amount after your first batch.
Tip. Scoop with the cup that came with the cooker. Its size is covered below.
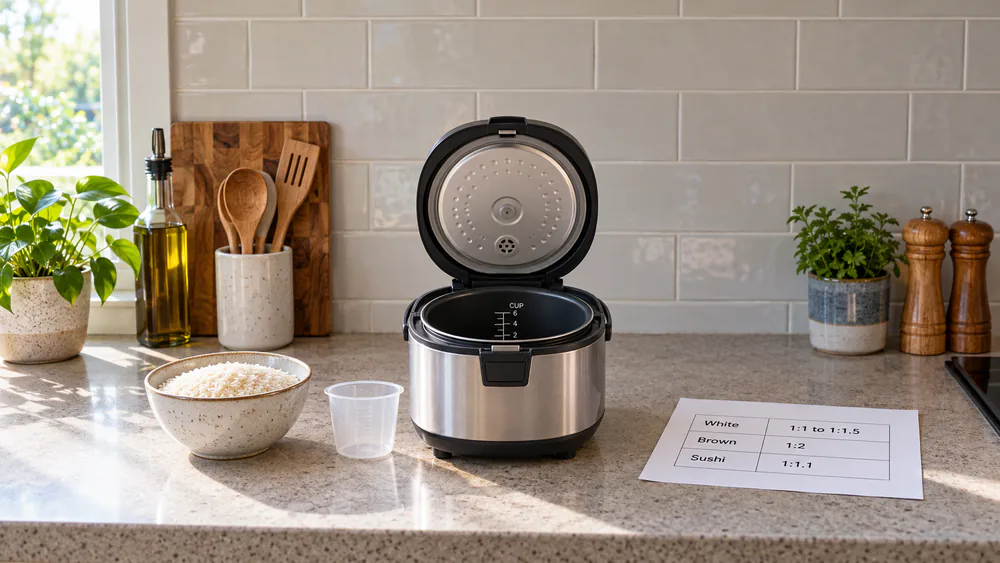
White Rice (Long-Grain, Jasmine, Basmati)
White rice is the easiest place to start. Long-grain white sits at about 1:1 to 1:1.5, jasmine at 1:1.25 to 1:1.5 and basmati at 1:1.5 to 1:1.75. Ratios shift a little by brand and cooker, so the pot's white rice line is the reliable approach.
We prefer the lower end for jasmine when we want soft, slightly sticky grains and the higher end for basmati when we want them separate and dry. Rinse all three until the water runs clear, because unrinsed rice comes out sticky or gummy even at the right water level.
Short-Grain and Sushi Rice
Short-grain rice holds more starch and needs less water. A good anchor is 600 ml of water for 3 rice cooker cups (540 ml) of rinsed Japanese white rice, which works out to about 1:1.1 by volume.
If your cooker has a sushi line, use it. Sushi settings differ by model, so follow the printed sushi line on your pot.
Brown Rice
Brown rice keeps its bran layer, which slows water absorption, so it needs more water and more time. Start near 1:2 and adjust, since the range runs from 1:1.5 to 1:2.5 depending on grain length and the cooker's brown setting.
In a basic cooker, brown rice often needs noticeably more water than the stated amount, around a quarter more in some pots. If your first batch is firm in the center, add that extra quarter next time instead of changing anything else.
Wild Rice, Black Rice, and Blends
Wild rice runs about 1:3 and cooks long, so it often goes on a brown or mixed setting. Blends are the trickiest because each grain absorbs differently. Many pots print a mixed rice line, and that line is the right place to start for a blend.
For black rice, treat it like brown rice: begin near 1:2, rinse, and give it extra rest time.
Rice Cooker Cup vs Standard Measuring Cup
This is where most bad batches start. The cup that comes with a rice cooker holds 180 ml. A US measuring cup is about 240 ml, so the cooker cup is about three quarters of a US cup.
The inner-pot water lines are calibrated to the included cup, with one line per cup of dry rice. Most pots print separate lines for white, sushi, brown, mixed and porridge. If you scoop rice with a US cup and then fill to the cooker's lines, you end up with too much rice and an off ratio.
| Measure | Volume | Use it for |
|---|---|---|
| Rice cooker cup | 180 ml | Rice, and the pot's water lines |
| US measuring cup | About 240 ml | Ratios worked out in US cups |
If you lost the cooker cup, a 180 ml scoop works, or use a US cup and a ratio, but do not mix the two systems in one batch.
How to Measure Rice and Water Step by Step
Good rice depends largely on consistent habits. We follow the same three steps every time, so a bad result points to one variable instead of five.
Measure and Rinse
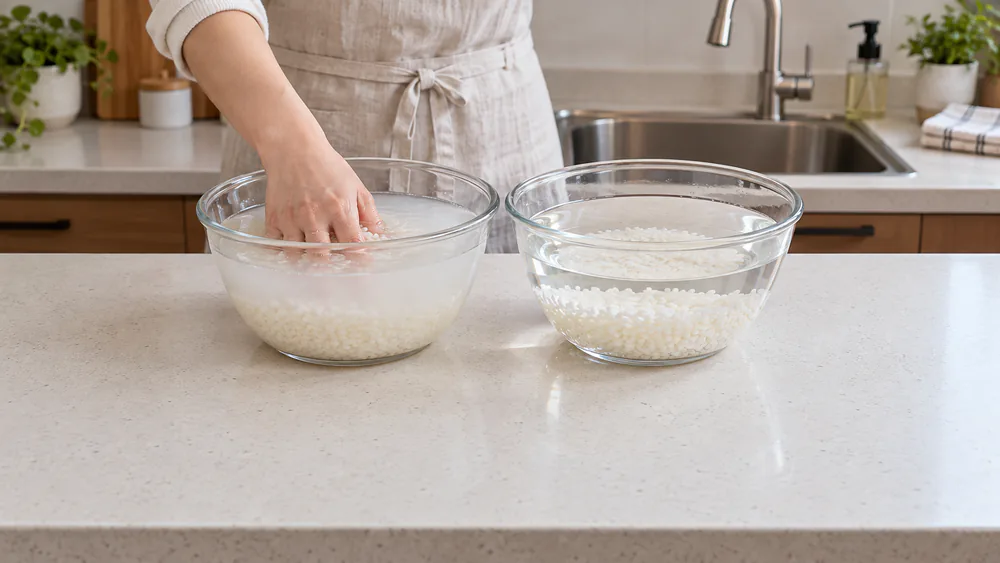
Scoop the rice with the cooker cup and level the top with a finger or chopstick. Put it in a bowl or the inner pot, cover with cool water, swirl, and pour off the cloudy water. Repeat two to four times, until the water runs clear.
Rinsing removes surface starch that makes rice gummy. Soaking is optional: white rice for 15 to 30 minutes and brown for 30 to 45 minutes. Japanese practice is 30 minutes for white, but many cookers already include a soak stage, so check yours before adding one.
Add Water to the Line or by Ratio
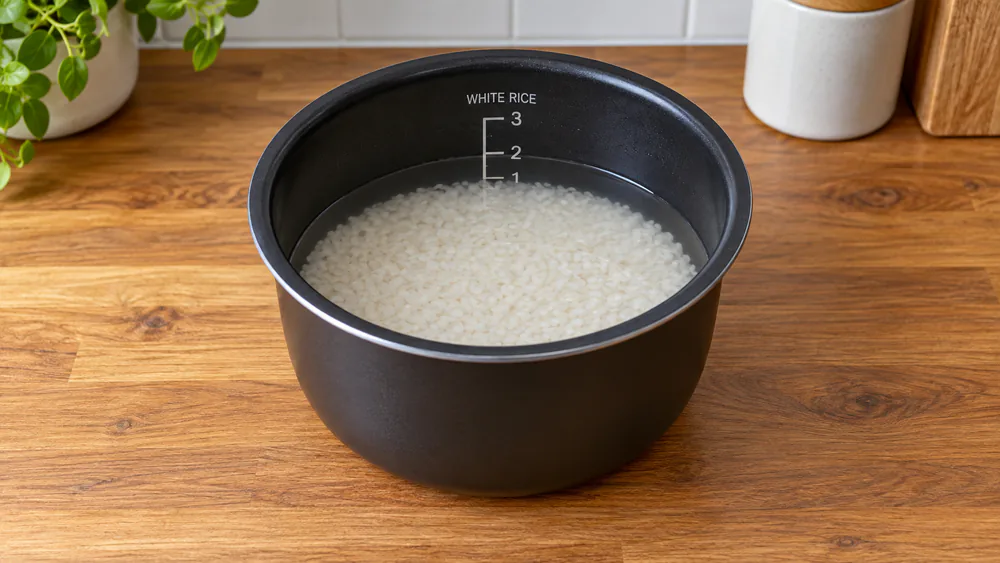
Drain the rinsed rice well, set it in the inner pot and shake the pot gently so the grains lie flat. Leveling the rice before adding water gives even cooking. Then fill with water.
Filling to the line is the simplest method: choose the line for your rice type and the number of cups you scooped. Using a ratio works better when you are cooking an unusual grain or your pot has no brown line. Either way, check the water against the pot with the rice already inside.
Cook, Rest, and Fluff
Close the lid, pick the setting and leave it alone. Cooking with the lid off, or lifting it early, gives uneven, clumpy rice.
When the cooker beeps, keep the lid closed and let it rest for 10 minutes. Skipping the rest step leaves the rice sticky and clumped, and 10 to 15 minutes lid-on after the beep fixes the texture. Then fluff with a plastic or silicone paddle, cutting through the rice and folding from the edges.
How Much Water for 1, 2, 3, and 4 Cups of Rice
The ratios scale proportionally, and the table below shows common batch sizes. Amounts are in rice cooker cups of water for the same number of rice cooker cups of rice, and the lines on your pot should land in the same spot.
| Cups of rice | White rice water | Brown rice water |
|---|---|---|
| 1 cup | 1 to 1.5 cups | About 2 cups |
| 2 cups | 2 to 3 cups | About 4 cups |
| 3 cups | 3 to 4.5 cups | About 6 cups |
| 4 cups | 4 to 6 cups | About 8 cups |
The white column covers long-grain and jasmine. Short-grain sits at the low end of it, while basmati needs more: for 4 cups of basmati, use 6 to 7 cups of water. For brown rice, quantities scale from the ratio you choose, so some pots want closer to 4.5 cups of water for 2 cups of rice.
What Changes the Ratio
Four factors can change how much water you need. A small adjustment of a quarter cup is usually all you need.
Rice Age and Brand
Rice age matters because fresher grain absorbs less water, so add a little less than the chart says. Older, drier rice can take a splash more. Brands also differ in milling and starch, which is why a ratio that was perfect last month can feel off with a new bag.
Altitude and Humidity
At high altitude water boils at a lower temperature, so rice usually needs a little extra water. The rules of thumb disagree, from a quarter cup per 1,000 ft to a quarter cup per 2 cups of rice above 2,000 ft. Add water in small increments and check your cooker manual.
Note. Altitude and rice age both push the ratio by small amounts. Change only one thing per batch, so you can tell which adjustment fixed the texture.
Your Rice Cooker Model (Fuzzy Logic vs Basic)
Fuzzy logic cookers adjust time and temperature as they cook and have separate white, brown and sushi menus with matching water lines. Basic cookers have one switch and one set of lines.
On a fuzzy logic model, trust the menu and the matching line. On a basic cooker, expect to adjust the water yourself, especially for brown rice, since the single heat cycle is a rougher fit for grains that need longer.
Soft or Firm Texture
For softer rice, add a couple of tablespoons of water per cup of rice. For firmer rice, take away the same amount.
Troubleshooting Rice Texture
With the ratio set, any remaining problem usually traces back to water, rinsing or the lid. Match the symptom to the likely cause.
Mushy or Soggy Rice
Mushy rice comes from too much water or unrinsed rice. Cut the water by a few tablespoons per cup and rinse until the water runs clear. If you scooped with a US cup and filled to the cooker's lines, that is the likeliest cause. Drain any pooled water and leave the lid cracked for a minute.
Hard or Crunchy Rice
Hard rice usually means too little water, or a lid lifted early. Add a splash of water, about 2 tablespoons per cup, close the lid and run a short cycle or let it steam on warm. Brown rice that stays firm usually needs that extra quarter of water next time.
Burnt Bottom or Foaming Over
Overfilling the pot makes starchy foam spit out of the steam vent. Smaller batches, thorough rinsing and a dab of butter or oil stop it. For a stuck bottom, lightly oil the inner pot and use a plastic or silicone paddle on the nonstick coating, because metal utensils scratch it.
Warning. Never fill past the maximum line. An overfull pot foams over, spits starchy water out of the vent onto the heating base, and can scorch the bottom layer. Cook a smaller batch instead.
Pro Tips for Fluffier Rice
These small habits give fluffy rice more reliably than any ratio tweak.
- Rinse well. It is the single biggest fix for gummy grains.
- Level the rice before adding water so it cooks evenly.
- Be patient at the end. Resting lets moisture settle through the pot.
- Use a plastic or silicone paddle, and fold rather than stir.
- Finger method: with the rice leveled, rest a fingertip on top and add water until it reaches the first knuckle, a quick check if your pot has no lines.
If you cook a lot of rice ahead, see our guide on how long cooked rice lasts.
Frequently Asked Questions
What is the ratio for white rice in a rice cooker?
About 1:1 to 1:1.5 rice to water by rice cooker cup, depending on the grain. Fill to the white rice line on the pot, which is calibrated to the included 180 ml cup.
How much water for 2 cups of rice?
For 2 cooker cups of white rice, use 2 to 3 cups of water, or fill to the 2 line. For brown rice, plan on about 4 cups, and add a splash more if it comes out firm.
Can I cook less than one cup of rice?
Yes, but small batches cook faster and dry out more easily. Use the 1 cup line as a floor, and if your pot struggles with a tiny amount, cook a full cup and keep the extra for another meal.
Should I add salt or oil to the water?
Both are optional. A pinch of salt seasons the grains evenly, and a little oil or butter helps reduce foaming. Add them after the rice and water are in the pot, then stir once.
Can I cook rice in broth instead of water?
Yes. Swap broth for water at the same level, and use a low-sodium one so the rice does not turn salty. Starchy or thick liquids can scorch, so keep the batch small.
Will rice dry out on the keep-warm setting?
Over several hours, yes. The edges harden and the bottom yellows, so serve within a few hours and fluff the rice once before closing the lid again.
Conclusion
Start with the cooker cup, the water line and a good rinse, then adjust by a small amount for brown rice, new bags of rice and altitude. If a batch goes wrong, change one thing and cook it again. Once you find the right ratio for your cooker, you can repeat it for each batch.
Read next
Ready to upgrade your kitchen?
Browse our buying guides to find the right appliance for the way you cook.