
Knives & Cutlery
How to Sharpen a Knife Without a Sharpener: 9 Household Methods
As an Amazon Associate we earn from qualifying purchases. We may earn a commission from links on this page, at no extra cost to you. Learn more.
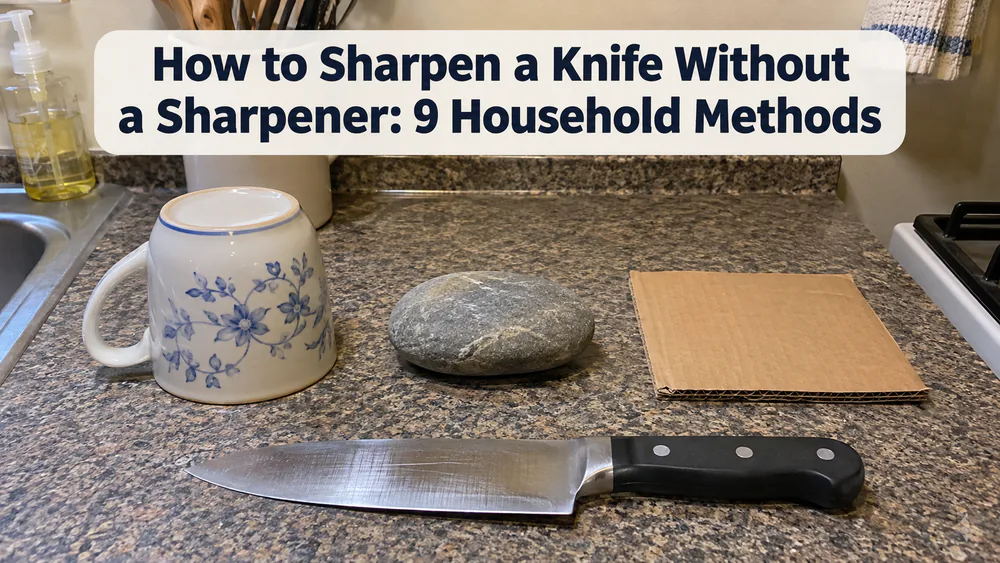
If your knife is dull and the sharpener is nowhere near, you can still restore a workable edge with household items you already have on hand. The three best in a pinch are the unglazed ring on a ceramic mug, wet/dry sandpaper taped flat, and a leather belt used as a strop. Each one is a makeshift fix, not a replacement for a real stone, and we will be honest about what each can and cannot do. For a wider look at proper tools, browse our knife sharpener guides.
Our experience with a whetstone service shapes how we judge these nine methods: by whether they remove steel, straighten a rolled edge, or simply polish it. That is how we rank them below.
Is Your Knife Actually Dull? Quick Sharpness Tests
Before you rub steel on anything, confirm the knife needs it. A dull edge that looks fine can still crush herbs and slide off tomato skin. Two quick checks catch it.
The Paper Test
Hold a sheet of printer paper upright by one corner and slice down through it. A sharp knife cuts cleanly without snagging or tearing. If it catches, skips, or folds the paper, the edge needs work.
The Tomato Test
Rest the knife on a tomato and press lightly. A sharp edge pierces the skin with little downward pressure. If it slips, or you need a saw motion to get through, the edge is dull.
Tip. Run the paper test again every few strokes while you work. It tells you when to stop, which matters more than any stroke count.
Honing vs Sharpening: What These Methods Actually Do
Before picking a method, it helps to know which job it does. Sharpening removes metal to form a new edge. Honing realigns the existing edge without removing metal. That difference decides which of our nine methods belongs in your situation.
An edge that has rolled over from daily use usually needs honing, and a stropping or rod-style surface will straighten it. Learn what a honing steel does to an edge and you will see why a leather belt or a car window can make a knife feel sharper without cutting any steel. An edge that is truly worn or chipped needs metal removed, and for that you want an abrasive such as sandpaper, a mug ring, or a smooth stone.
Safety Precautions Before You Start
- Keep the edge facing away from your body and fingers at all times.
- Secure the abrasive on a flat, stable surface so it cannot slide.
- Wipe off metal particles when you finish, and clean the mug or stone before anyone uses it again.
- Never cut on glass, stone, or metal boards afterward. Glass and ceramic boards chip an edge faster than wood or plastic, and twisting the knife in a cut rolls it.
Warning. Pressing hard is the fastest way to ruin a makeshift sharpening session. On a mug, plate, car window, or concrete, heavy force can roll or chip the edge. Use light pressure every time.
9 Ways to Sharpen a Knife Without a Sharpener
All nine methods share one working angle: 15-20 degrees per side for most kitchen knives. We cover how to find that angle by eye in its own section below. The methods run roughly from most effective to least.
1. Ceramic Mug or Plate Bottom
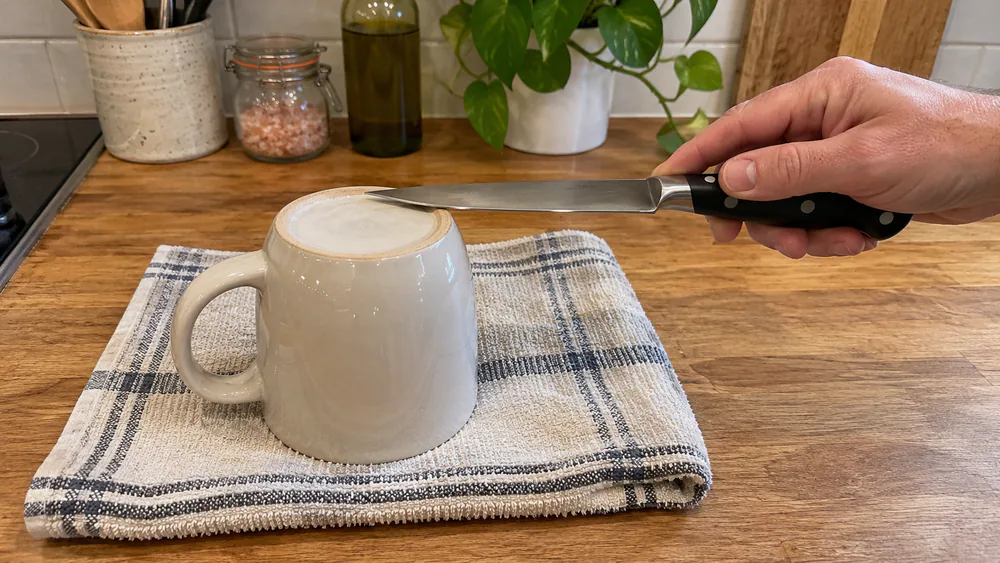
Flip the mug upside down and look for the unglazed ring around the base. That bare ceramic acts like a fine stone. Glazed surfaces do not cut at all, so do not bother with the smooth sides.
Lay the blade against the ring at 15-20 degrees, edge leading away from you, and draw it from heel to tip with light pressure. Work one direction rather than scrubbing back and forth. A dark metal streak on the ceramic is the sign it is removing steel.
How many strokes you need depends on how dull the edge is, so check with the paper test every few strokes instead of counting. Alternate sides so the edge stays even.
A porcelain plate rim works the same way but takes longer because it is less abrasive than a mug; beginners can also leave a lopsided edge if they forget to alternate sides.
- Result: truly sharpens, finely.
- Watch for: a lopsided edge from forgetting to alternate sides.
2. Sandpaper (Wet/Dry)
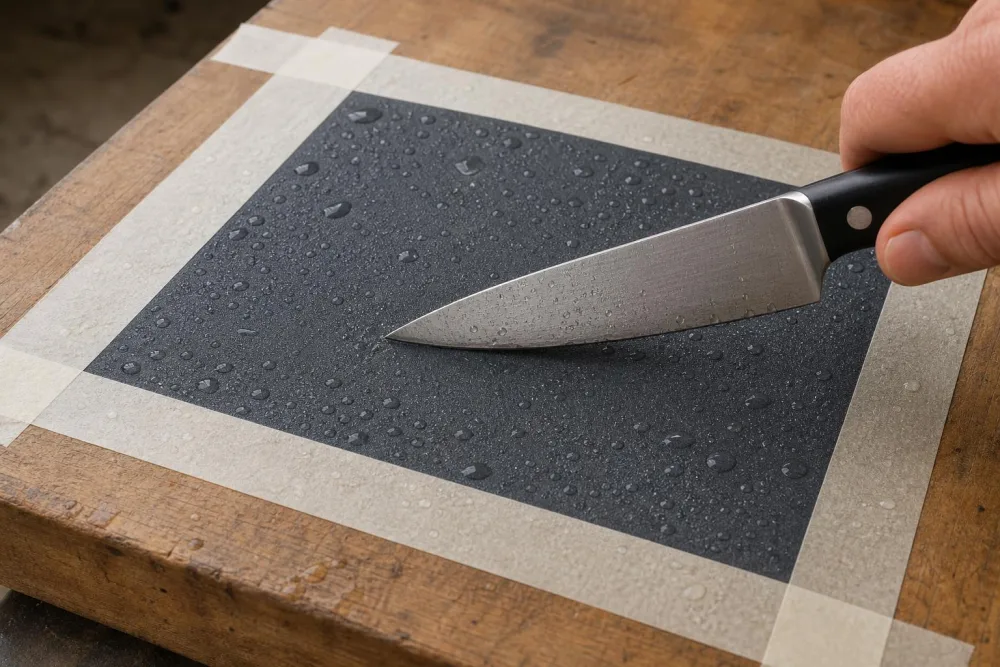
Sandpaper gives a sharper edge than ceramic, but it also removes metal fast, which makes it easy to overdo. It needs the most restraint.
Use wet/dry paper. Start at 200 to 400 grit to shape or repair an edge, then finish at 800 to 1000 grit. Anything at 1000 and up is polishing only. Tape the paper flat to a hard surface, such as a board, for better angle control than holding it loose, and keep it wet. Water works as the lubricant and keeps the paper from clogging.
Hold the knife at 15-20 degrees and pull it across the paper with light pressure, then flip and repeat on the other side. Wipe the blade clean afterward, because grit and metal dust matter.
- Result: truly sharpens, and the fastest at it.
- Watch for: clogged paper and too much metal gone in a few passes.
3. Leather Belt Strop
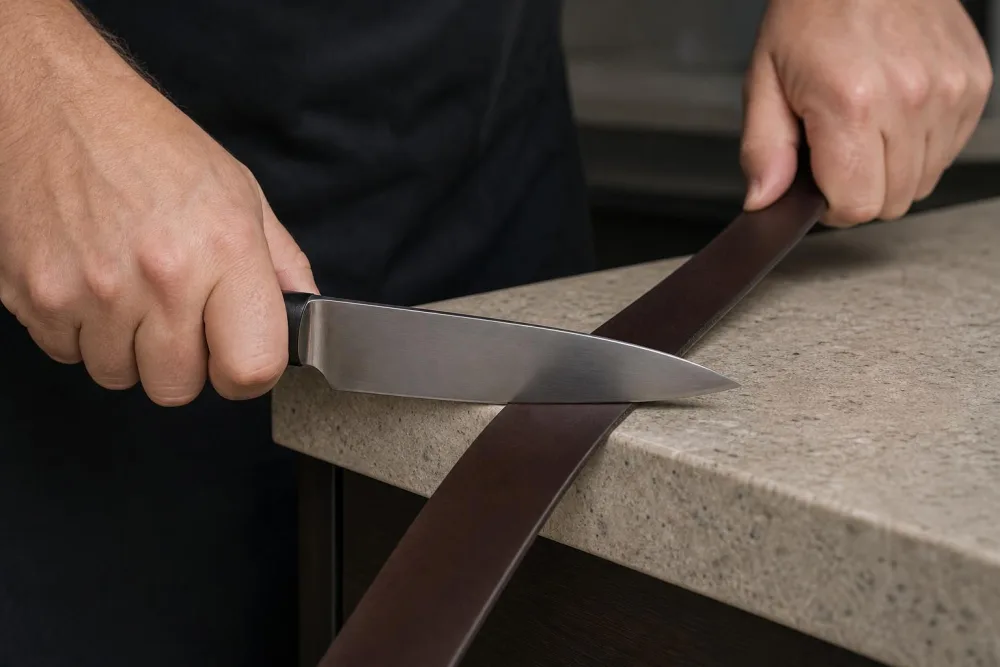
A leather belt is best as a finishing strop after an abrasive step. It cleans up the burr that sandpaper or a mug leaves behind, and it can straighten a rolled edge on its own.
Pull the blade spine-first with the edge trailing. Never push edge-first, because that cuts straight into the leather. Pick a smooth belt, since stitching and embossing snag the blade. Keep the pressure light.
Pass counts vary with how rough the leather is and how much burr is left, so use the paper test rather than counting. If you have an old mouse pad, the neoprene works surprisingly well as an improvised strop too.
- Result: hones and strops the burr; removes no meaningful metal.
- Watch for: stitched or embossed belts.
4. Spine of Another Knife
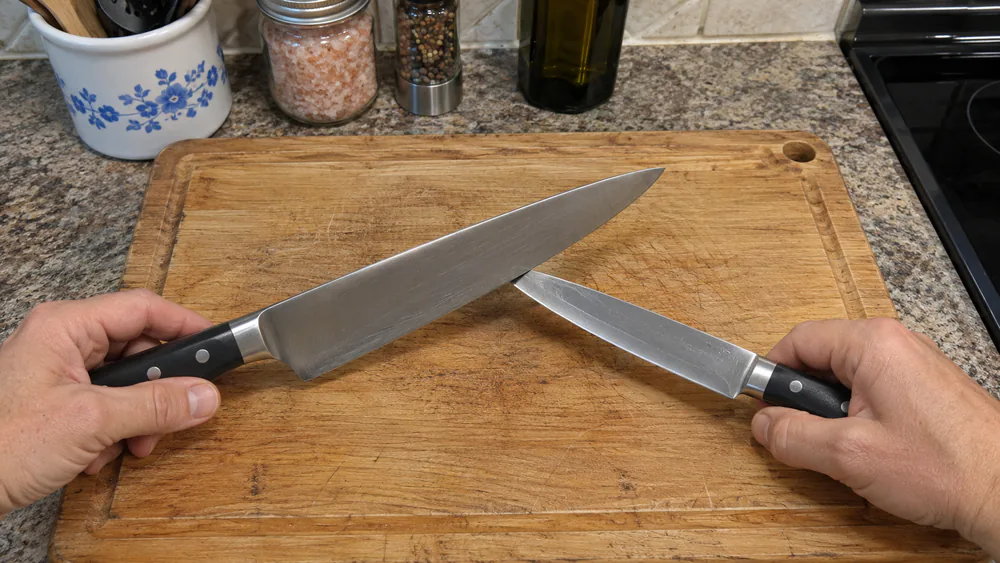
Using the spine of a second knife straightens a rolled edge and improves the feel, but it does not create a new edge. It works best when the spine is harder steel than the blade being honed, so a softer spine will do nothing.
Set the spine of the second knife against the edge at the working angle and draw it along with light pressure, then try the paper test. We cover the full version in how to sharpen a knife with another knife.
- Result: hones only.
- Watch for: scratching the second knife.
5. Smooth River Stone or Flat Rock
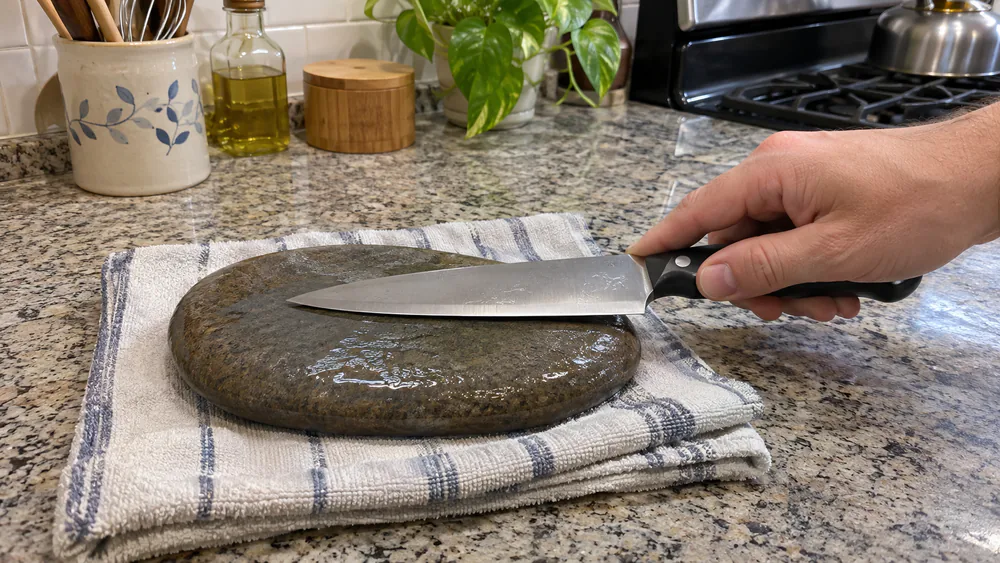
A stone is a crude whetstone, working the same way as how a sharpening stone abrades steel. Pick a smooth, flat, fine-textured stone. Avoid gritty, sandy, or rough stones because they scratch the blade.
Wet it first. Water reduces friction and helps prevent micro-chipping. Then work the blade across it at the working angle with the same light, even strokes you would use on a mug.
When in doubt, use the mug.
- Result: sharpens, if the stone is smooth and wet.
- Watch for: sandy or uneven stones.
6. Car Window Edge
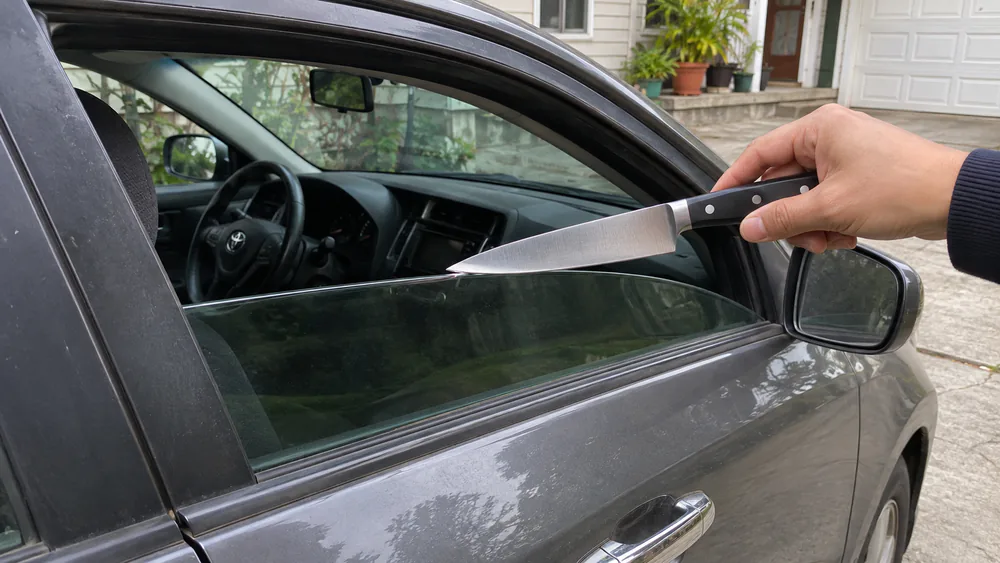
The top edge of a rolled-down side window hones like a ceramic rod. It is slow and gentle, more like a touch-up rod than a sharpener, and it does not remove meaningful metal. Think of it as a light hone at best.
Roll the window down a few inches, then draw the blade along the top edge at the working angle, again with light pressure. Heavy force can chip the blade or the glass, so keep it light.
Treat it as a convenience trick, not a fix for a truly dull knife.
- Result: light hone only.
- Watch for: chipping the blade or the glass with force.
7. Nail File or Emery Board
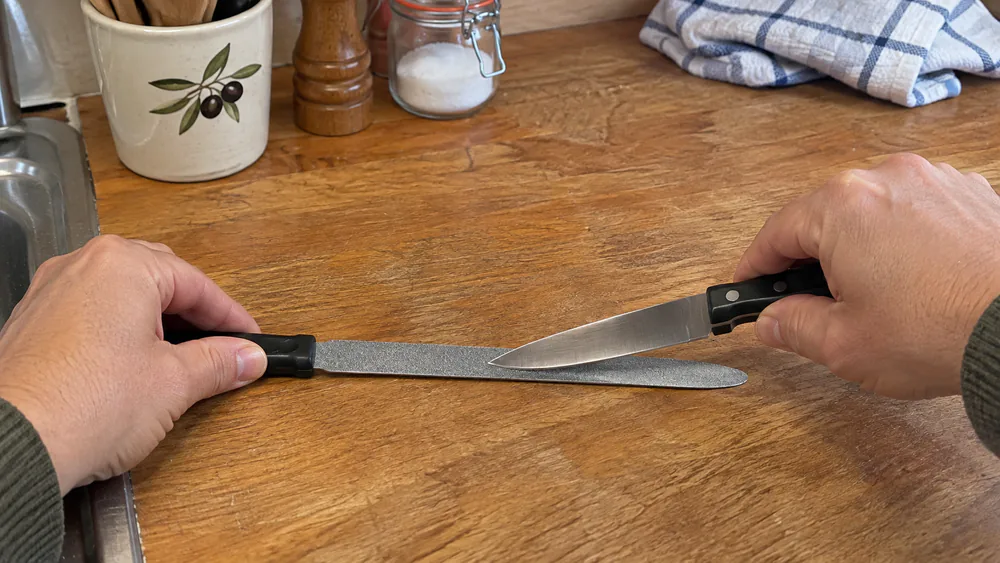
A metal or diamond nail file works like fine sandpaper. Keep a steady working angle and pull the edge across it a few times per side. The cardboard-type emery boards are weak and will not do much.
Uneven strokes leave an uneven edge, as with any abrasive.
- Result: sharpens, but only with a metal or diamond file.
- Watch for: a weak cardboard emery board.
8. Cardboard
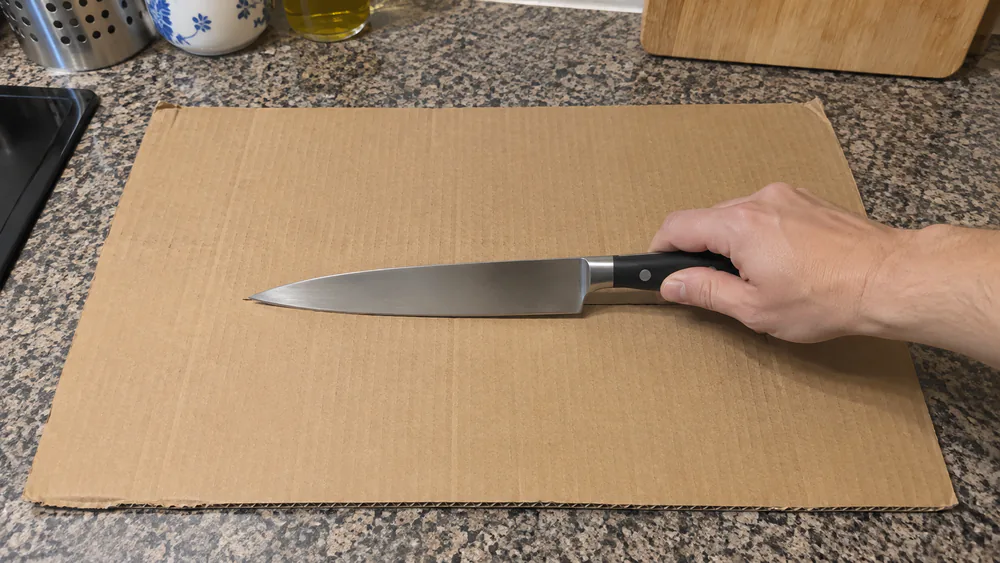
Cardboard is stropping only. It realigns the edge and removes a fine burr, which can make a slightly dull knife feel better. It does not create a new edge.
Pull the blade across a flat piece with light pressure. Too much pressure damages the edge, and the pass should be gentle. Use it as a finishing step, not your main method.
- Result: strops a burr.
- Watch for: a burr left behind if you skip a follow-up pass.
9. Concrete or Brick
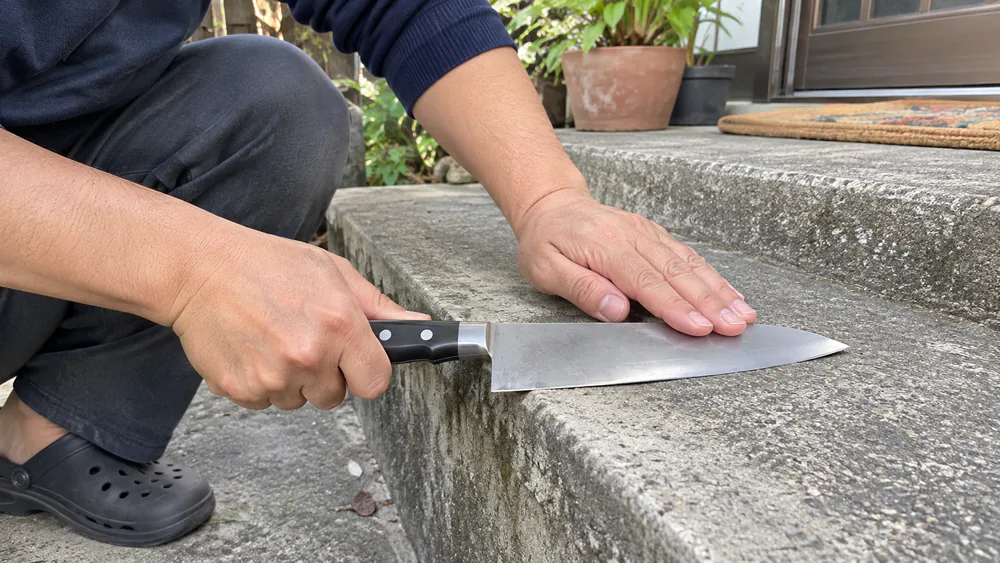
Concrete is a last resort. It can sharpen roughly, but thin blades can chip with pressure, so the risk is high. Use slow strokes and strop afterward to clean up the edge.
Use a mug, sandpaper, or smooth stone first.
Warning. Keep concrete and brick for thick, rugged blades. A thin kitchen knife can chip badly on them, so a gentle touch matters even more here.
Which Method Should You Use?
Here is the quick map of what each household method does, how risky it is, and the angle or grit it wants.
| Ceramic mug | Everyday dull kitchen knives. Truly sharpens (fine). Low risk. 15-20 degrees. |
|---|---|
| Sandpaper | Badly dull or damaged edges. Truly sharpens. Medium risk, removes metal fast. 400 to 1000 grit. |
| Leather belt | Finishing after an abrasive. Hones and strops. Low risk. Spine-first. |
| Spine of another knife | Rolled edges. Hones only. Medium risk. Steady angle. |
| River stone | When you have a smooth stone. Sharpens if smooth and wet. Medium risk. Working angle. |
| Car window | Quick touch-ups. Light hone. Medium risk, chip potential. Working angle. |
| Nail file | Small knives. Sharpens with metal or diamond only. Medium risk. Working angle. |
| Cardboard | Final burr removal. Strops a burr. Low risk. Gentle pull. |
| Concrete or brick | Rugged work knives. Rough sharpen. High risk, chips thin blades. Last resort. |
Start with the mug for a mildly dull knife and sandpaper for a truly dull one, then finish on the belt.
Sharpening Angle Without a Guide
Once you know which job each method does, the angle is the next thing to control. The working angle for most kitchen knives is 15-20 degrees per side. That is shallow, and most people hold the blade too steep.
Pick one angle by eye, keep the same lift on every stroke, and use it on both sides. A wandering angle changes the edge more than the method does.
Common Mistakes to Avoid
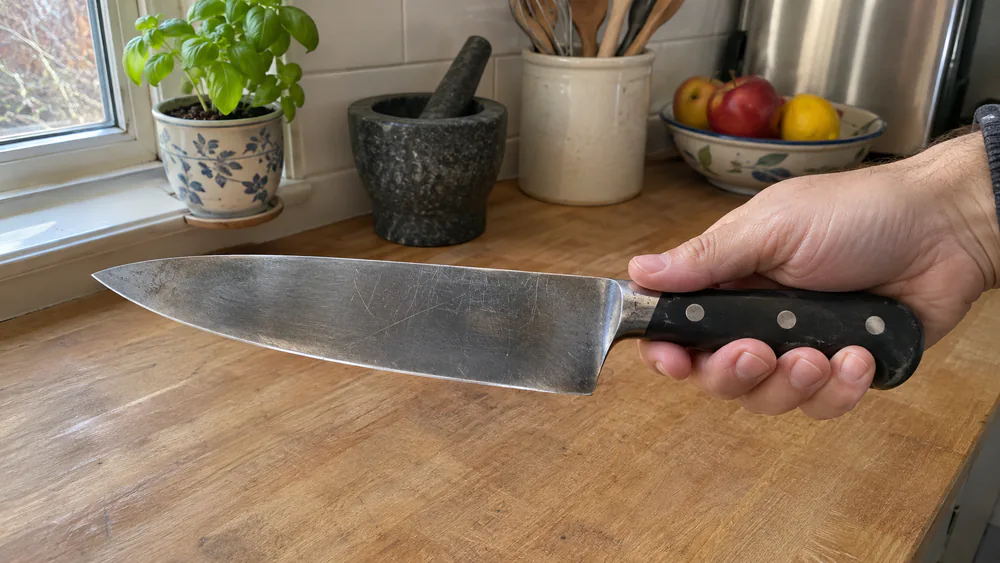
- Pressing too hard. On a mug or plate, hard pressure rolls or chips the edge. Light, one-direction heel-to-tip strokes work better than back-and-forth scrubbing.
- Using the wrong surface. Glazed ceramic does not cut, and sandy stones scratch.
- Forgetting to alternate sides. One-sided work leaves an uneven edge.
- Holding sandpaper loose. Tape it flat to a board.
- Pushing edge-first on a strop. Always pull spine-first.
- Cutting on glass or ceramic boards afterward. They undo your work quickly.
How to Keep Your Edge Sharp Longer
Cut on wood or plastic, never glass or stone. Avoid twisting the blade in a cut, which rolls it. Store knives in a block, sheath, or on a magnetic strip so the edges are not knocking together in a drawer.
Hone lightly and often instead of waiting until a knife is truly dull. When it needs real sharpening, our guide on how to sharpen a knife walks through the standard routes.
When to Buy a Real Sharpener
A mug, belt, or stone is a stopgap, not a real whetstone. If you sharpen more than once in a while, or you own a good knife, a proper tool is worth it. You get a consistent angle, a controlled abrasive, and no guesswork.
Start with how to sharpen a knife with a whetstone if you want the traditional route, or read how to use a knife sharpener for the simpler pull-through style. Our best way to sharpen a knife guide compares the options.
Frequently Asked Questions
Can you sharpen a knife with a rock?
Yes, if the rock is smooth, flat, and fine-textured. Wet it first and work at 15-20 degrees with light pressure. A rough or sandy rock scratches the blade, so choose carefully.
How do I hold the angle on a thin or rounded blade?
Tilt the blade until the edge bevel sits flat against the abrasive, then lift the spine slightly. On a curved belly, raise the handle as you move toward the tip so the same part of the edge keeps contact.
Can I sharpen a serrated knife this way?
Mostly no. A mug and flat abrasives are not suited to serrated blades, and at most a tapered file touches up individual serrations. See how to sharpen a serrated knife at home for the right approach.
Does aluminum foil sharpen a knife?
No. Foil is too soft to abrade steel, so any perceived gain is cosmetic at best. Treat it as a myth.
How often should I sharpen?
Hone lightly whenever the paper test starts to catch, and sharpen only when honing no longer restores the edge. A knife in regular home use may need real sharpening only occasionally.
Conclusion
If you have a few minutes and a ceramic mug, you can bring most dull kitchen knives back to a usable edge. Use the unglazed ring, hold 15-20 degrees, and check with the paper test as you go. Reach for sandpaper when the edge is truly worn, and finish on a leather strop.
These are honing and light sharpening methods, and a proper stone will always do better.
Read next
Ready to upgrade your kitchen?
Browse our buying guides to find the right tools when a stopgap is not enough.